27 of 51
6. Double-Click on the Controller tags again, and you will see now some of the AOP values are now
populated with information as we are now online with the drive. For example, the axis should
have a position value in the ActualPosition tag.
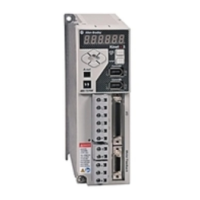
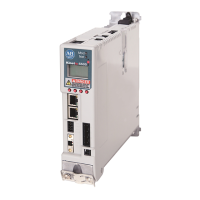
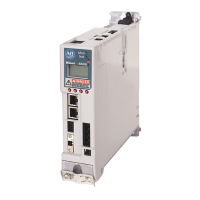
Important: If your Kinetix 300 drive has a yellow ‘!’ mark next to it, verify the IP address and the
Drive model number. If something is not correct, delete the existing drive and repeat the steps in Lab
Important: RESETTING DRIVE FAULTS. If the Kinetix 300 drive has an E code (drive fault) on the
front display, you can clear this by toggling the rotary switch DI1/DO3 ON then OFF again.
7. Start the automated sequence by pushing the Green round button (DI0/DO1) on the demo.
This will start the run sequencer (Note: make sure the rotary switch DI1/DO3 is OFF).
8. To end the sequence, turn Rotary switch DI1/DO3 ON.
This switch is used to clear faults on the drive and to stop the sequence.
 Loading...
