Zooms in the current screen.
Turns on PIP screen mode in the live monitoring screen.
Selects a camera for live & playback audio output.
Turns on/off the OSD display.
Checks the system‟s log information.
Selects the DVR‟s system ID. (When using Remote controller)
Pressing the E.REC button starts Emergency Recording Mode
of all camera channels, and "!" icon will be displayed on each
channel while in the emergency recording mode. Pressing the
button again will stop E.REC mode.
Power, HDD, Network, Alarm
1-2. Turning on the System
Connecting the power cord will turn the DVR system on. It will take approximately 10 to 30
seconds for the system to be initialized. Once the system is initialized, it will display live screen,
and begin recording of video automatically.
Note
: To turn off the system, select SHUTDOWN under main menu (MENU > SHUTDOWN) and
unplug the power cord when the shutdown message is displayed.
Note
: When a new HDD is installed, it should be formatted first in the following menu location:
“MENU > RECORD > Storage > HDD format”
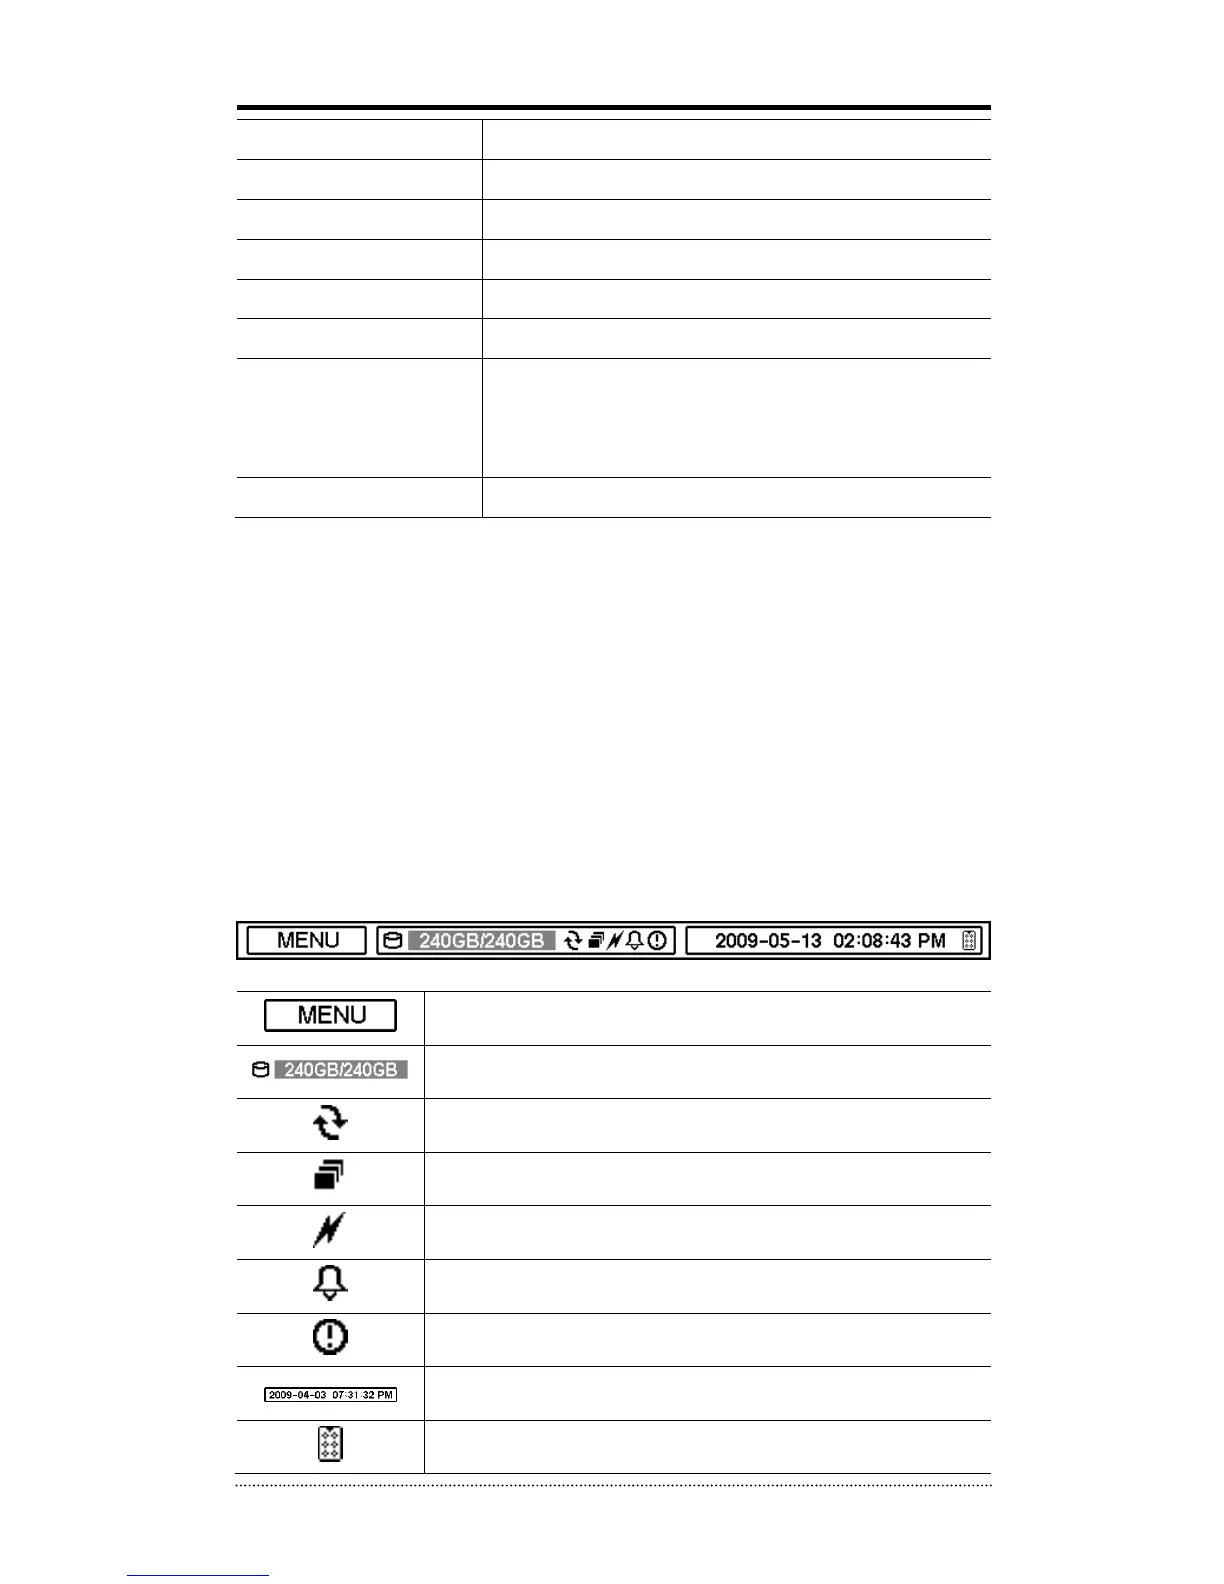
1-3. Menu Bar
The menu bar will appear on the bottom of the screen as shown below.
Pressing the Menu will bring up Main Menu.
Turns on when the HDD is set to be overwritten.
Turns on when the system is connected to the network.
Turns on when the Alarm is activated.
E.REC (Emergency Recording) Mode.