54
Chapter 3 Sampling
■
Sampling in Patch Mode
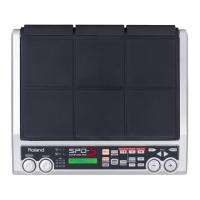
1
Press [PATCH] to select the patch mode.
2
Press [-]/[+] to select a patch.
3
Check if [CARD] is lit.
To sample a sound on the internal memory, press [CARD] so it is
not lighted
.
To sample a sound on the memory card, press [CARD] so it is
lit
.
4
Press [SAMPLE].
5
The screen displays “select dest pad.” Hit the pad on the SPD-S (or
external pad/trigger), or depress the foot switch to assign a sampled
wave to that trigger source. Only one can be selected at a time. To
select another pad/trigger, press [EXIT] to return to patch mode.
6
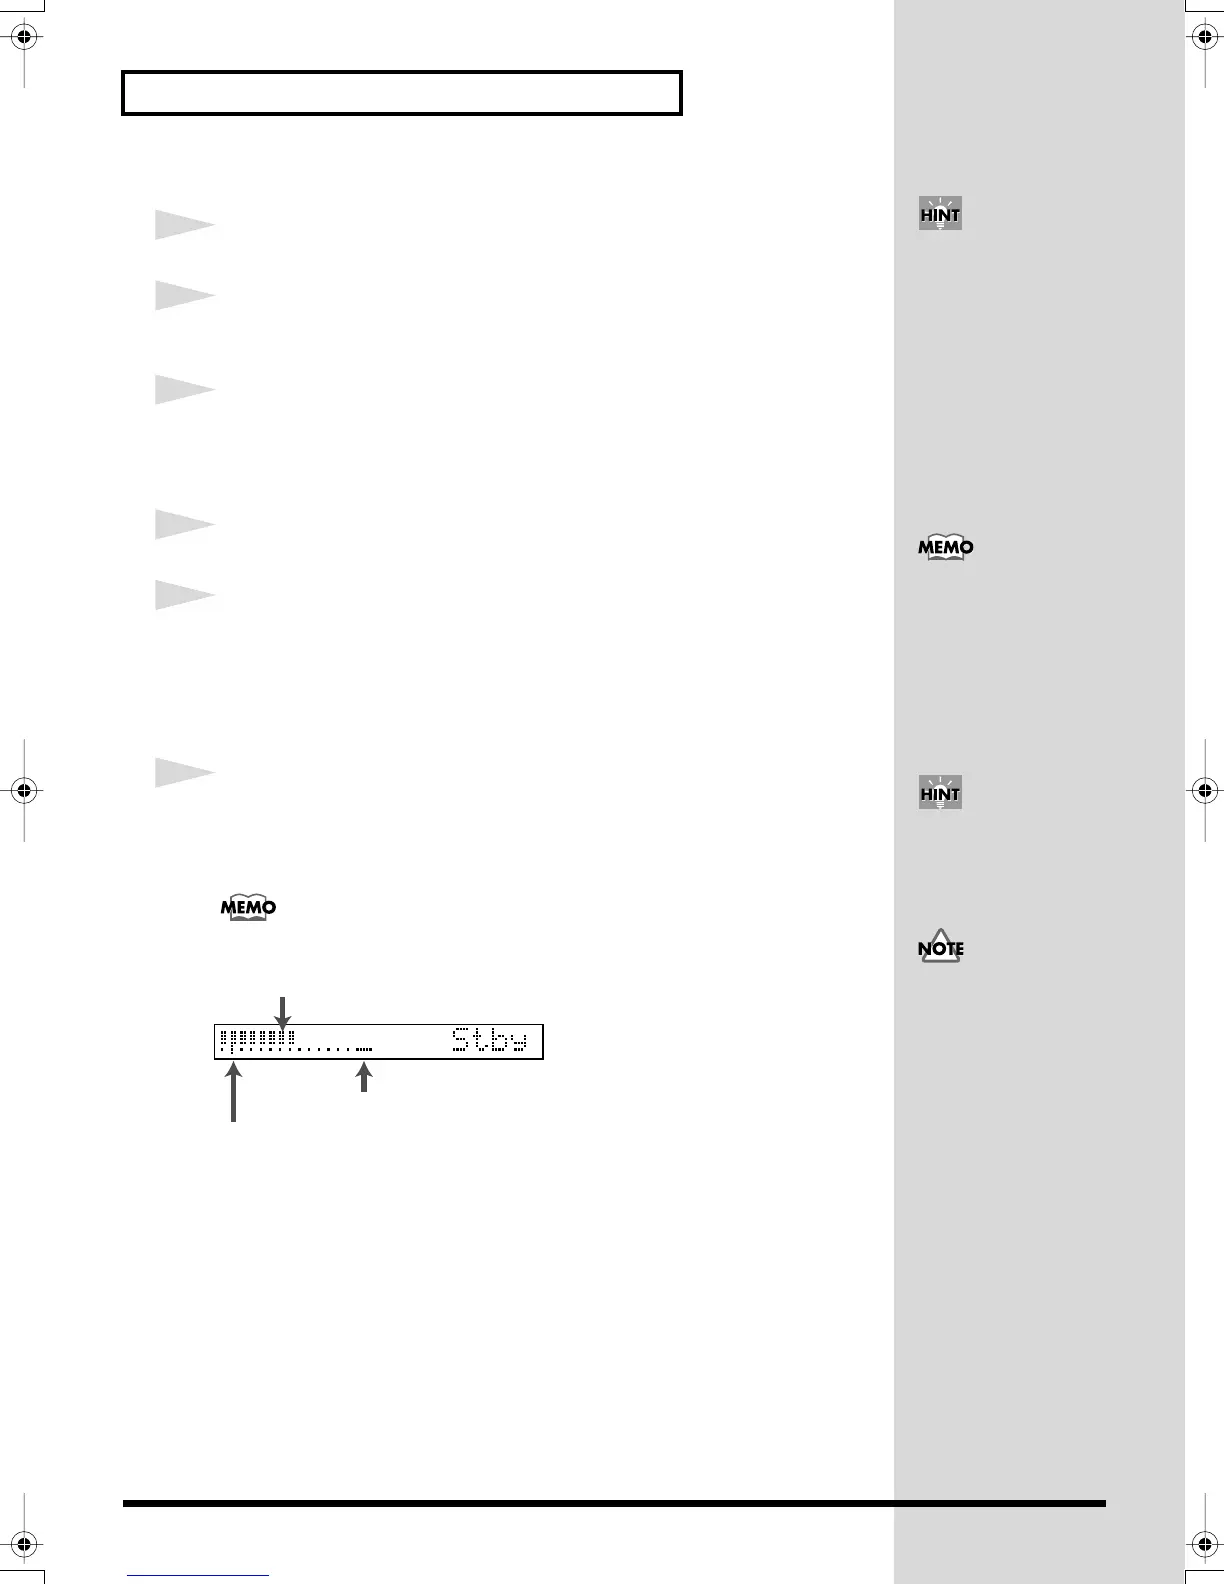
“Stby” (Standby) is displayed and the pad indicator for the pad
selected in Step 5 lights. Activate the device connected to INPUT jacks
to control the input level.
The sound input from INPUT jacks can be heard through the SPD-S.
fig.Stby_e
Turn the INPUT LEVEL knob on the rear panel and watch level meter to
maximize the input level without lighting the excess level indicator.
If you hold down [SHIFT] and
press [-]/[+], you can change
the patch number in steps of
10. If you hold down [+] and
press [-], or hold down [-] and
press [+], the patch number
changes quickly.
A flashing pad indicator
indicates that the
corresponding pad/trigger is
off, or that an empty wave (p.
34) is assigned to it. A lighted
pad indicator indicates that a
sound wave is assigned to the
corresponding pad/trigger.
StartLvl (Start Level) indication
Excess level indication
Input signal level meter
While [FUNC] is being
depressed in Steps 6–8, the
remaining time for sampling
(Remain) is displayed. (p. 58)
The volume of the sound
source connected to INPUT
acks must also be adjusted.
SPDS_e.book 54 ページ 2003年5月31日 土曜日 午後10時43分