00809-0100-4835 Rev BD
2-11
The capacitance sensing element uses alternating current to generate a
capacitance signal. This alternating current is developed in an oscillator
circuit with a nominal frequency of 110 kHz +/- 11 kHz. This 110 kHz
signal is capacitively-coupled to the transmitter case ground th
sensing element. Because of this coupling, a voltage may be imposed
across the load, depending on choice of grounding.
This impressed voltage, which is seen as high frequency noise, has no
effect on most instruments. Computers with short sampling times in a
circuit where the negative transmitter terminal is grounded detect a
significant noise signal. Filter this signal out by using a large capacitor
(1 uf) or a 110 kHz LC filter across the load. Signal loops at any other
point are negligibly affected by this noise and do not need filtering.
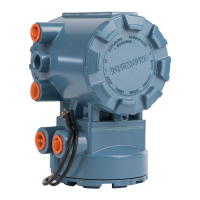
– Transmitter
Installation consists of mounting the transmitter and conduit and making
electrical and process connections. The procedures for each operation
follow.
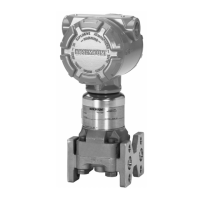
Improper assembly of mounting bracket to transmitter traditional
process
flange can damage sensor module.
• For safe assembly of bracket to traditional flange, bolts must
break back plane of flange web (i.e. bolt hole), but must not
contact module housing. Use only the RNII approved bolts
supplied with the bracket.
1. Attach the mounting bracket to the mounting location as follows:
Panel Mount
Mount the bracket to a panel or other flat surface (for
illustration see Figure 2-5). Please note that the bolts
required for this step are customer supplied hardware.
Based on qualification tests performed by Rosemount, the
bolts listed in Table 2-1 are recommended for the bracket-
to-customer interface. Torque each bolt to value shown in
Table 5-2 in Section 5 Maintenance and
Troubleshooting
Pipe Mount
Assemble the bracket kit to a 2-inch pipe (for illustration
Figure 2-5). Torque each bolt to value shown in Table 5-2
in Section 5 Maintenance and Troubleshooting.
2. Attach the transmitter to the mounting bracket (for illustration
see Figure 2-5). Use the four 7/16-20 x ¾ inch bolts with
washers supplied with the transmitter. Torque each bolt to
value shown in Table 5-2 in Section 5 Maintenance and