5. Measurements with the Piranha System
Mammography
2014-06/5.5C
115
Piranha & QABrowser Reference Manual
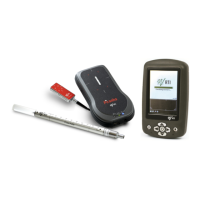
To set up the Piranha:
1. Power on the Piranha using the power switch. Optionally you may connect the power
supply from the power outlet to the USB port.
2. Make sure that the image receptor is positioned at a clinically relevant distance
(typically 600 mm).
3. You should place the Piranha flat on the image receptor with its long axis parallel to
the chest wall making sure the centre of the detector surface is placed in the centre
of the light field, as shown in the pictures above (40 mm distance shown).
This placement of the Piranha makes the detector surface perpendicular to the
cathode/anode axis, to avoid influence from the heel effect.
For general mammography, it is important that the USB port points in the
patients left direction, as shown in picture.
To be able to get comparable results, please consider the position of the
Piranha. The Piranha should be placed at a clinically relevant distance from the chest
wall. Recommendations for this varies, typically between 40 and 60 mm. For Europe,
60 mm is the recommended distance (Ref. ECR 16263 EU).
4. Connect the devices.
Handheld: For Bluetooth (wireless) nothing is needed.
PC: connect the USB cable. For Bluetooth (wireless) attach the Bluetooth adapter to
the PC (if not built-in).
5. Power on the handheld computer or the PC.
Now everything is set up with the hardware. Please continue in one of the following
sections, depending on what you want to measure.
5.5.3 kVp, Time, and Dose Measurements with the Internal detector