Section 2: Installation
TH2 Series Operator Manual Page 2-11
2.4 CONNECTIONS (cont’d)
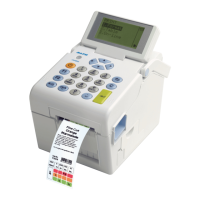
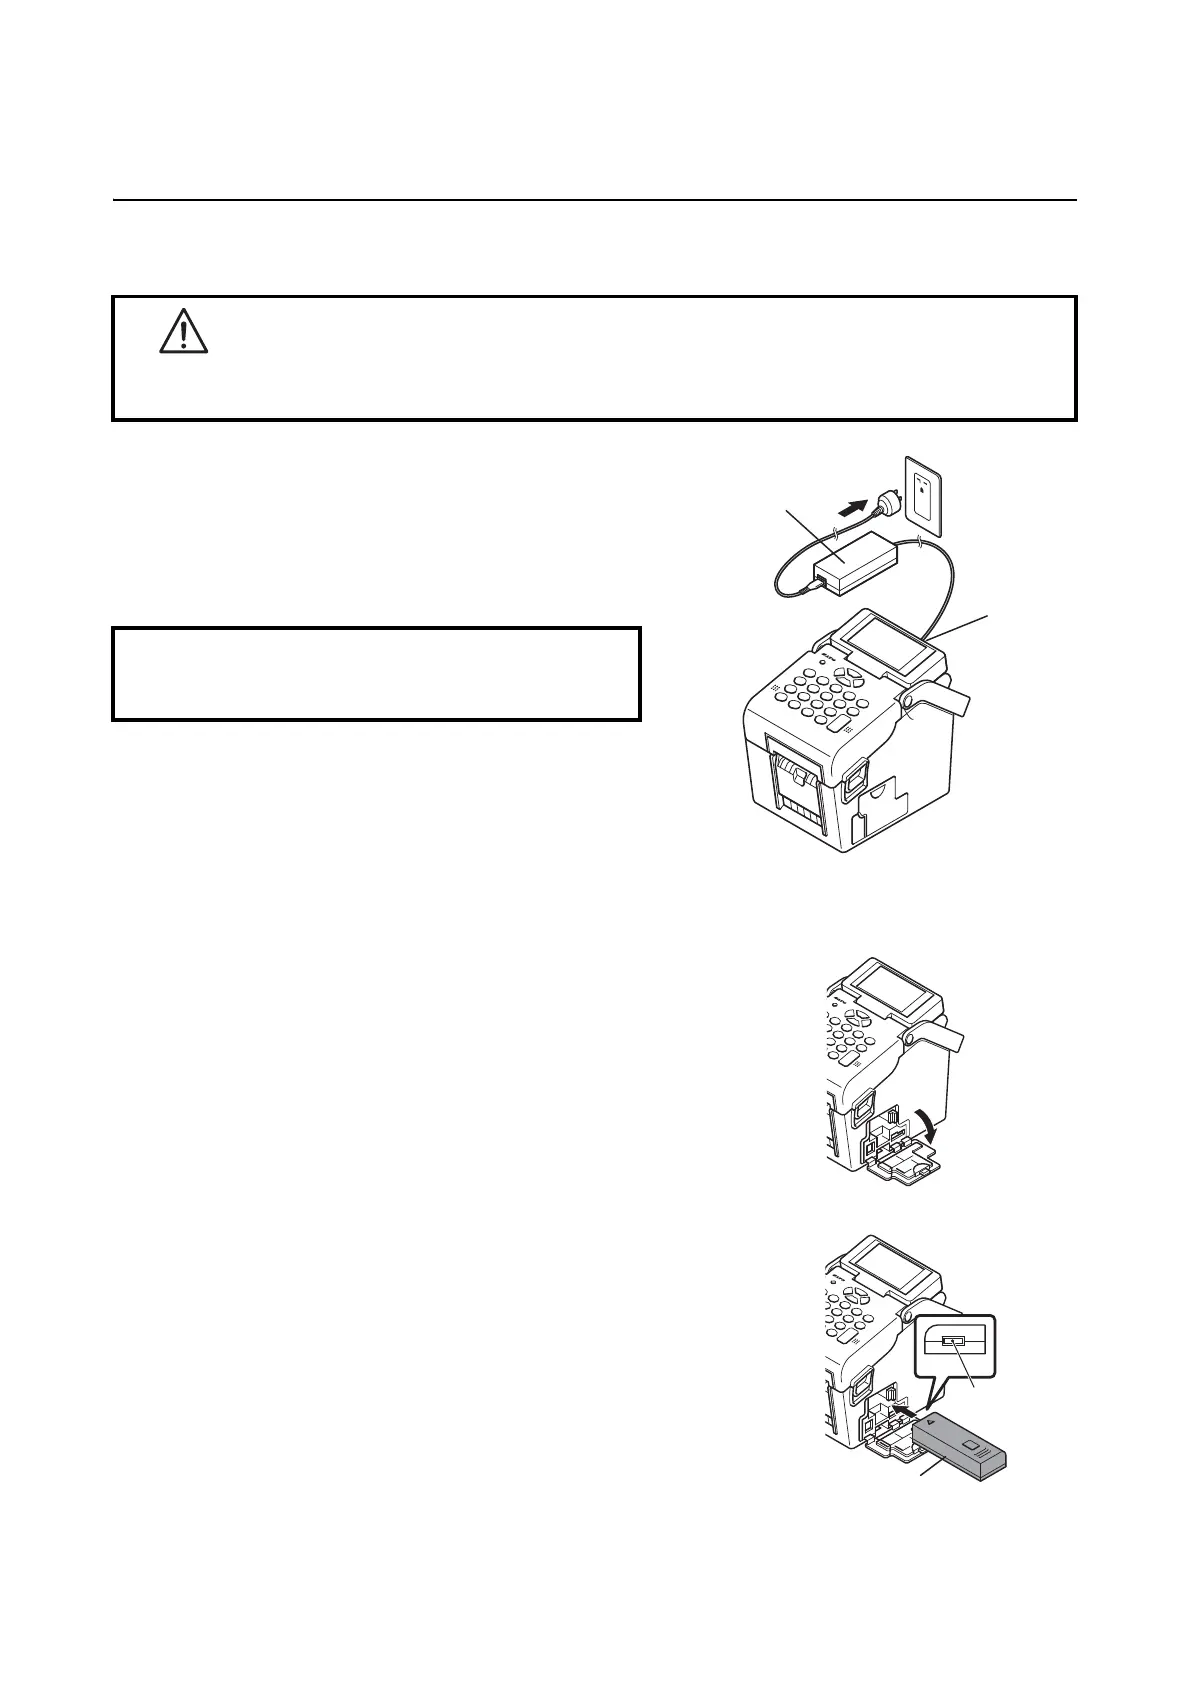
2.4.7 Charging the optional battery pack with the printer
1.
Insert the DC power cable into the DC IN input connector.
2. Connect the power cord to the AC adapter and plug it to
the outlet. When charging begins, the CHARGE LED
lights. When charging is complete, the CHARGE LED
turns off (fully charged).
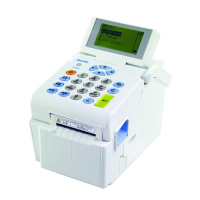
2.4.8 Installing and removing the optional battery
pack
1.
Open the battery cover.
2. Insert the battery pack, then close the battery cover.
Insert the battery pack with the connector side toward
the printer.
Caution
The power cable and the AC adapter provided with this printer are for use with this printer only.
They cannot be used with other electrical devices.
Charging time
It takes about 6 hours for the CHARGE LED to turn off
when charging a completely depleted battery.
DC input
connector
AC adapter
Battery pack
Terminal side
 Loading...