Page 21 of 58
Manual Objective Changer Notes
The interchangeable objective holders are nominally 6 mm thick; this means that the objective lens will
be 6 mm below its usual mounting plane, and the experiment height should be modified from the
nominal 219 mm to 213 mm (with +/- 12.5 mm range).
Because the objective lens is moved slightly further away from the main optical collection system, there
may be a very slight penalty in terms of optical collection efficiency. This should only be apparent for
objectives with very large exit apertures which are operating at very wide fields in thicker samples.
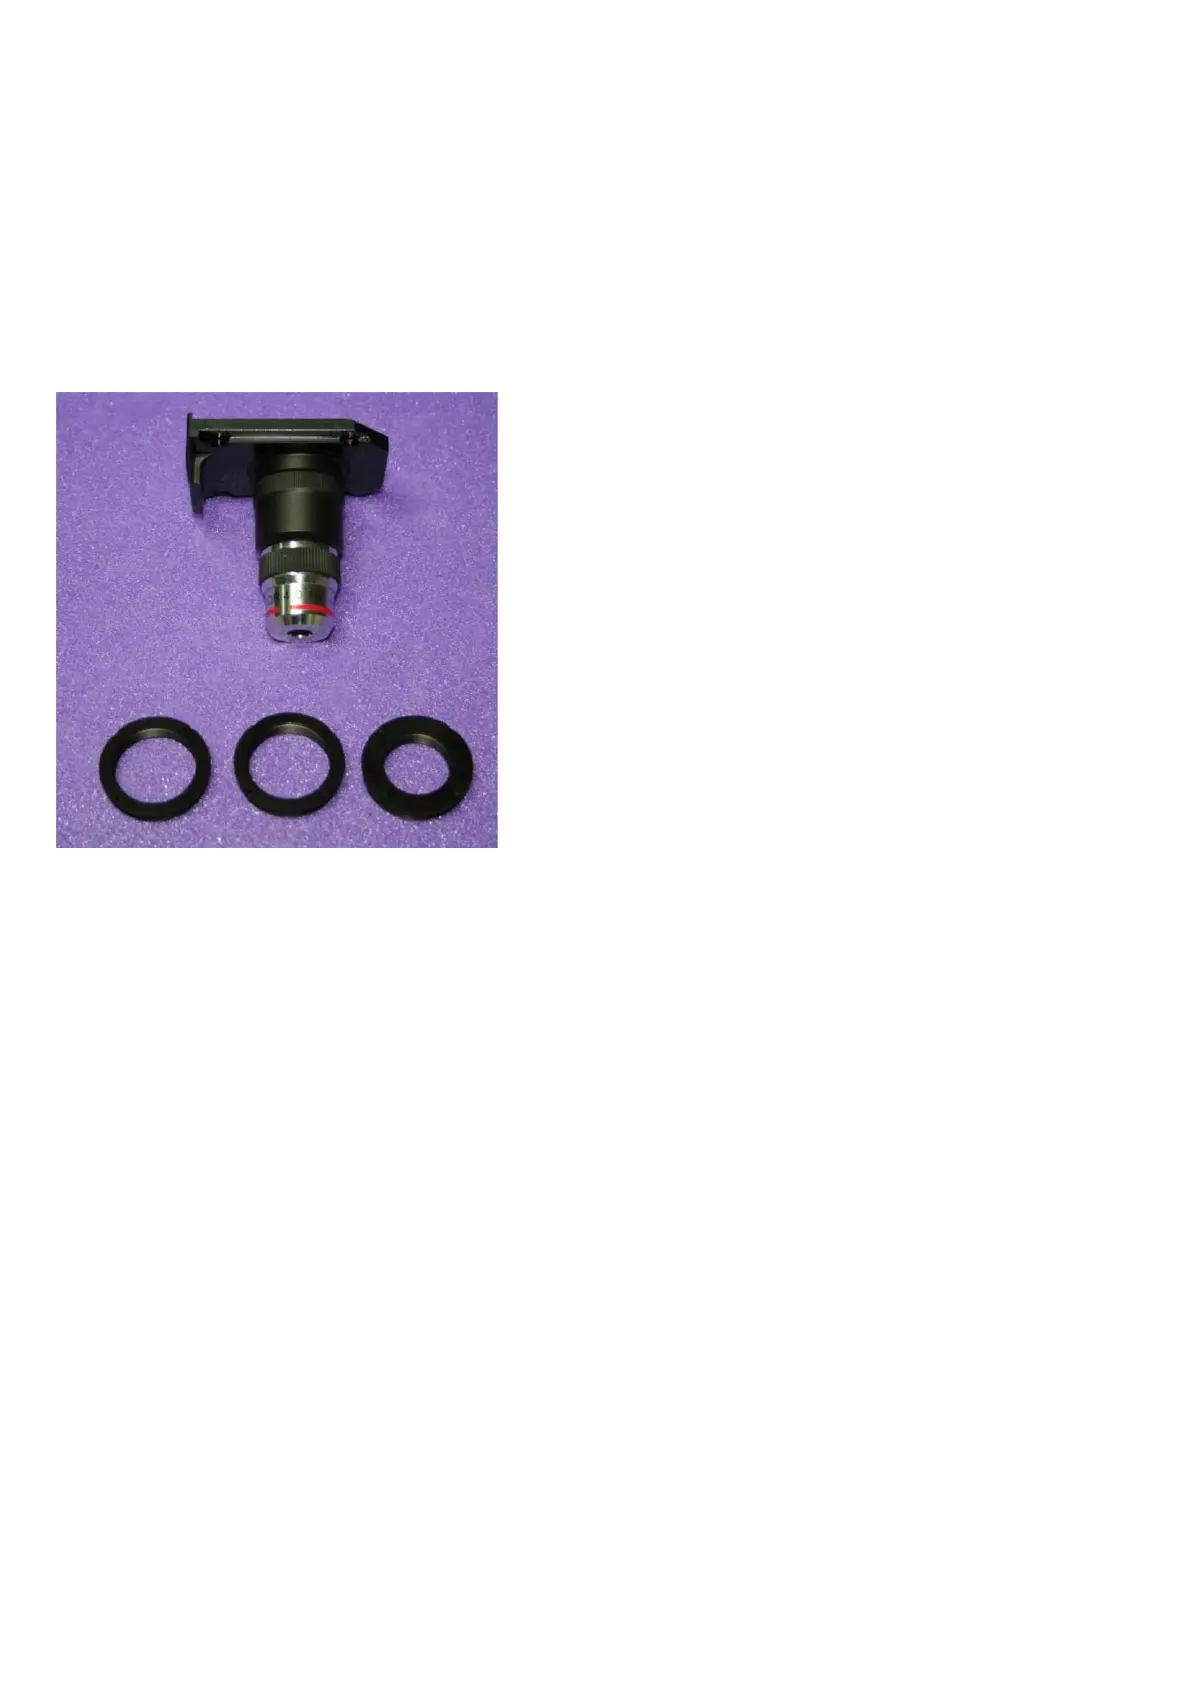
Figure I: Manual objective Changer Slide, with four different objective adapters. The lip under the front of the
slide (on the left in the picture) aids in handling.
The objective (with adapter as required) should be screwed into the lower side of the slider – this is the side
that has the magnets visible (four silver disks) and a raised curved lip. Invert the slider (objective pointing
downwards) and grasp it by the curved front lip.
The slider should then be introduced into the guide rails chamfered end first, keeping it square to the optical
block. Gently push the slider along the rails until it is fully home – you should initially feel some magnetic
resistance, but finally you will feel the magnets pulling the slider against the mechanical stops. Check the front
of the slider and check to see that it is parallel to the front surface of the optical block.
To withdraw the slider, grasp the lip on the front underside and pull gently (but firmly) to overcome the
magnets until the slider begins to move. Withdraw the slider fully and take care how you put it down in case
the objective is damaged.