Page 29 of 58
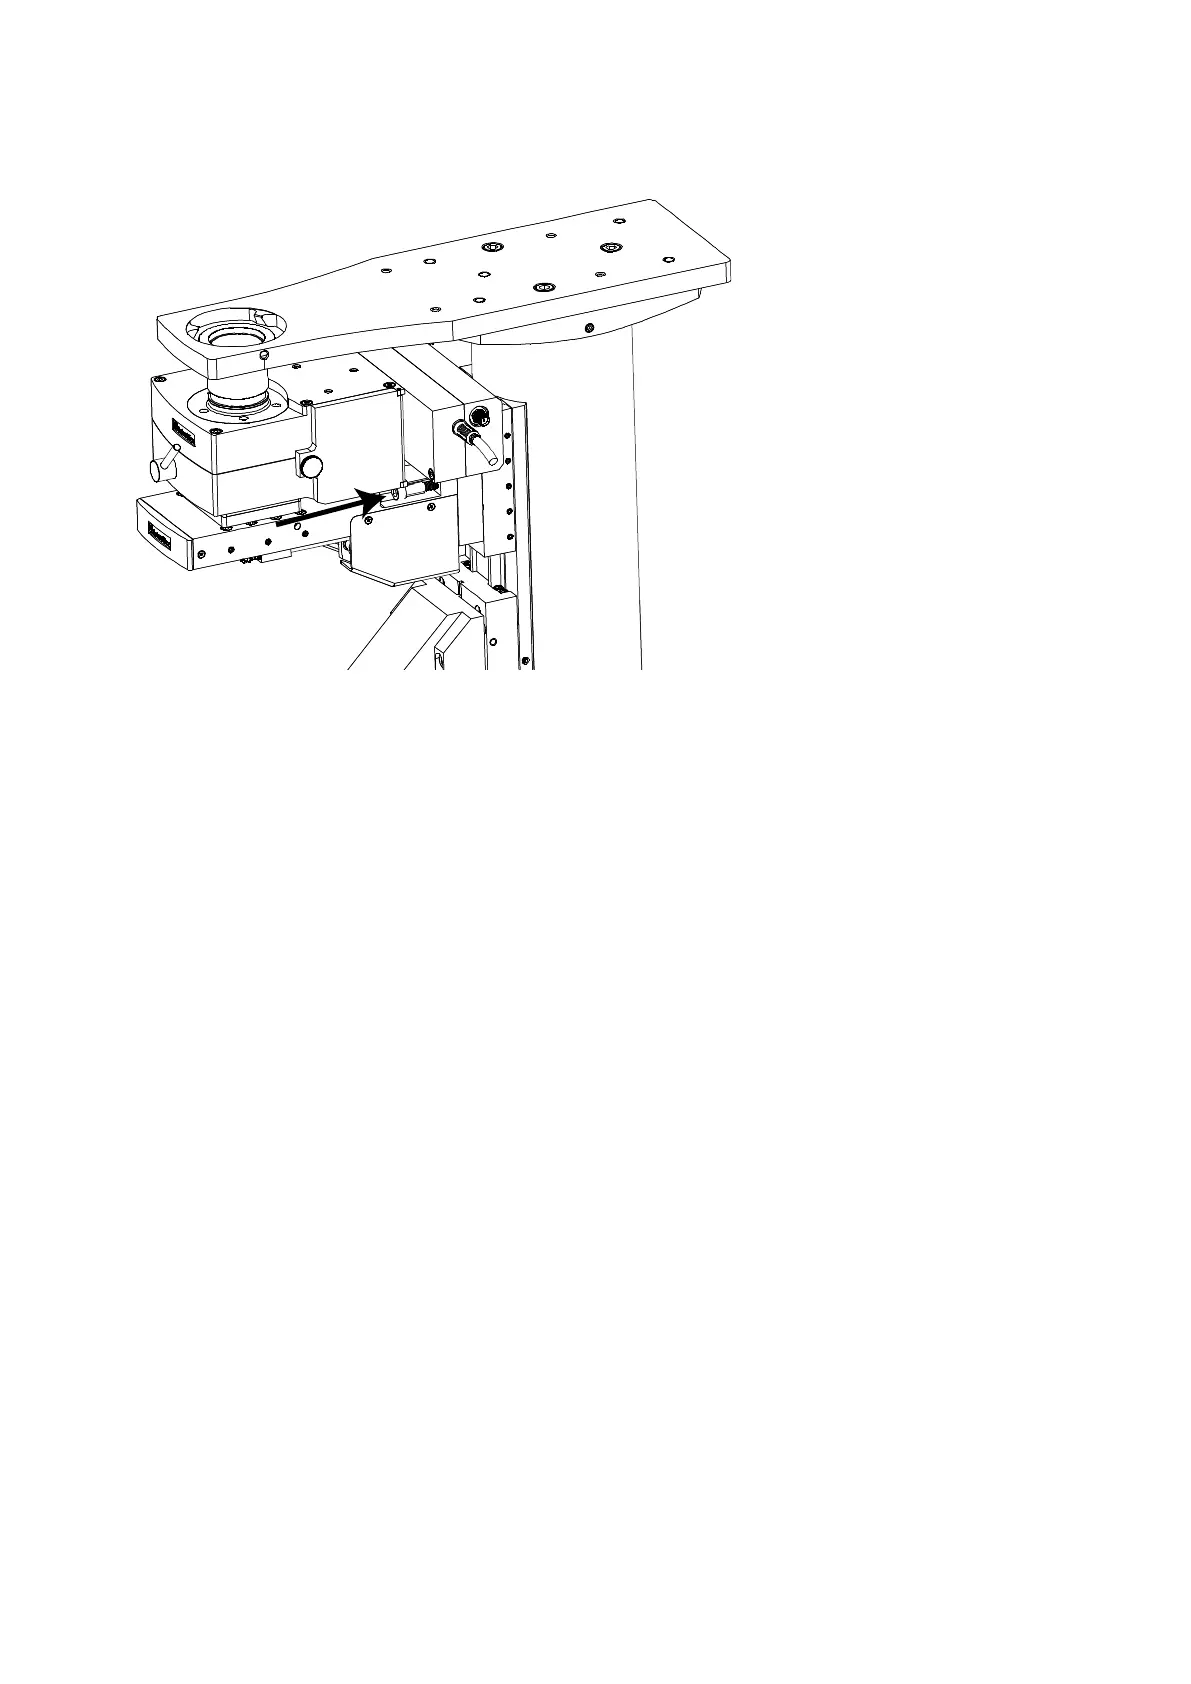
Figure R: Installing the MOC-variant to the SliceScope
Insert the second bolt and drive it home, but do not tighten it fully.
Locate the inner telescopic light-barrier tube and screw it into the top entry port of the optics block.
You will have to introduce the tube through the hole in the SliceScope’s top plate.
Locate the outer telescope tube (black plastic) and drop it down through the hole in the microscope top
plate so that it fits around the inner telescopic tube.
o If the fit between the tubes is tight, loosen both M5 fixing bolts slightly, and then gently tilt the
optical block from side to side to ease the fit of the tubes. When the fit is free, tighten both M5
bolts.
Test the vertical motion of the unit using the microscope automatic controls and verify that full travel is
available.
3.4.8 Objective installation
Refer to the MOC manual for details on how to install objectives and operate the MOC.
Two RMS-thread objectives may be fitted to the carriers in the underside of the MOC. A popular combination
is an X40 NA 0.8 LWD water-dipping objective and an X4 or X10 objective for setting up.