Seatex DPS 200 Installation Manual, rev. 4 Installation
21
3.8 Starting the system
After installing the equipment according to the procedures, the system can be started. Press
the power switch on the front of side of the DPS 200 unit to start the system.
The DPS 200 software will start automatically after power on. Normally, the unit will output
signals on the serial lines without any involvement from the user. If editing of the setup file is
necessary, see section 3.9.
For operating instructions, see the User's Manual [3].
3.8.1 Configuring COM ports with RS-232 and RS-422
As default, the external comports are configured as described in section 3.7.2. If necessary, the
ports can be re-configured.
Do the following to re-configure the comports:
1. When the DPS system is up and running, press
Ctrl+Alt+Delete and select the Task Manager.
2. In the Task Manager, select File|New Task (Run) and open
Explorer.
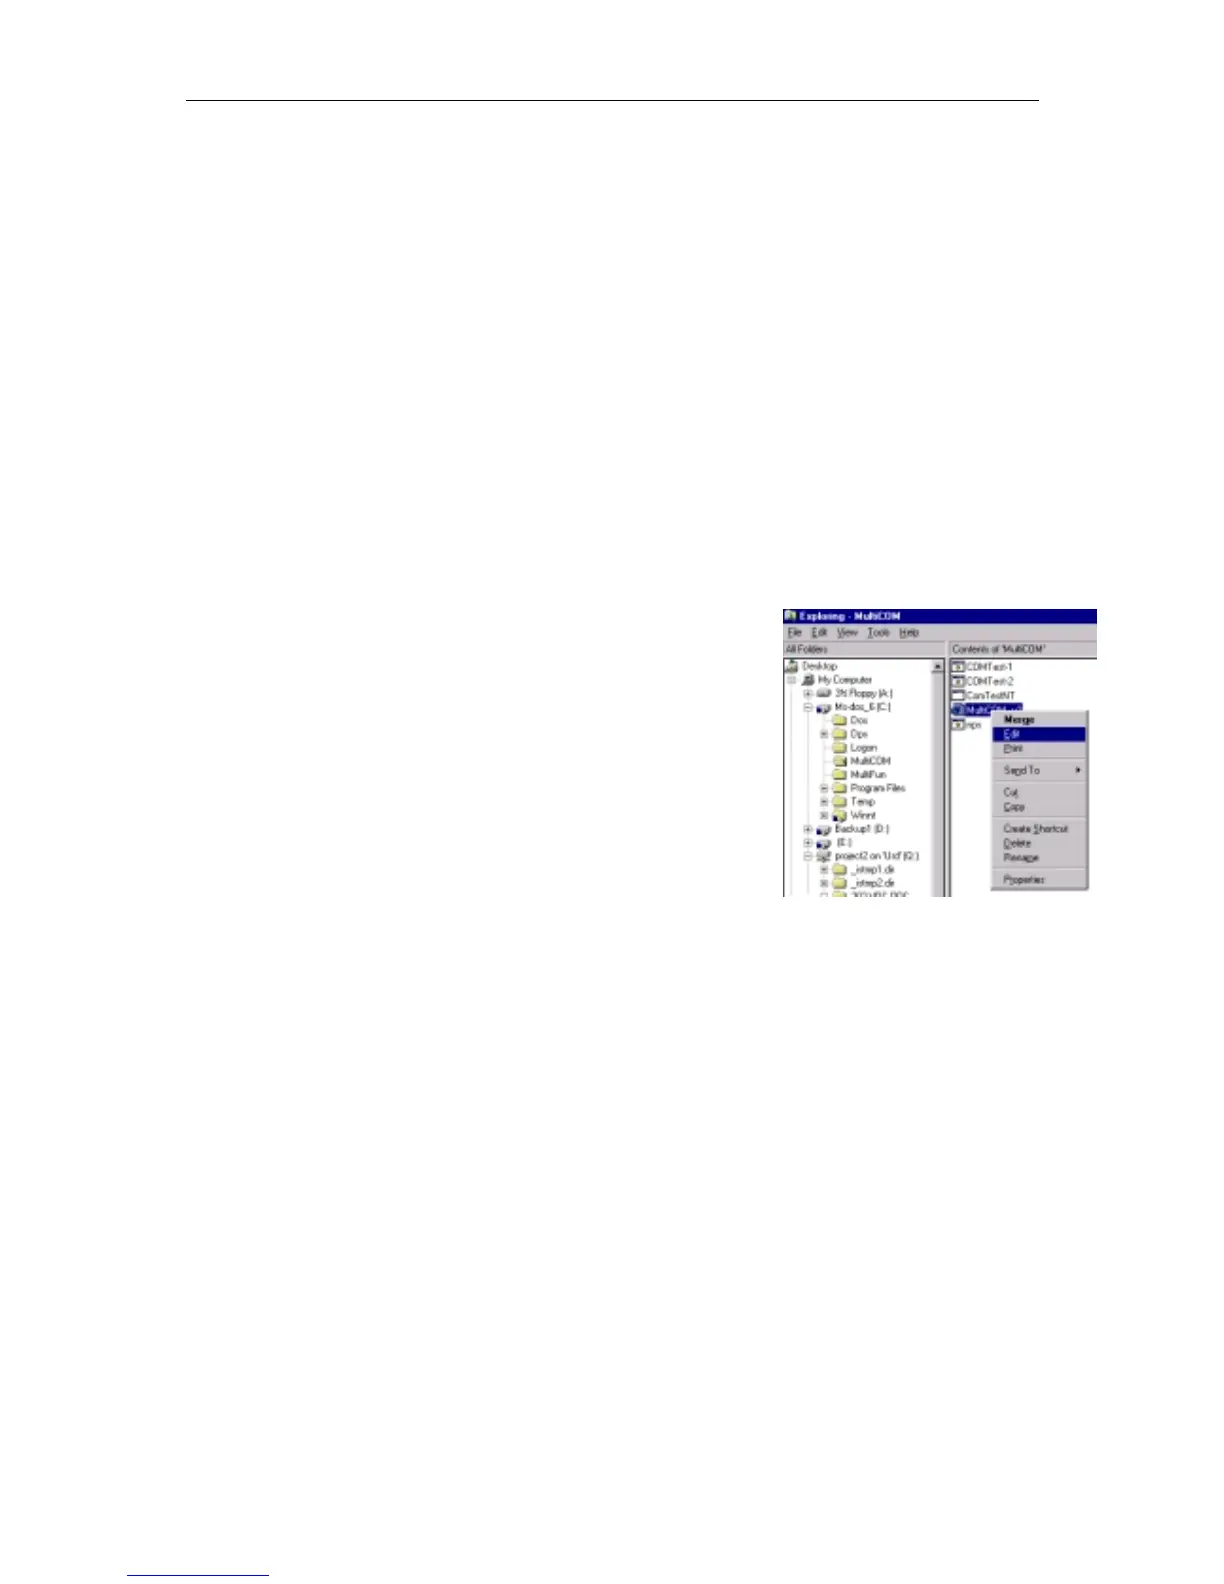
3. From Explorer, edit c:\MultiCOM\MultiCom_v3.reg in
Notepad.
4. Look up the paragraph for the current comports to change.
Example:
# These settings controls the port COM7
# The parameter "RS422_Mode" is used for selecting between RS232 and
# RS422 signal levels.
[HKEY_LOCAL_MACHINE\SYSTEM\CurrentControlSet\Services\MultiCOM\SSerial4]
"PortOffsUart"=dword:00000020
"PortNumber"=dword:00000007
"RS422_Mode"=dword:00000000
"RTS_CTS"=dword:00000001
"PortNumber"=dword:00000007 => Comport 7
"RS422_Mode"=dword:00000000 => RS-232 Mode
"RS422_Mode"=dword:00000001 => RS-422 Mode
5. Save and Exit Notepad when all changes have been set.
6. Execute (double-click on) c:\MultiCOM\MultiCOM_v3.reg.
7. Press Ctrl+Alt+Delete and select Shut down. The system will now reboot. After the
reboot, the actual comports will have been reconfigured.
Figure 3 Reconfiguration of comports