Connecting and installing the seca 452 interface module • 55
17-10-01-266-002a/07-2018B
6.5 Mounting the seca 452 interface module to the wall
Proceed as follows to mount the seca 452 interface module to the wall:
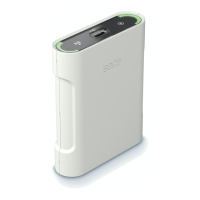
1. Press the wired
seca 452 interface module into the bracket.
2. Determine the optimal position on the wall according to the specifications
in the section ➔ Selecting a location.
3. Mark the drill holes on the wall:
a) Tilt the
seca 452 interface module forward and mark the position of
the upper hole of the bracket with a screwdriver or marker
b) Remove the
seca 452 interface module from the bracket
c) Place the bracket on the wall so that the marking is located in the
middle of the upper hole
d) Mark the position in the lower hole of the bracket
4. Drill the holes with a drill bit that is suitable for the wall material.
5. Use wall plugs that are suitable for the wall material.