86 • secaconnect 103/seca 452
17-10-01-266-002a/07-2018B
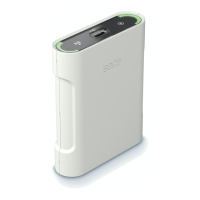
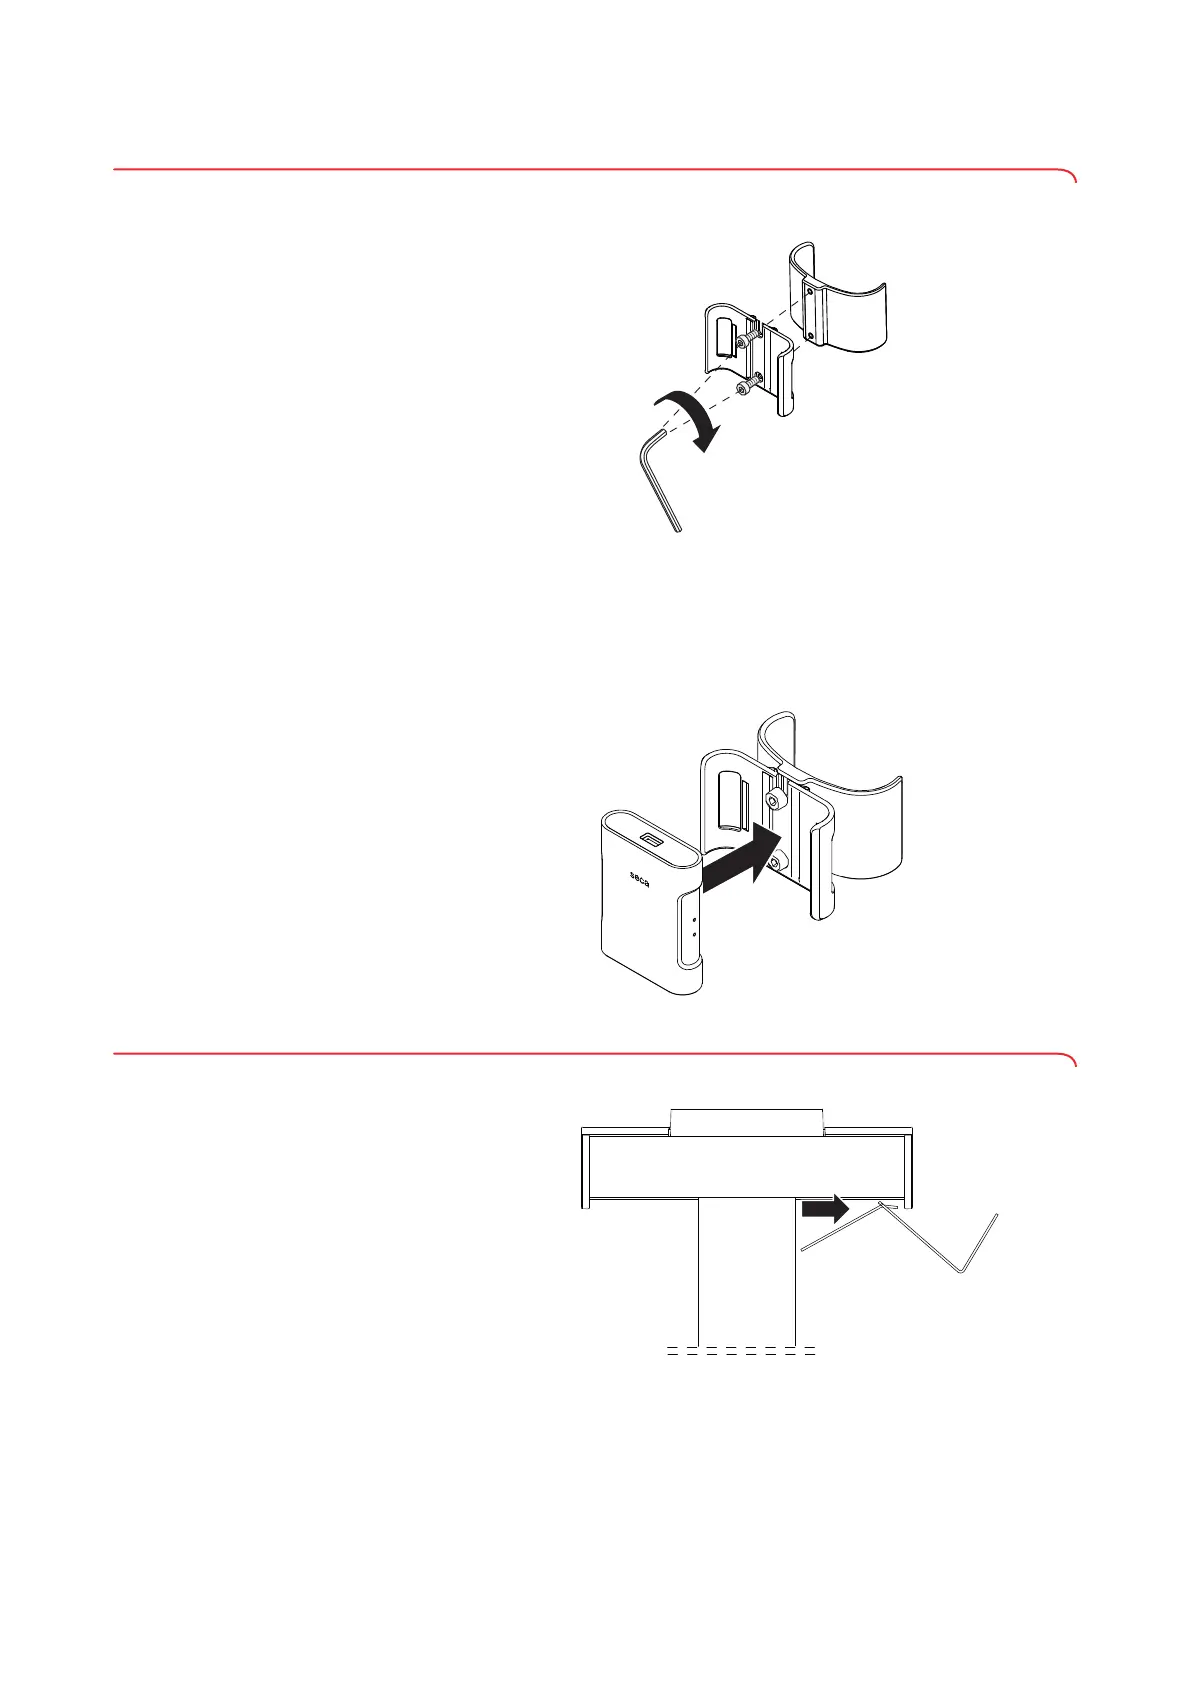
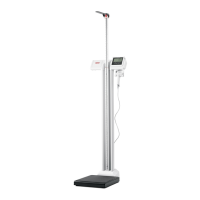
2.2 Installing the seca 452 interface module
1. Screw the bracket to the column bracket with two hex head socket
screws.
2. Press the column bracket onto the column at the height of the power
supply connection.
NOTE
The power supply connection is no longer needed, the column
bracket can completely cover the power supply connection.
3. Press the
seca 452 interface module into the bracket.
2.3 Installing the scanner bracket
1. Attach the scanner bracket to the desired side part of the display housing.