Putting the conference system into operation
24 | ADN Digital Conference System
Fastening the optional
rack mount “ears”
왘 Unscrew and remove the 2 torx screws (T25) on each side of the central unit
(see left-hand diagram).
왘 Secure the optional rack mount “ears” (see “Accessories” on page 154) to
the sides of the central unit using the previously removed torx screws (see
right-hand diagram).
왘 Slide the central unit with the mounted rack mount “ears” into the 19” rack
and support the weight with e.g. a rack tray.
왘 Secure the rack mount “ears” to the rack.
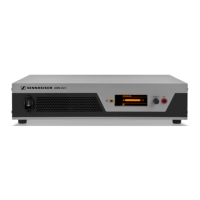
Connecting the central unit to the mains power supply
왘 First connect the mains cable (supplied) to the mains socket .
왘 Connect the mains cable to the mains power supply.
The ADN CU1 central unit is now ready for operation.
An engineering drawing detailing the dimensions of the central unit can be
found in the appendix (see page 157).
CAUTION
Product damage due to unsuitable mains cables or power outlets!
An unsuitable power supply can damage the product.
왘 Use the mains cable (supplied) for connecting the product to the mains power
supply.
왘 Only use multi-outlet power strips or extension cables with protective ground
contacts.
왘 Only use mains cables with a 3-pin connector.