ADN Digital Conference System | 87
Using the “Conference Manager” software
Starting/exiting the software
Central unit’s integrated software
To start the central unit’s integrated software:
왘 Switch on the central unit and the connected screen.
The “Conference Manager” software is started in “Setup” operating mode and
the Room View window is displayed. The “Open” window appears in the fore-
ground.
To exit the software:
왘 If necessary, save your current configuration (see page 103).
왘 Switch off the central unit.
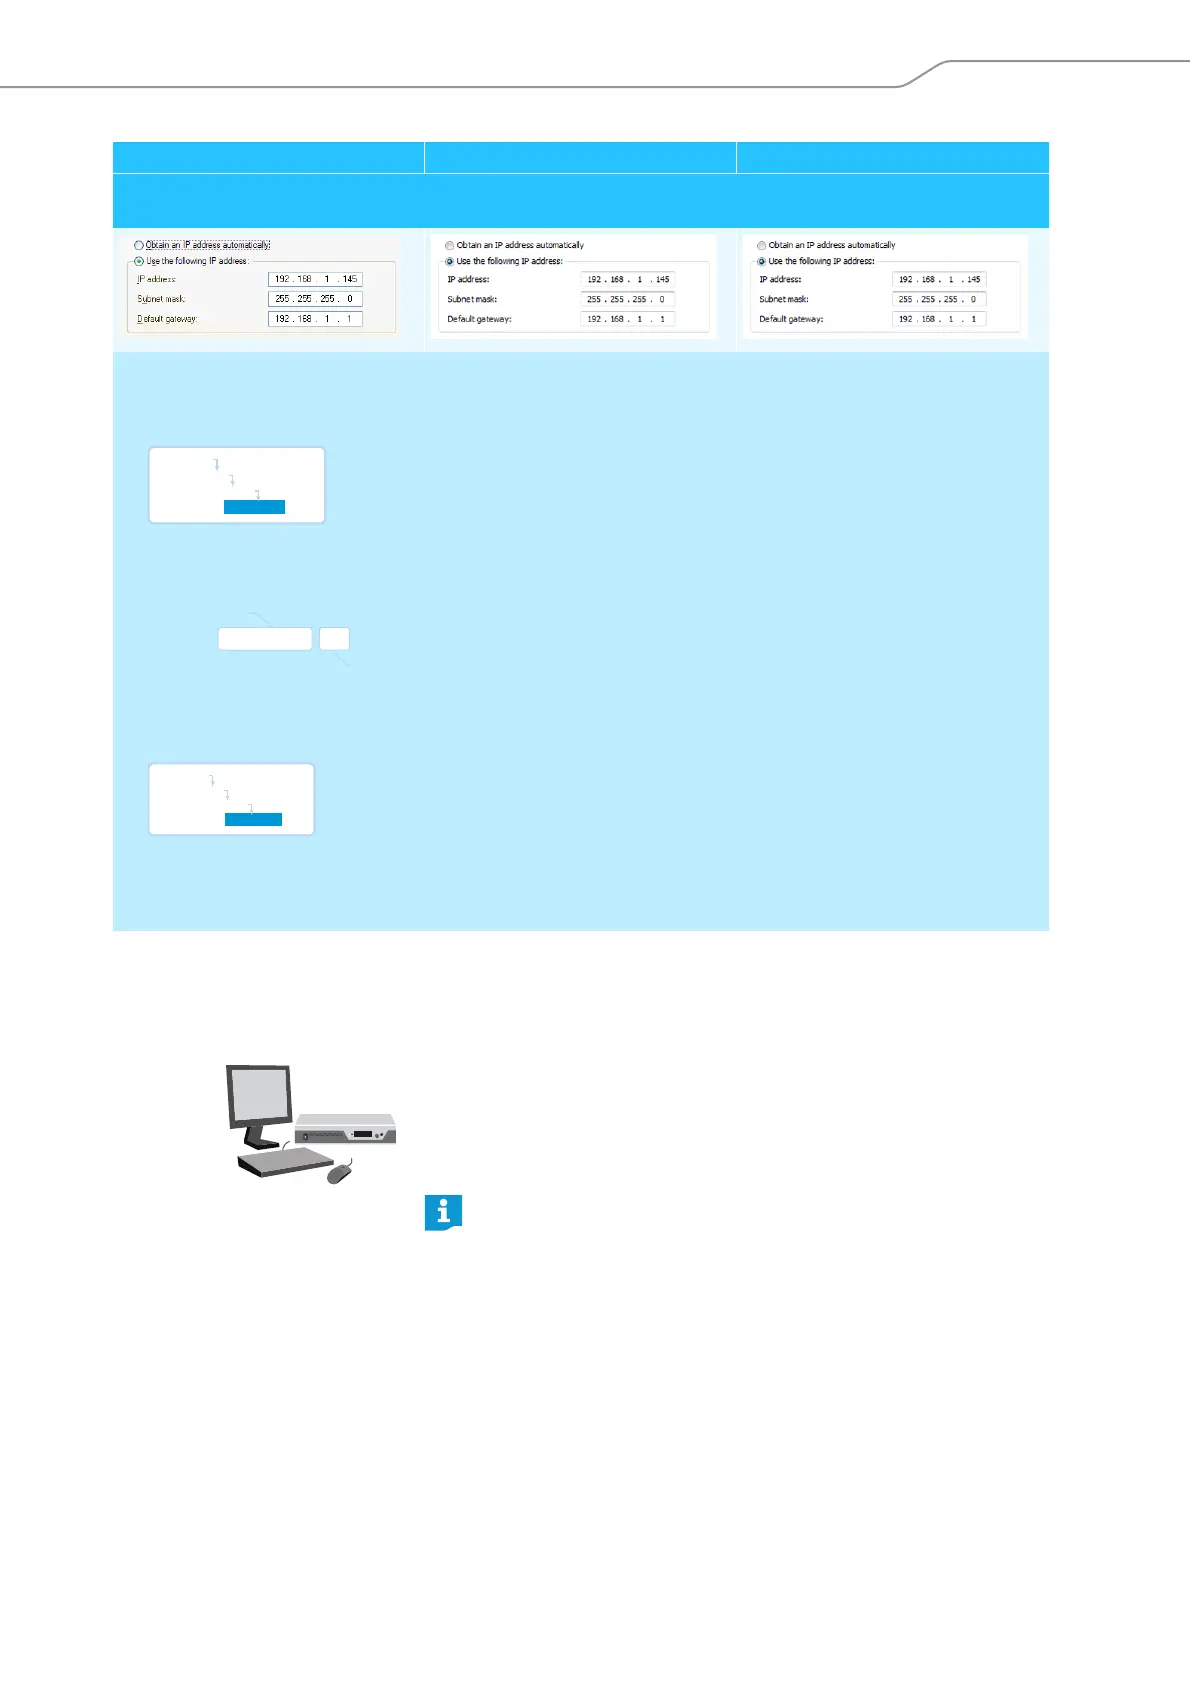
b) The Windows PC is assigned a static IP address in the network.
Settings to be adjusted via the central unit (see page 70):
왘 On the central unit, call up the “IP Mode” menu item.
왘 Select “Static IP”.
왘 Determine the network part of the IP address of the Windows PC and note it down:
In this example, the network part is “192.168.1”.
왘 On the central unit, call up the “IP-Address” menu item.
왘 Set the network part of the IP address to the value retrieved from your Windows PC.
왘 Set the device part (the last three digits) of the IP address to a value (“1” – “254”) that is neither used by your PC nor
by another computer in your network (in this example, the device part must not be “145”).
Windows XP Windows Vista Windows 7
Main Menu
Settings
Network
IP Mode
network part
device part
192 . 168 . 1 . 145
Main Menu
Settings
Network
IP Address
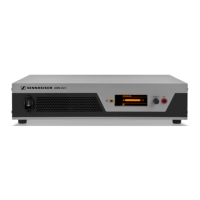
If the screen connected to the central unit does not show anything, it may
be that the screen resolution is set too high. In this case, reset the screen
resolution:
왘 Press the key combination “CTRL” + “SHIFT” + “F1”.
The screen resolution is reset to 800 x 600 pixels.