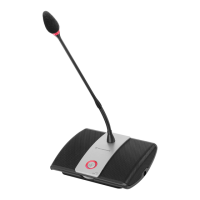
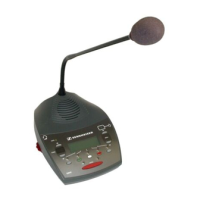
Running a conference
76 | ADN Digital Conference System
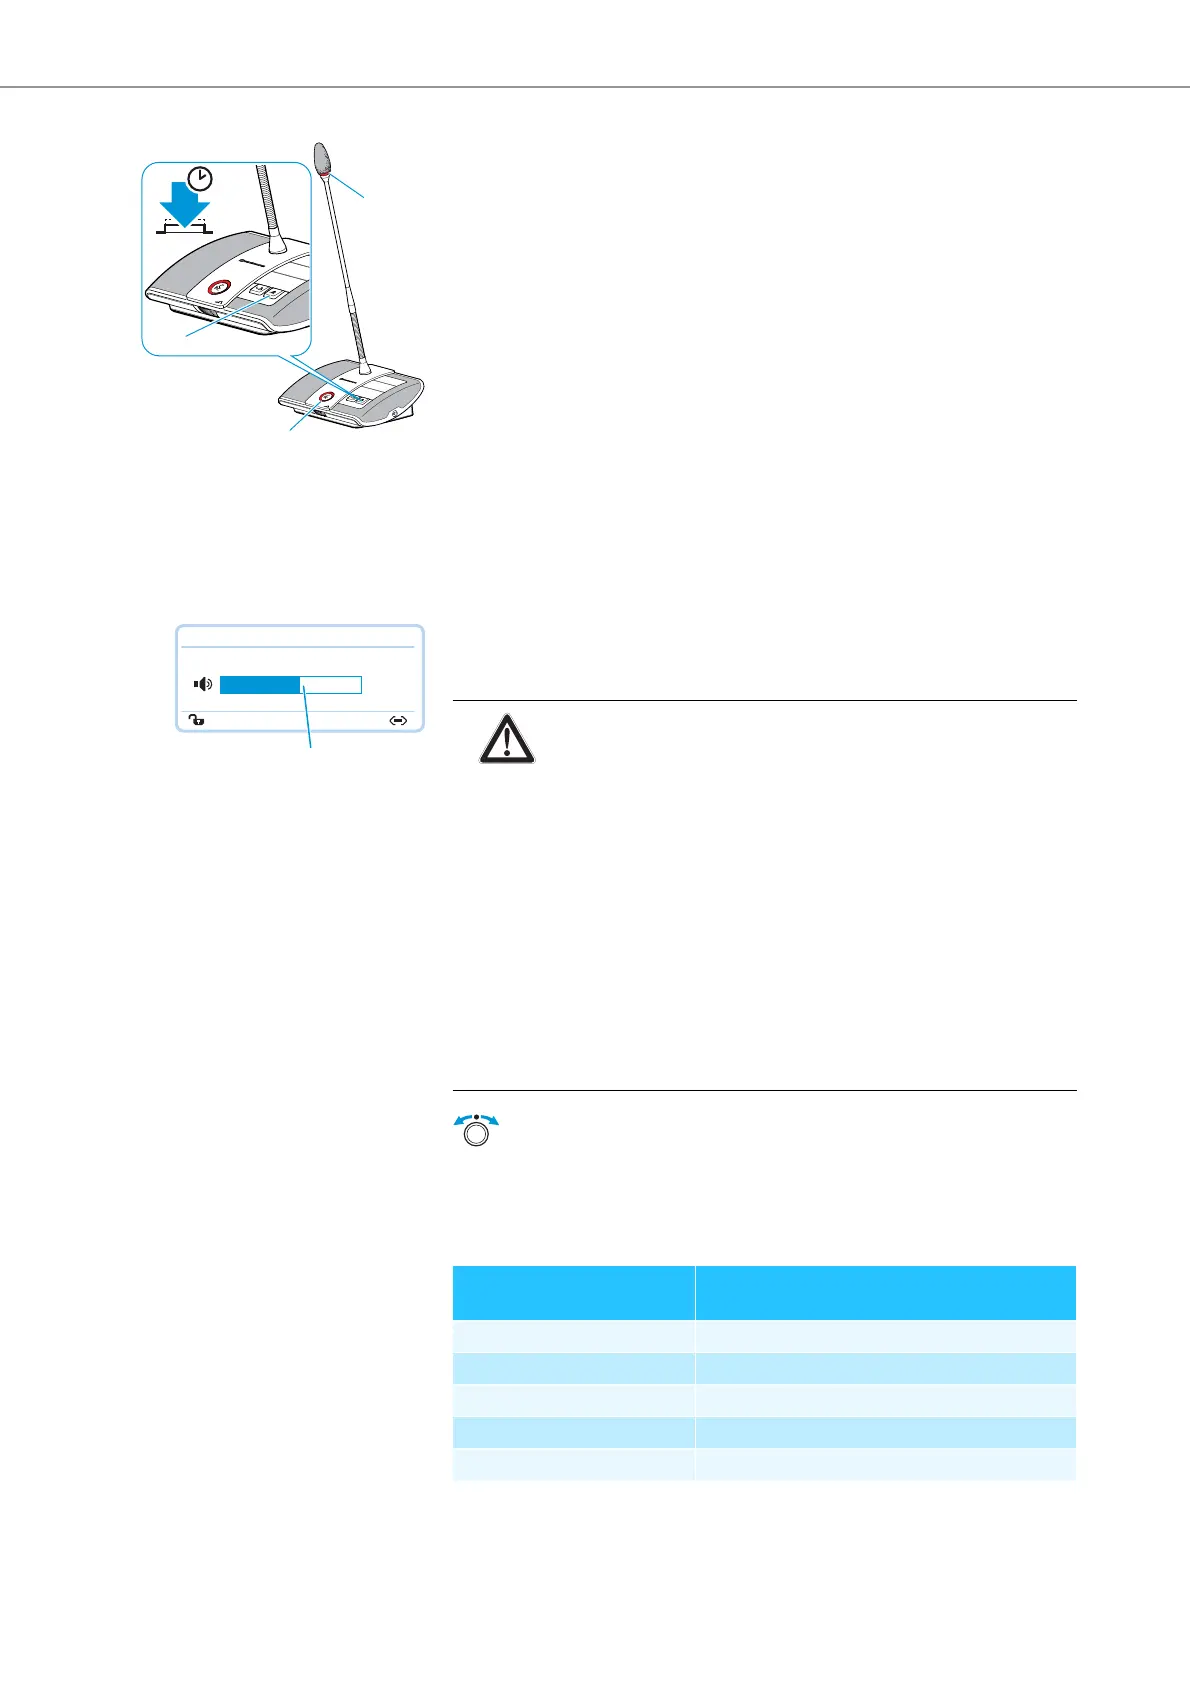
왘 Keep the priority key pressed for as long as you want to mute the conference
units.
All conference units – except for the chairperson units – are muted immedi-
ately. The microphone LED and the signal light ring of the previously
active conference units flash red. You can take the floor immediately. The
microphone LED and the signal light ring of your chairperson unit light up
red.
왘 Release the priority key .
The muting of the conference units is canceled. The discussion is continued.
Setting the volume of the conference units’ built-in
loudspeakers
Increasing or reducing the volume of the conference units’ built-in loudspeakers
You can set the volume of the conference units’ built-in loudspeakers via the jog
dial on the central unit. The standard display displays the current volume
setting .
Adjustment increments for the floor channel volume that can be adjusted via the
central unit:
쐏
쐇
쐊
Direct Access 30 Units
20
H
CAUTION
Danger of hearing damage due to loud hissing!
When the floor channel volume is set to a high level or when several
participants speak simultaneously, feedback (loud hissing noise) can
occur. This can cause hearing damage.
왘 Reduce the floor channel volume (see page 76, page 130 or
page 140).
왘 Activate the “Feedback Suppression” function to be able to
increase the volume before feedback can occur (see page 57 or
page 132).
왘 Make sure that the “Audio Gain Reduction” function is activated
(see page 56). This function reduces the gain per active micro-
phone by the selected level and thus prevents feedback.
왘 Increase the distance between the individual conference units to
at least 50 cm.
왘 Turn the jog dial
– to the right to increase the volume or
– to the left to reduce the volume.
Value shown on the standard
display
Adjustment increments for
the floor channel volume
0 0
1 to 8 2.5 dB
9 to 16 2.0 dB
17 to 24 1.5 dB
25 to 32 1.0 dB