Using the “Conference Manager” software
140 | ADN Digital Conference System
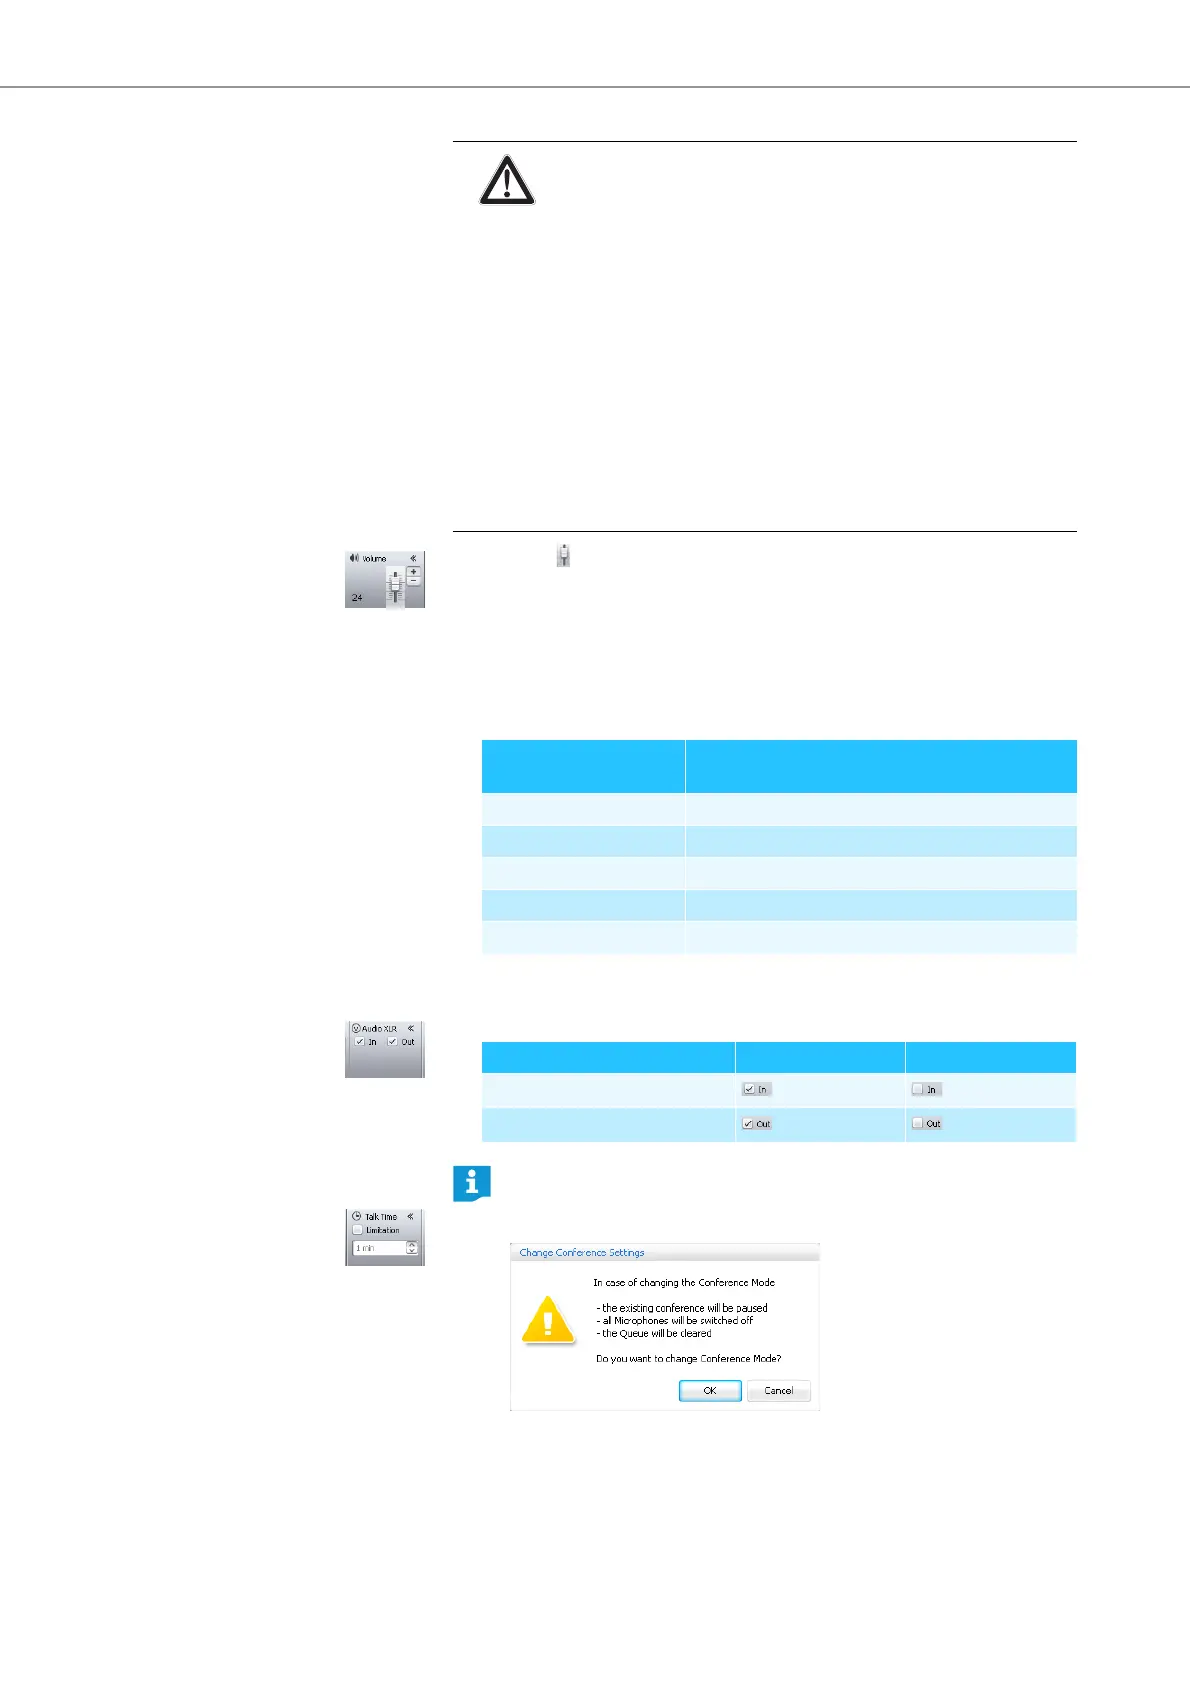
Setting the volume of the conference
units’ built-in loudspeakers
왘 Move the slider
– upwards to increase the floor channel volume or
– downwards to reduce the floor channel volume.
The value next to the slider changes (“0“-“32”) and the floor channel volume
is adjusted.
Adjustment increments for the floor channel volume that can be adjusted via the
central unit:
Activating/deactivating the
audio input/output
To activate or deactivate the IN audio input or the OUT audio output:
왘 Tick/untick the check boxes in the “Audio XLR” box:
Activating/deactivating the
speaking time limit
CAUTION
Danger of hearing damage due to loud hissing!
When the floor channel volume is set to a high level or when several
participants speak simultaneously, feedback (loud hissing noise) can
occur. This can cause hearing damage.
왘 Reduce the floor channel volume (see page 130 or page 140).
왘 Activate the “Feedback Suppression” function to be able to
increase the volume before feedback can occur (see page 57 or
page 132).
왘 Make sure that the “Audio Gain Reduction” function is activated
(see page 131).
This function reduces the gain per active microphone by the
selected level and thus prevents feedback.
왘 Increase the distance between the individual conference units to
at least 50 cm.
Value shown on the
standard display
Adjustment increments for
the floor channel volume
0 0
1 to 8 2.5 dB
9 to 16 2.0 dB
17 to 24 1.5 dB
25 to 32 1.0 dB
Audio input/output activated deactivated
IN audio input
OUT audio output
If, in “Live” operating mode, you change settings that affect the conference
mode (see next chapters), the conference will be interrupted. A confirma-
tion prompt appears: