Servicing the iCon APX Meter Replacement – Basic Components
Replacing the Interconnect Board
This section provides the instructions necessary to replace the Interconnect Board.
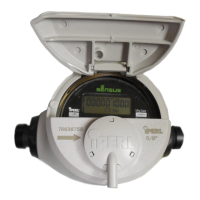
Removing the Interconnect Board
1. Remove the Register Cover. Refer to “Removing the Register Cover” above.
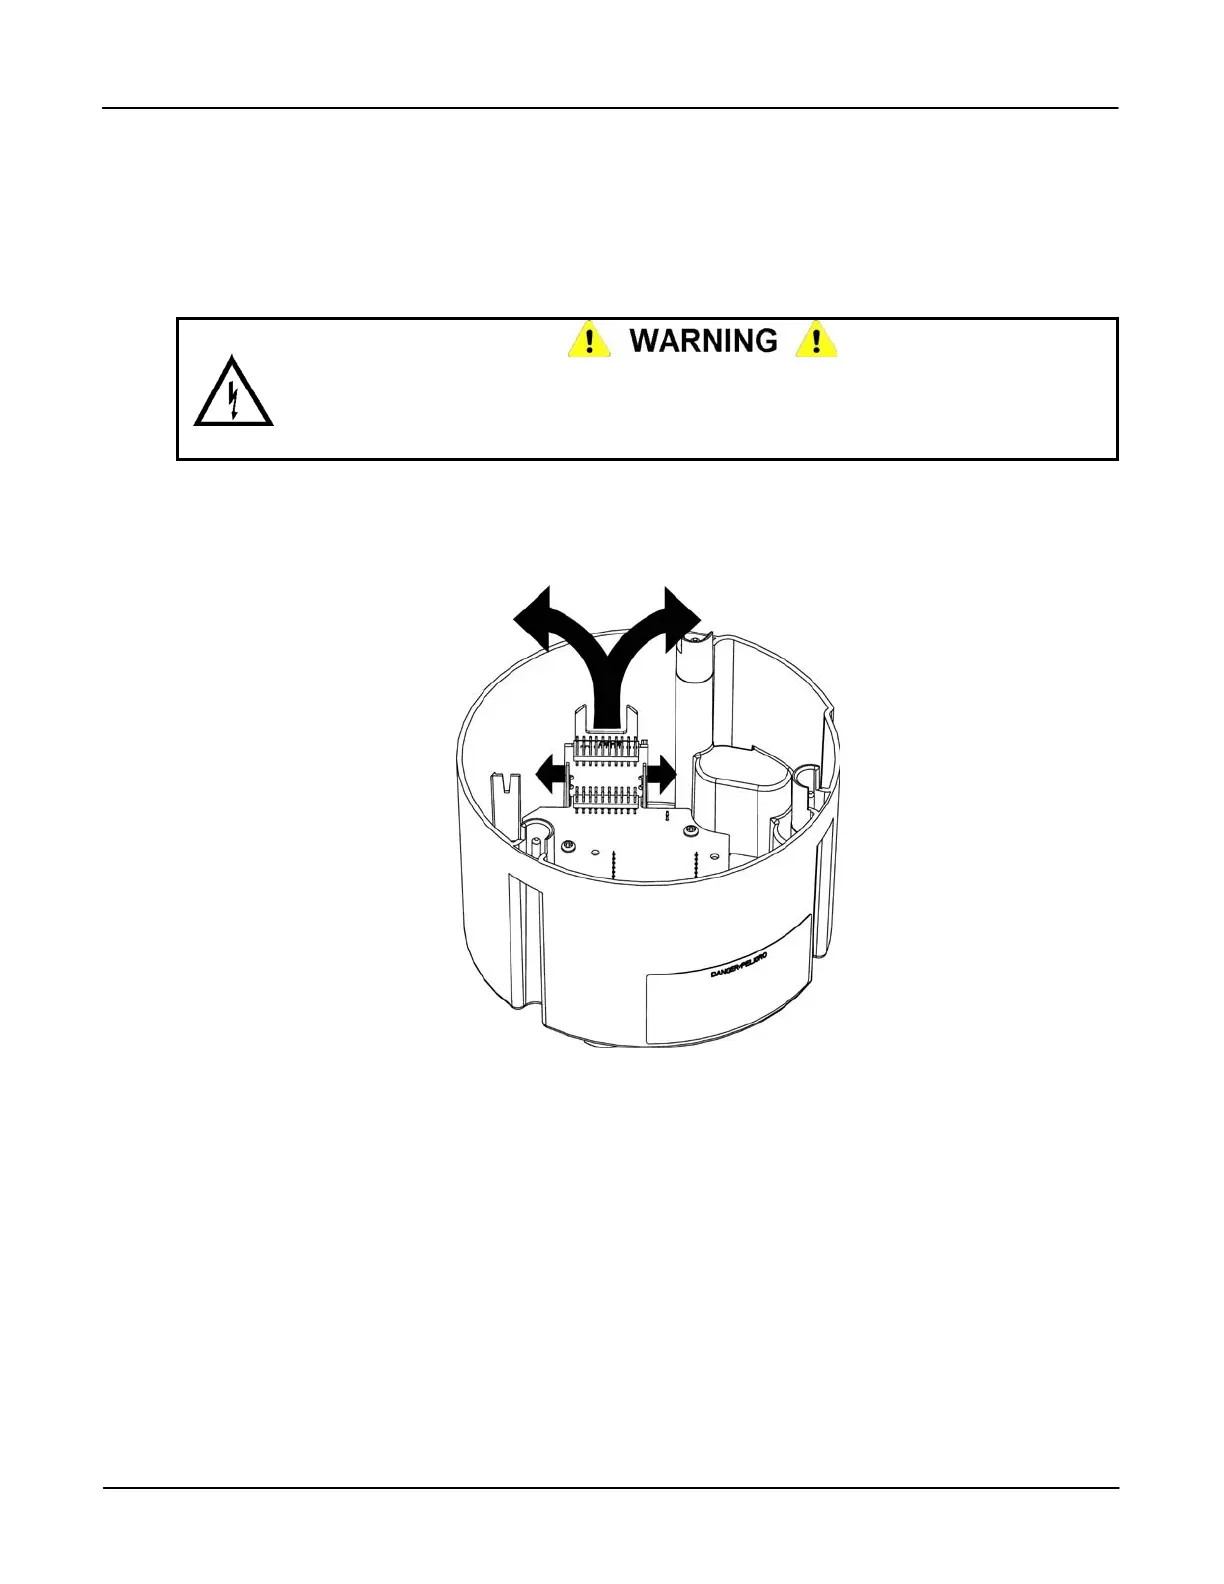
The Register Display Board and Register Cover may contain sharp edges. Exercise care
while removing the Interconnect Board. Do not overextend the Integrated Alignment Ribs.
Failure to observe this warning may result in minor injury to personnel and damage to
equipment.
2. Gently push the top of the left Integrated Alignment Rib to the left and pull the Interconnect
Board up and to the right.
3. Gently push the top of the right Integrated Alignment Rib to the right and pull the
Interconnect Board up and to the left.
Figure 4-6: Removing the Interconnect Board
4. Repeat Step 2 and Step 3, slowly working the Interconnect Board from side to side until it
is free of the Register Display Board connector.
Version 1.0 Servicing the iCon APX Meter 4-9