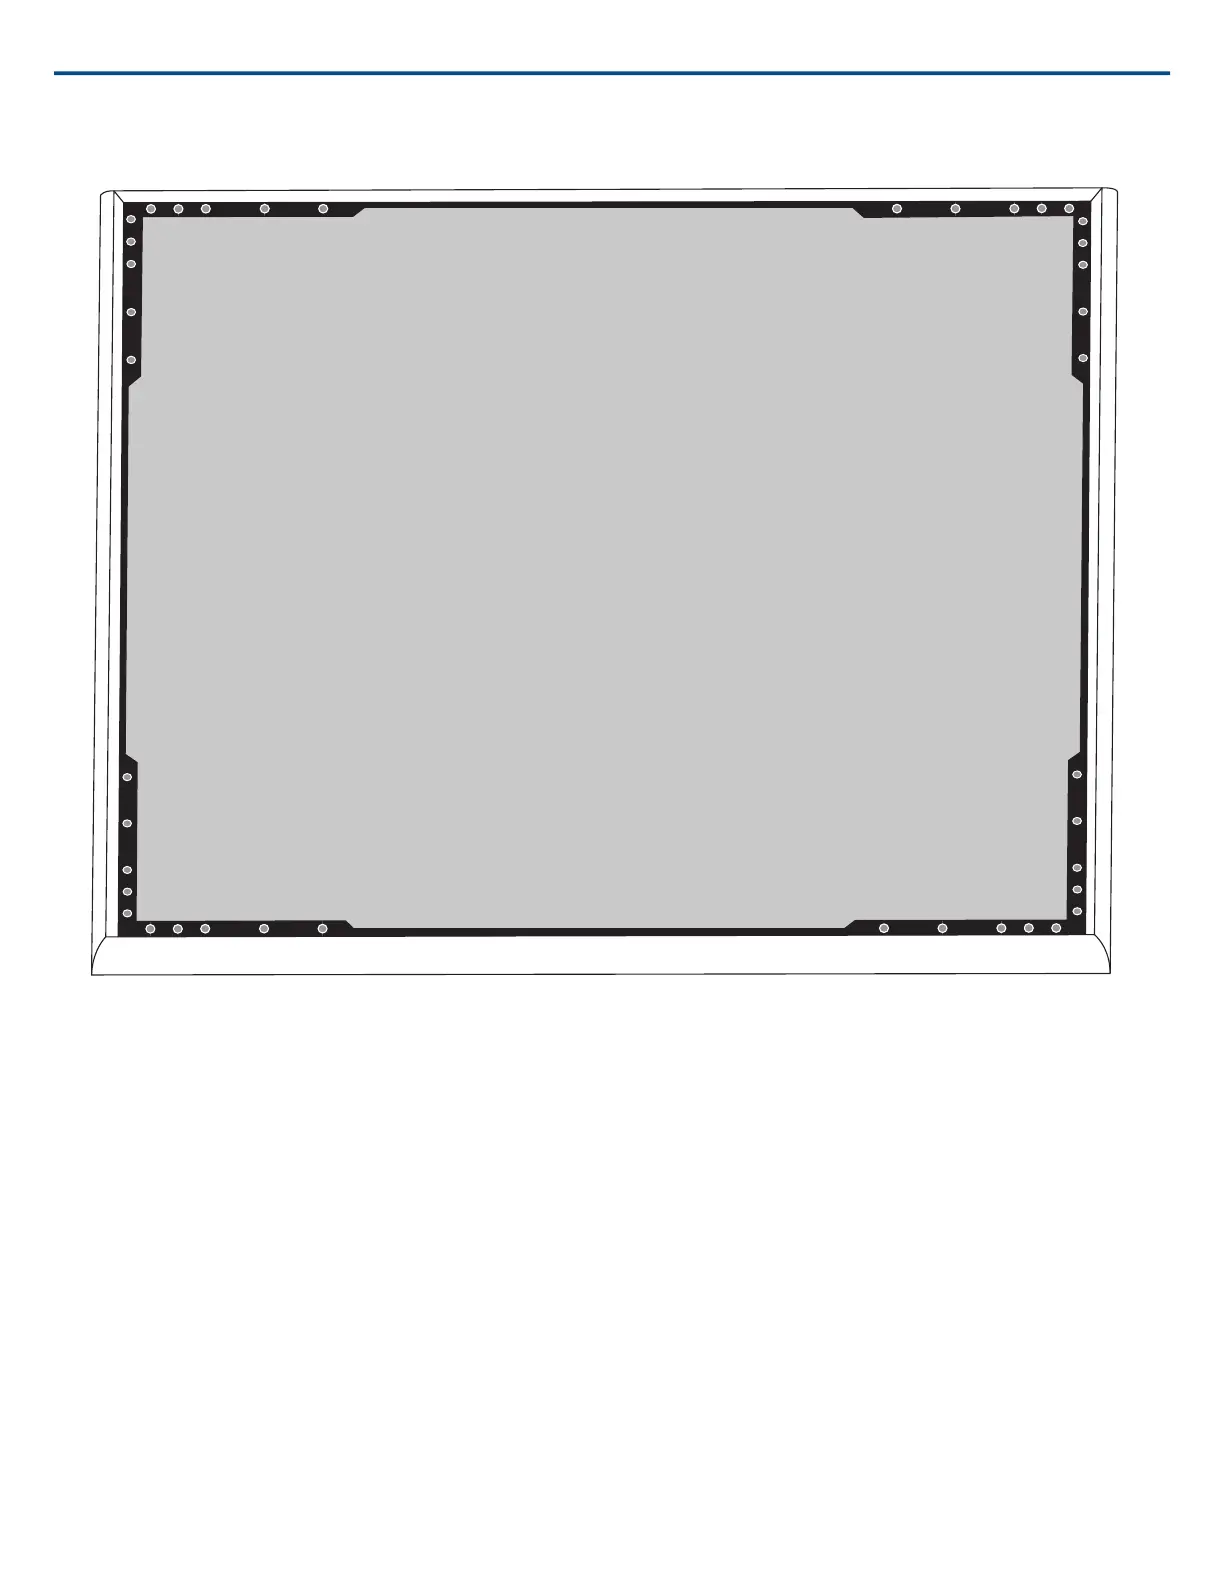
(2.1) Masking off the extrusion (highlighted in black)
Step 3: Reassembly
1. Secure the foam piece with the hook-and-loop fastener strips around the edges.
2. Slide the grille back into the frame.
3. Attach the remaining side of the frame and secure it with the 4 screws.
4. Attach the LED lightpipe into the black plastic guide piece.
5. Align the LED with the lightpipe and put the assembly back in place on the frame.
Note: The label on the assembly is placed on the corner that corresponds to the LED. Use it for reference to ensure proper orientation during reassembly.
6. Install the screws (6 per side) to secure the main assembly to the frame. Do not over-tighten.
Installing the Junction Box Accessory
The A910-JB junction box mounts on the microphone, enabling conduit connections for cable runs. Refer to local building codes and regulations to determine
if the junction box is necessary. There are three punch-out sections on the junction box for attaching conduit.
Shure IncorporatedMXA910 Ceiling Array Microphone
2017/10/1822/57