NOTE
After successful connection of the product to the IO-Link Master, the green (Power) LED
flashes to indicate a functioning IO-Link communication between the master and device.
6 Commissioning
6.1 Videos
The following tutorial shows how to commission the sensor:
Table 7: Video overview
Teaching in the sensor
https://video.sick.com/media/t/0_8g1uq5wt
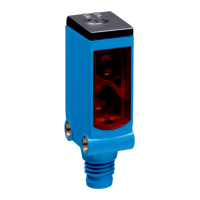
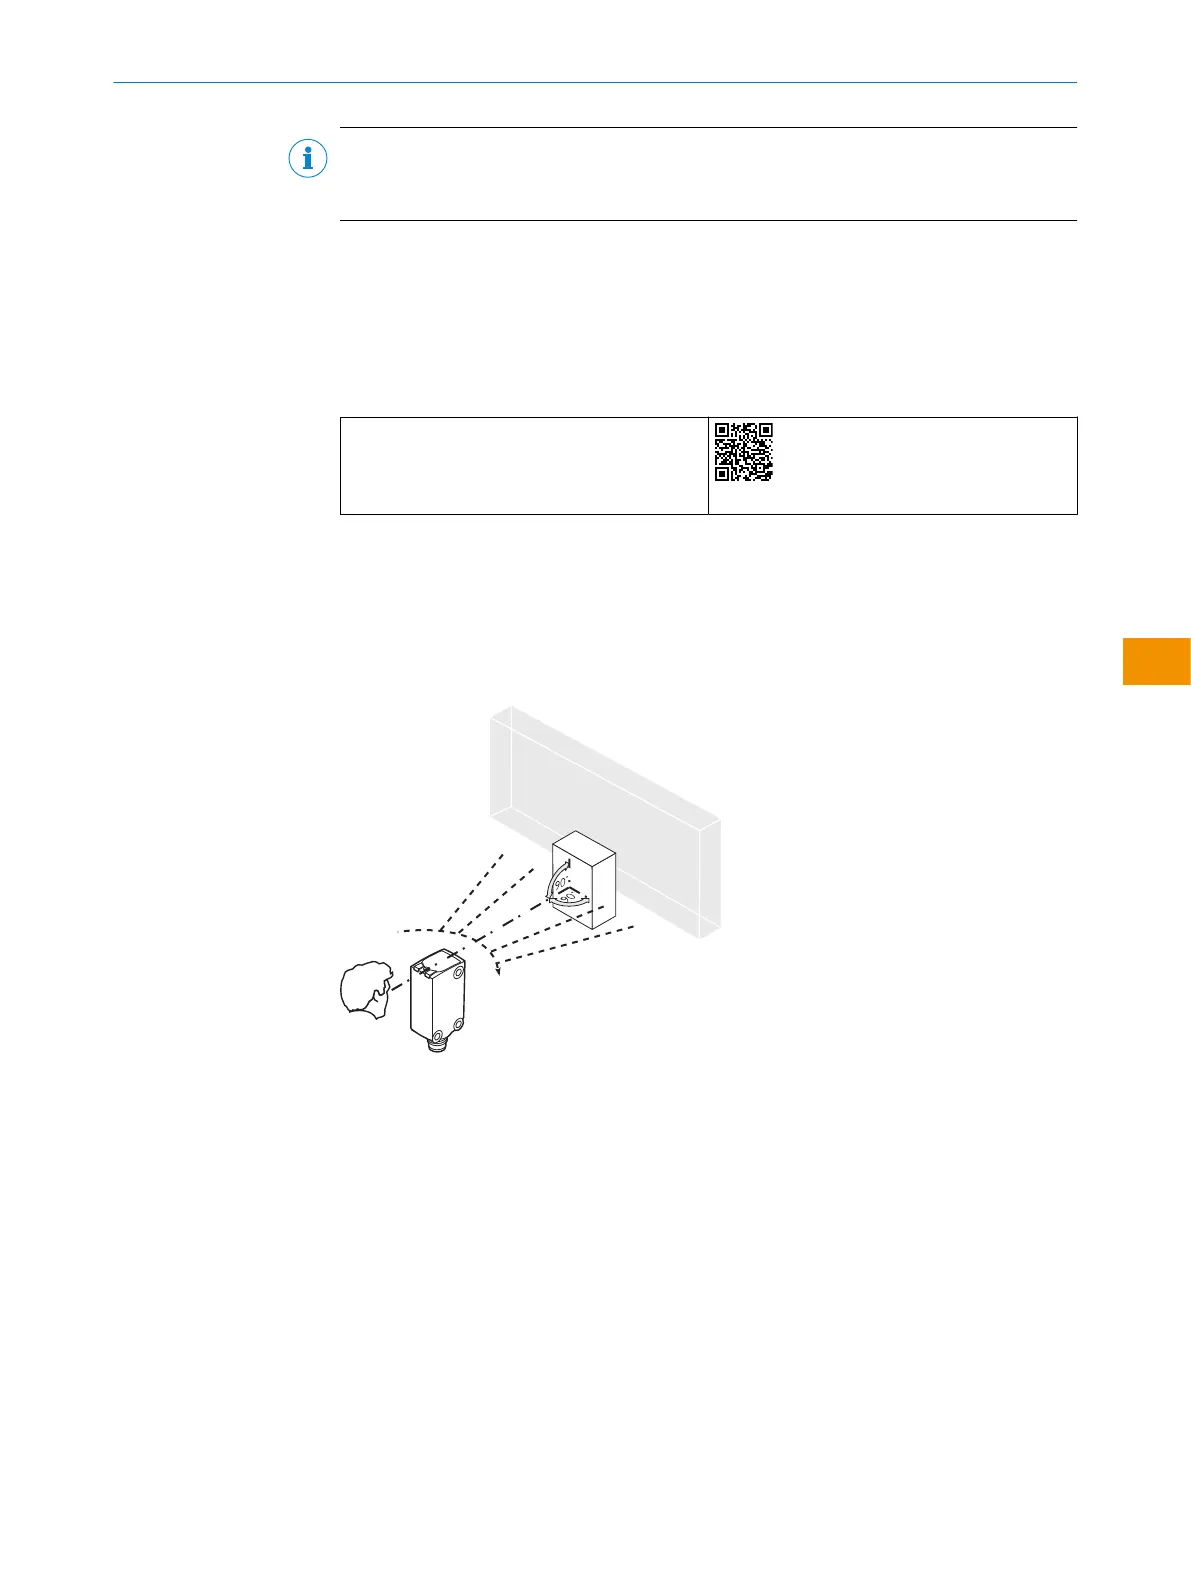
6.2 Alignment
Alignment with background suppression
Align the sensor with the object. Select the position so that the red emitted light beam
hits the center of the object. You must ensure that the optical opening (front screen) of
the sensor is completely clear [see figure 3].
Figure 3: Sensor on object
6.3 Check the application conditions
WTB4S are photoelectric proximity sensors with background suppression. Depending
on the remission factor of the object to be detected, and perhaps the background
behind it, a minimum distance (y) between the set sensing range (x) and the back‐
ground is to be maintained.
Check the application conditions:
Adjust the sensing range and distance to the object and background as well as the
remission capability of the object according to the corresponding diagram (x = sensing
range, y = minimum distance between set sensing range and background (white, 90%))
Remission factor: 6% = black 1, 18% = gray 2, 90% = white 3 (relative to standard
white as per DIN5033). We recommend making the adjustments using an object with a
low remission factor.
OPERATING INSTRUCTIONS
8028211/2023/10/20 | SICK O P E R A T I N G I N S T R U C T I O N S | WTB4S
37
Subject to change without notice
en