Commissioning the device
4.3 Parameterizing the Comfort Panel
Comfort Panels
102 Operating Instructions, 08/2018, A5E36770603-AC
Activate/deactivate retentivity of the alarm buffer on the HMI device
This function is available in connection with an HMI device image that is compatible with
WinCC (TIA Portal) V15.1 or higher.
You can use this function to activate or deactivate the retentive alarm buffer. The default
setting is "activated".
When the retentivity of the alarm buffer is activated, the retentive alarm data is backed up
every two seconds to the internal flash memory of the HMI device. With a high number of
alarms, the internal flash memory is subject to an equally high number of read and write
cycles.
If the retentivity of the alarm buffer is deactivated, the alarm buffer is emptied and the
retentive alarm data is no longer backed up to the internal flash memory. This means the
internal flash memory is used less with a high number of alarms.
Note
Backing up data before deactivating the retentivity
When you deactivate the retentivity of the alarm buffer and still need the data in the alarm
buffer, back up this data before deactivating the retentivity in a log.
Changing the retentivity behavior using the configuration
As of WinCC (TIA Portal) V15.1 you can also change the retentivity behavior with the
"Persistent alarm buffer" function under "Runtime settings > Alarms > General". Default
setting in the configuration is "activated". For the project tra
nsfer, the setting is applied from
the configuration in the Control Panel. If you change the setting in the Control
Panel after the
project transfer, the changed setting is retained until the next project transfer.
Requirement
The Control Panel is open.
Procedure
Proceed as follows:
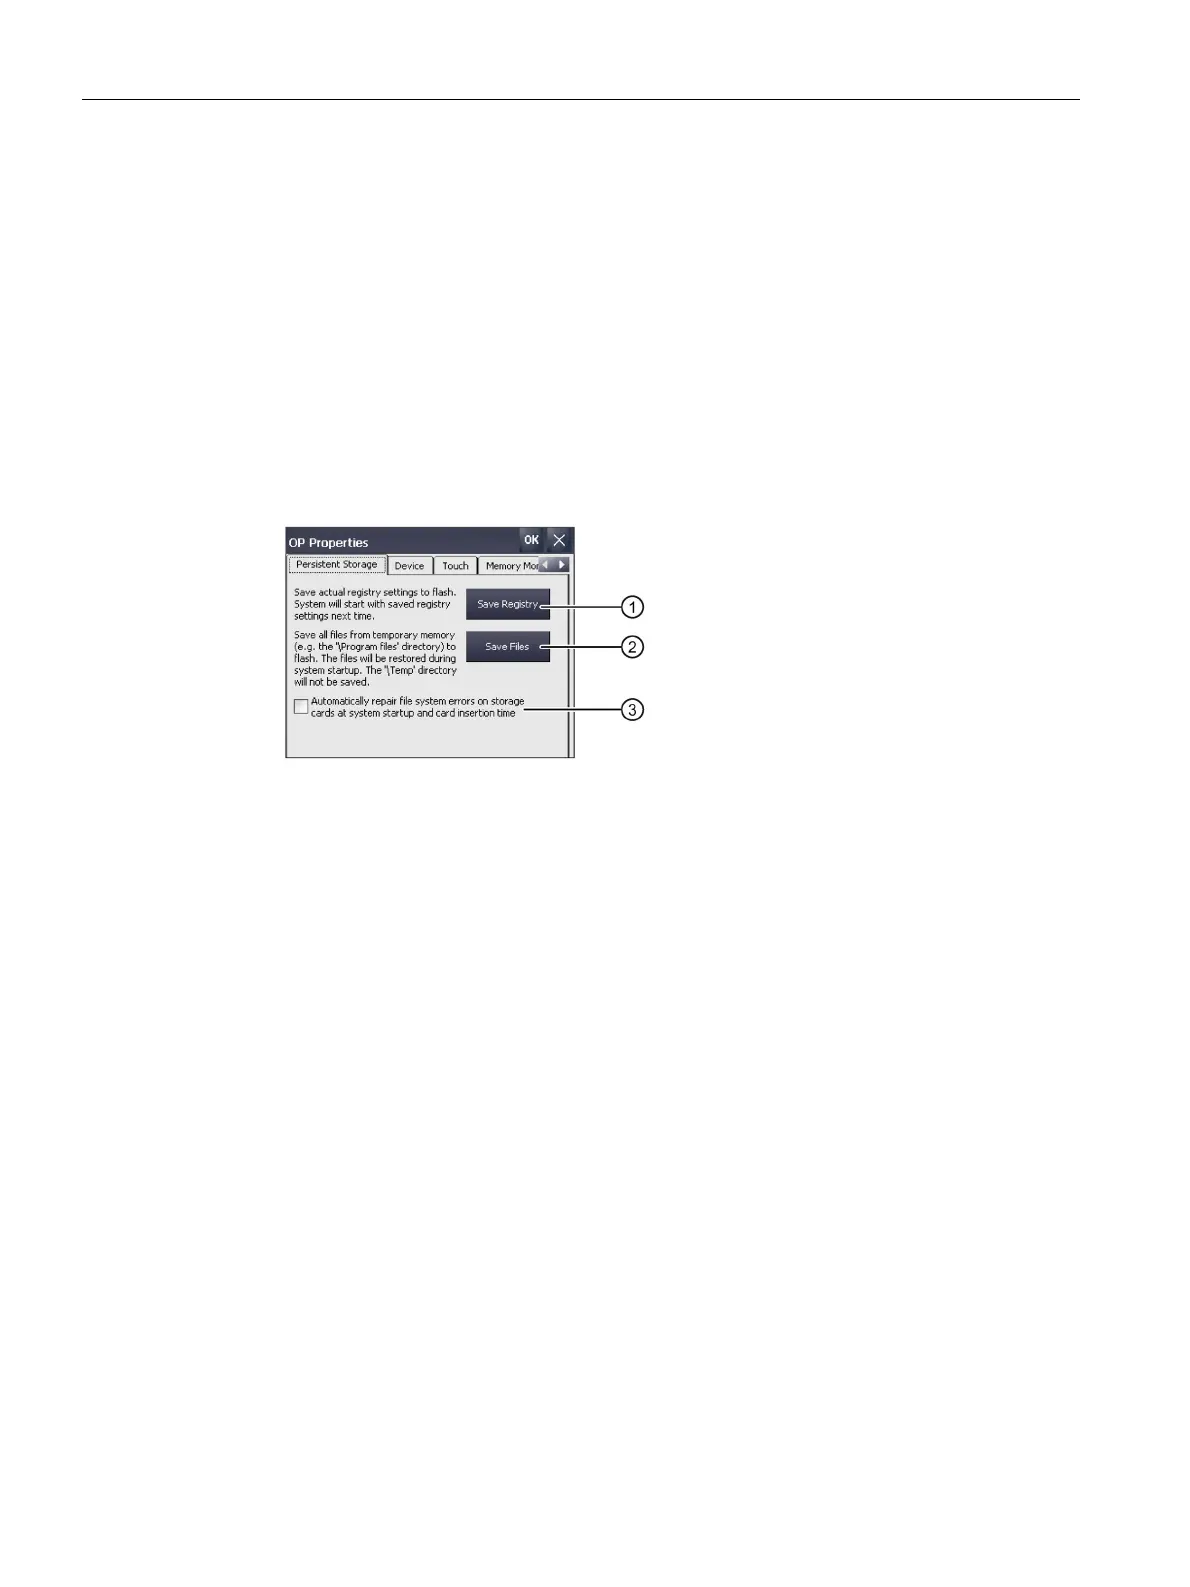
1. Open the "OP Properties" dialog using the "OP" icon.
2. Change to the "Message Buffer" tab.
3. You activate or deactivate the retentive message buffer with the "Persistent Message
Buffer Enabled..." option, default setting is "activated".
4. Confirm your entries with "OK".
5. Restart the HMI device, see section "Restarting the HMI device (Page 89)".