high humidity or liquids in any case. The mounting process and installation cutouts
depend on the model, as described in following sections.
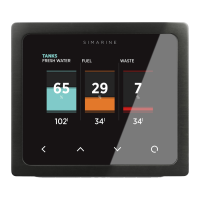
5.2 PICO standalone
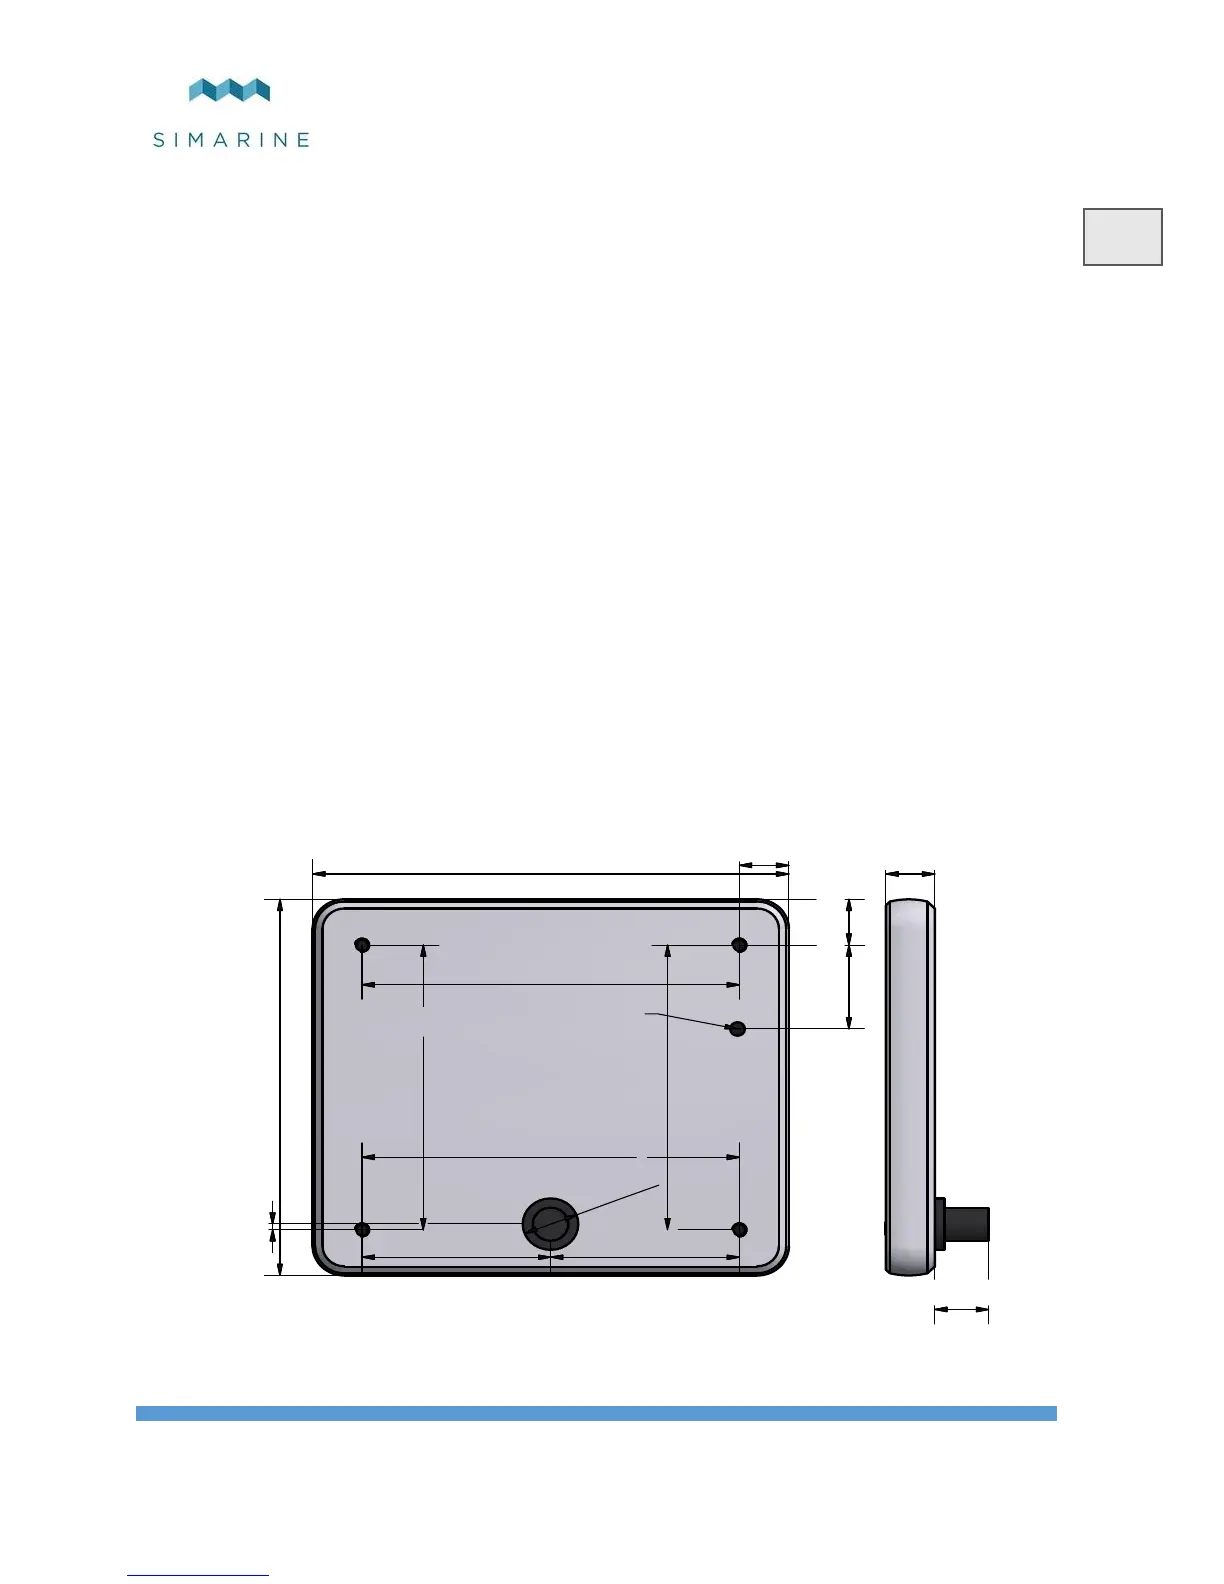
PICO Standalone version has dimensions of 98 x 84 x 10mm and needs NO
installation cutout. The mounting process requires drilling of 5 (PICOone) or 6
(PICO) mounting holes and access to the rear of the mounting surface. In case you
have NO rear access, you can bond it using supplied double sided tape.
Step to be taken for proper mounting:
1. Before the drilling, check if there is enough space to mount your PICO.
2. Mark mounting holes using the supplied installation template.
3. Drill all holes.
4. Connect the connector on the back side of PICO to the splitter cable (be
sure to align the pins correctly) and fasten it by turning the safety ring
clockwise.
5. Finish mounting PICO from the back side with the supplied threaded rod
and nuts. Screws, rods and nuts MUST be fastened by hand. Excessive
force may damage the threads on PICO.
 Loading...