18. Stitch length dial/four-step buttonhole
19. Stitch width selector
20. Pattern selector dial
21. Needle position selector
22. Stitch balance control
23. Presser foot lifter
24. Thread cutter
25. Feed system
26. Slide plate
27. Drop feed lever
28. Foot control
29. Electrical lead
30. Machine plug
31. Power and light switch
32. Bobbin winding indent
33. Pattern module cover
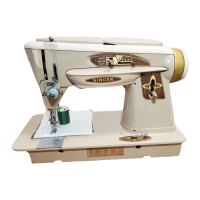
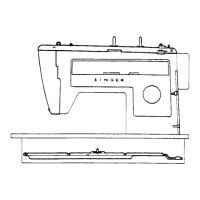
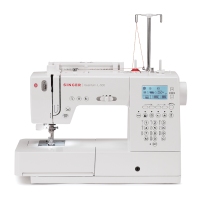
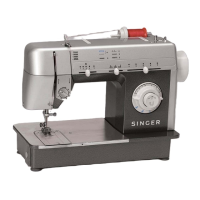
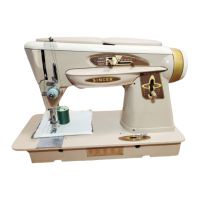
Parts
1. Hand wheel
2. Bobbin winder pin
3. Horizontal spool pin
4. Thread guide
5. Bobbin winder tension disc
6. Thread guide
7. Take-up lever
8. Face plate
9. Needle thread tension dial
10. Accessory storage (Free Arm)
11. Snap on presser foot
12. Needle plate
13. Removable extension table (Free Arm)
14. Automatic needle threader
15. Needle clamp
16. Thread guide
17. Reverse push button and buttonhole
balance selector
Getting to know your machine
Getting to
know your
machine
Getting to
know
your
machine
98
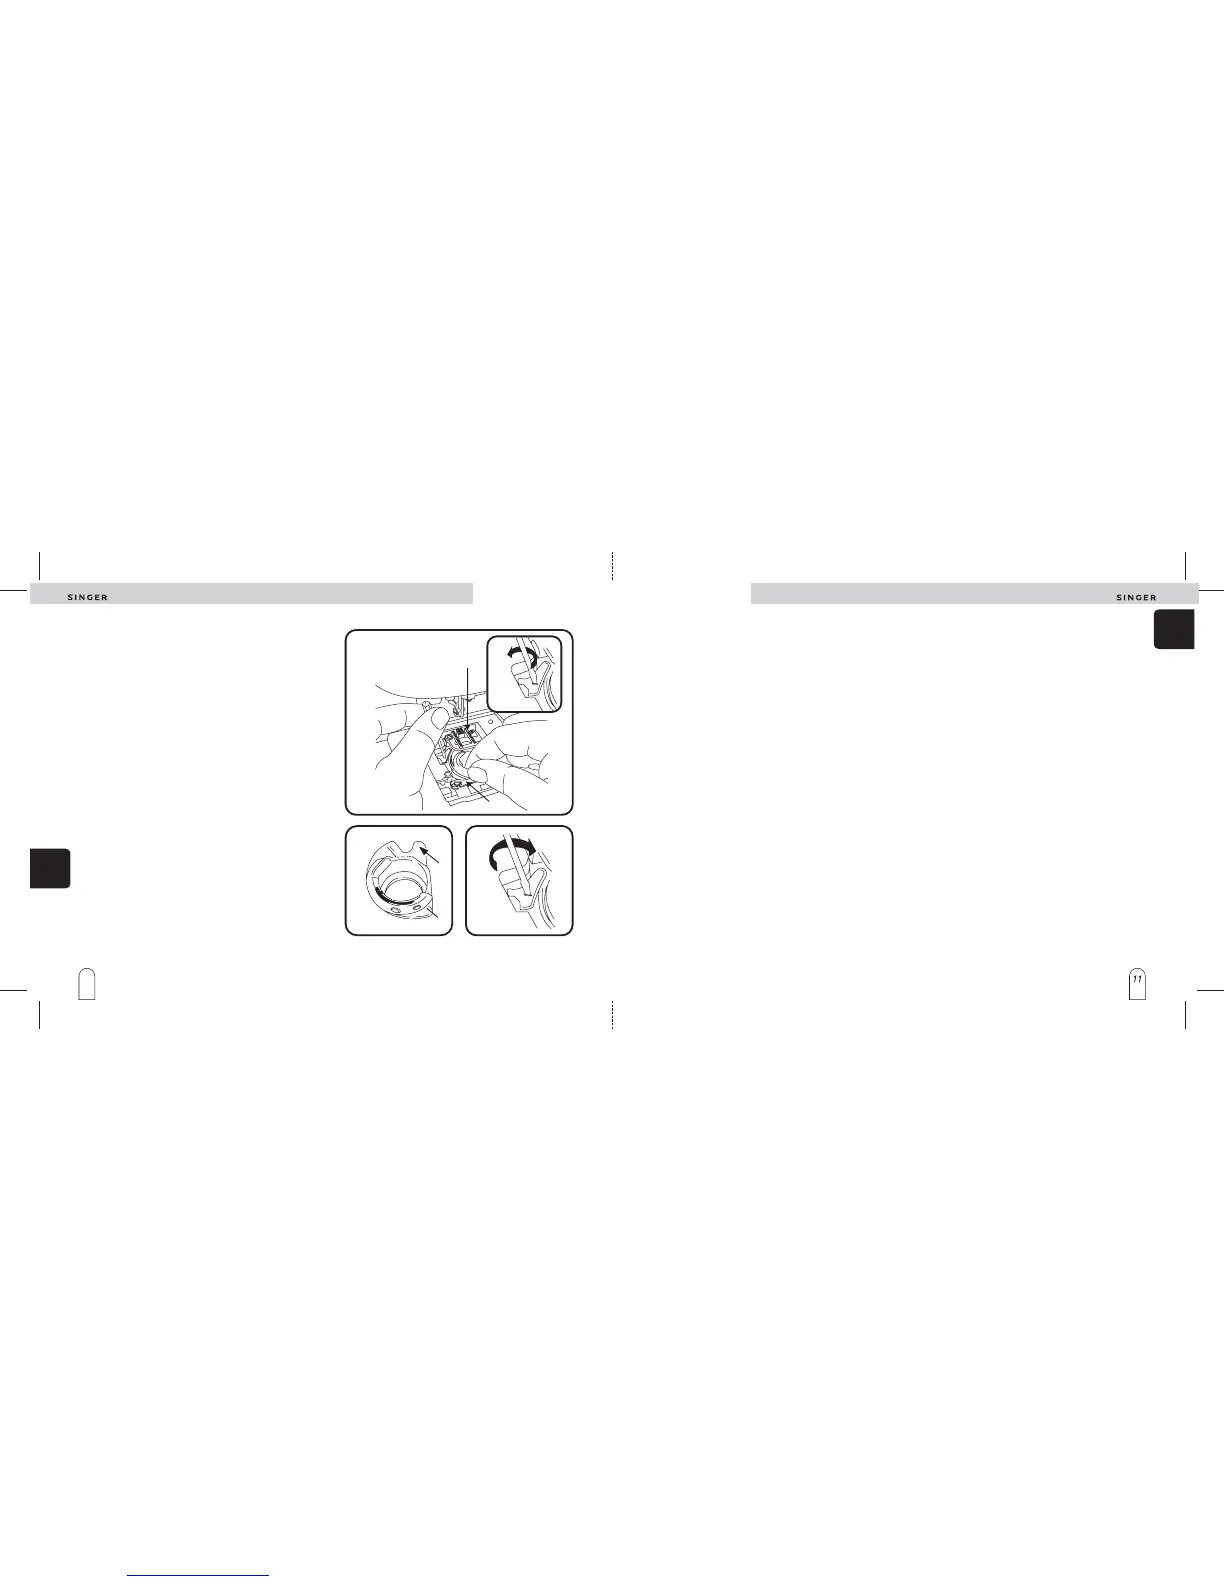
Removing and replacing
bobbin case
Maintenance
1. Raise presser foot, remove needle and needle plate.
2. Open slide plate and remove bobbin.
3.
4. Lift the left side of the bobbin case and slide it out to
the left and out from the machine (illustration 1).
With a small screwdriver, turn and take hold of the
bobbin case retaining plate to the rear as far as it will
go (illustration 2).
5. Loosen slightly the bobbin case retaining plate until its
initial position (illustration 4).
Replacing the bobbin case
To remove bobbin case
1.
2. Draw rim ( ) of bobbin case under the feed ( ).
3. Draw rim ( ) of bobbin case under position plate ( ).
Be sure bobbin case is freely seated on hook race.
5. Replace needle plate.
6. Insert bobbin and close the slide plate.
With a small screwdriver, turn and take hold of the
bobbin case retaining plate to the rear as far as it will
go (illustration 2).
4. Loosen slightly the bobbin case retaining plate until its
initial position (illustration 4).
AC
BD
1
3
4
2
C
D
A
B