6:6
1
2
Select locking point
on screen
Move locked point on
fabric
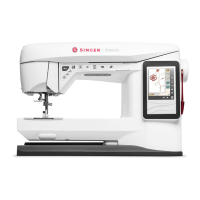
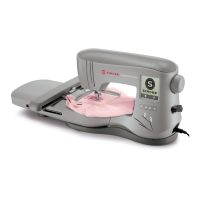
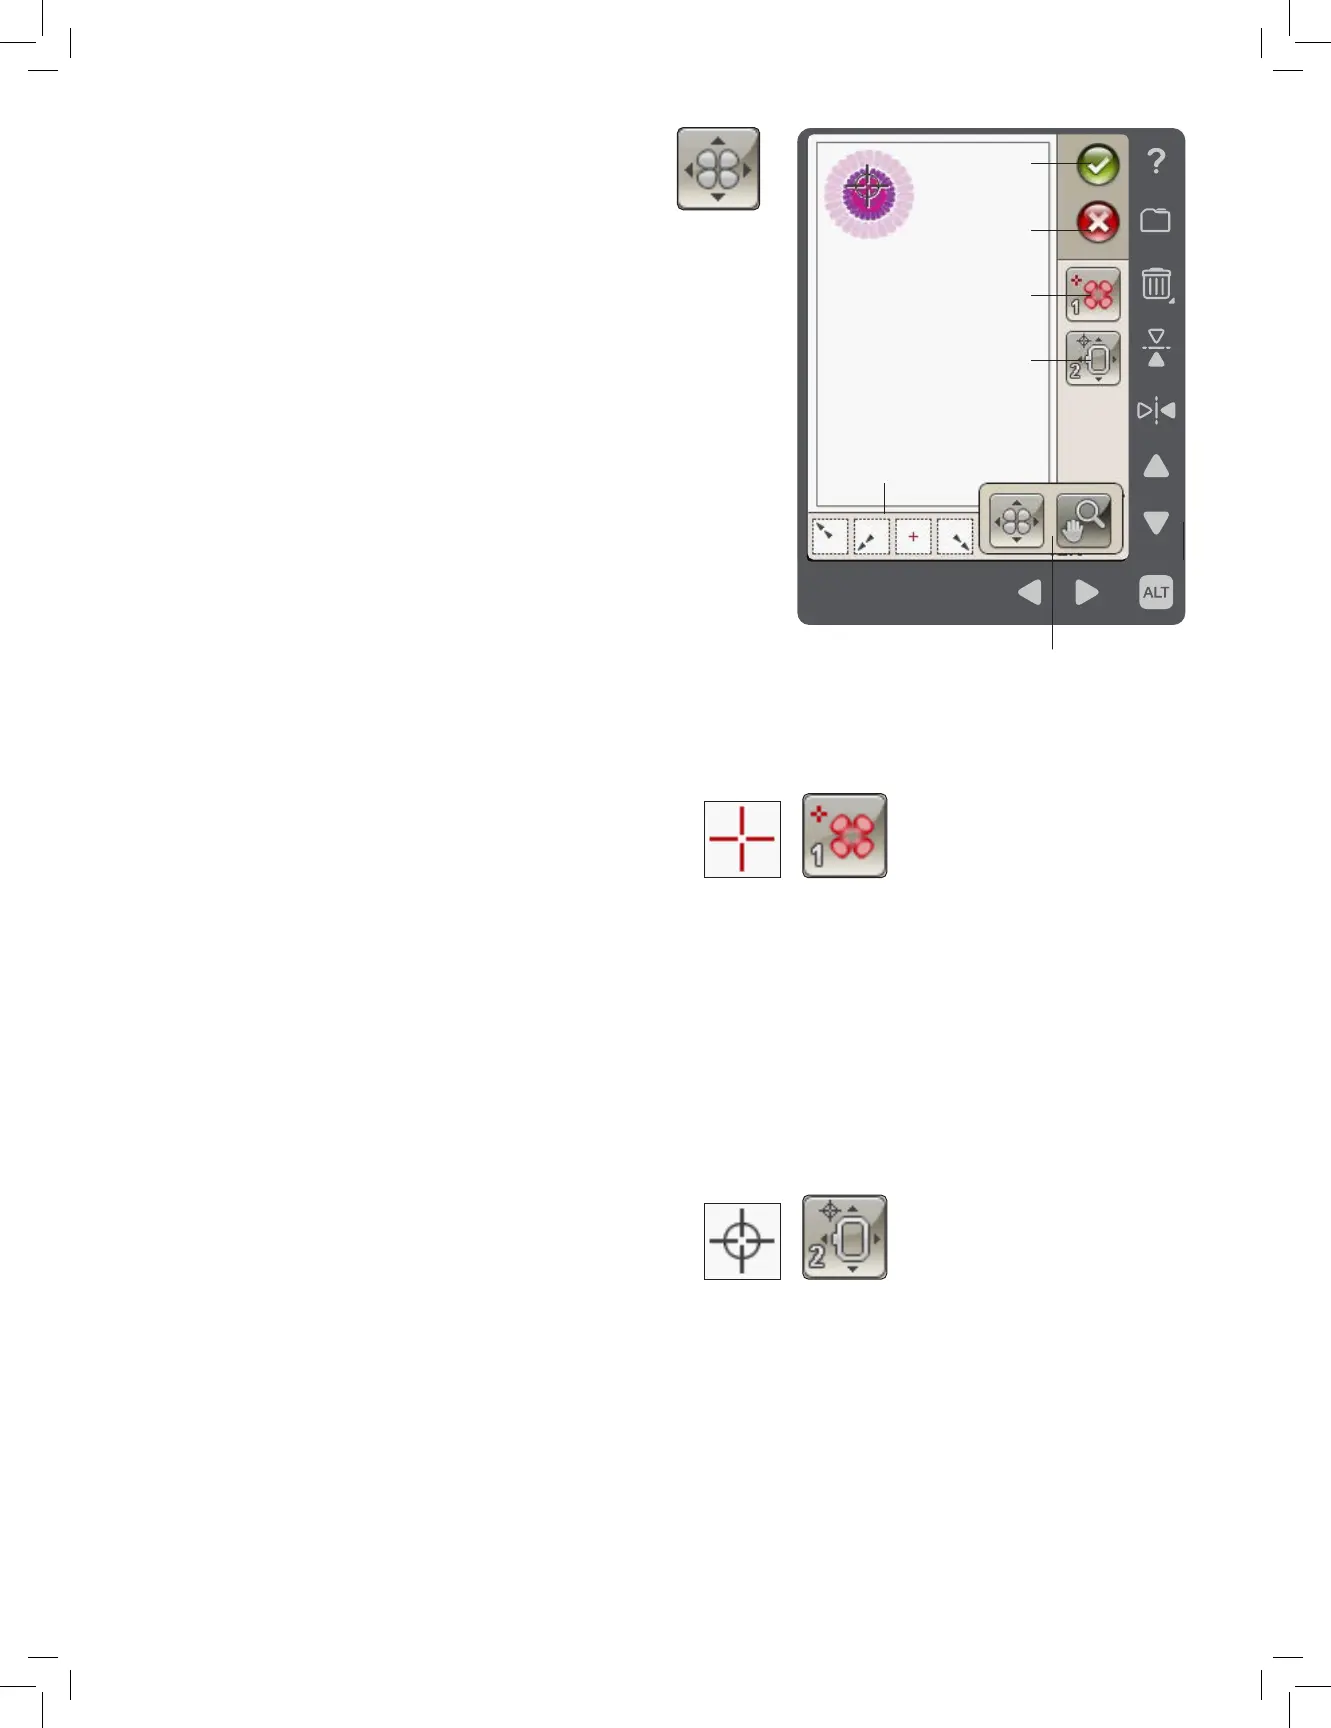
BASIC DESIGN POSITIONING
Basic Design Positioning allows you to place a design on an
exact spot on your fabric. It is also used when you want to
connect a design to a previously embroidered design.
Touching ALT in this view gives you access to extra Zoom
Options/Pan icons, see page 6:7.
HOW TO USE BASIC DESIGN POSITIONING
To select locking point on screen (1)
The rst step is to select a locking point (1). A locking point is
a point in the design that you want to place in a specic spot
on your fabric. You might also use this to connect the design to
another design that has already been embroidered.
Place the red cursor where you would like the locking point to
be placed in your embroidery. If you want to set the locking
point in a corner, use the corner icons. Use Zoom to Cursor
(see page 6:7) to be able to place the cursor exactly where
you want it.
Note: The closer you zoom, the easier it will be to place your
locking point exactly where you want it.
Move locked point on fabric (2)
In step 2 you will be looking at the fabric in your hoop. As you
touch the arrows, your hoop will move. Use your stylus on
the screen or the arrows to move your hoop until the needle is
exactly where you want the locking point to be on your fabric.
Check the position by lowering the needle using the hand
wheel.
The position of the needle indicates where the locking point is
placed on the fabric.
Note: The locking point is not the starting point of your
embroidery; only a reference point for placement.
Note: Make sure the needle is above the fabric to prevent
damage to the needle and fabric.
OK
Cancel
Select locking point
on screen
Move locked point on
fabric
Options when touching ALT
Corner icons