4:5
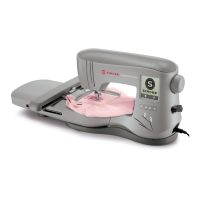
GETTING STARTED EMBROIDERING
1. Attach the embroidery unit and embroidery foot and insert
a bobbin with bobbin thread.
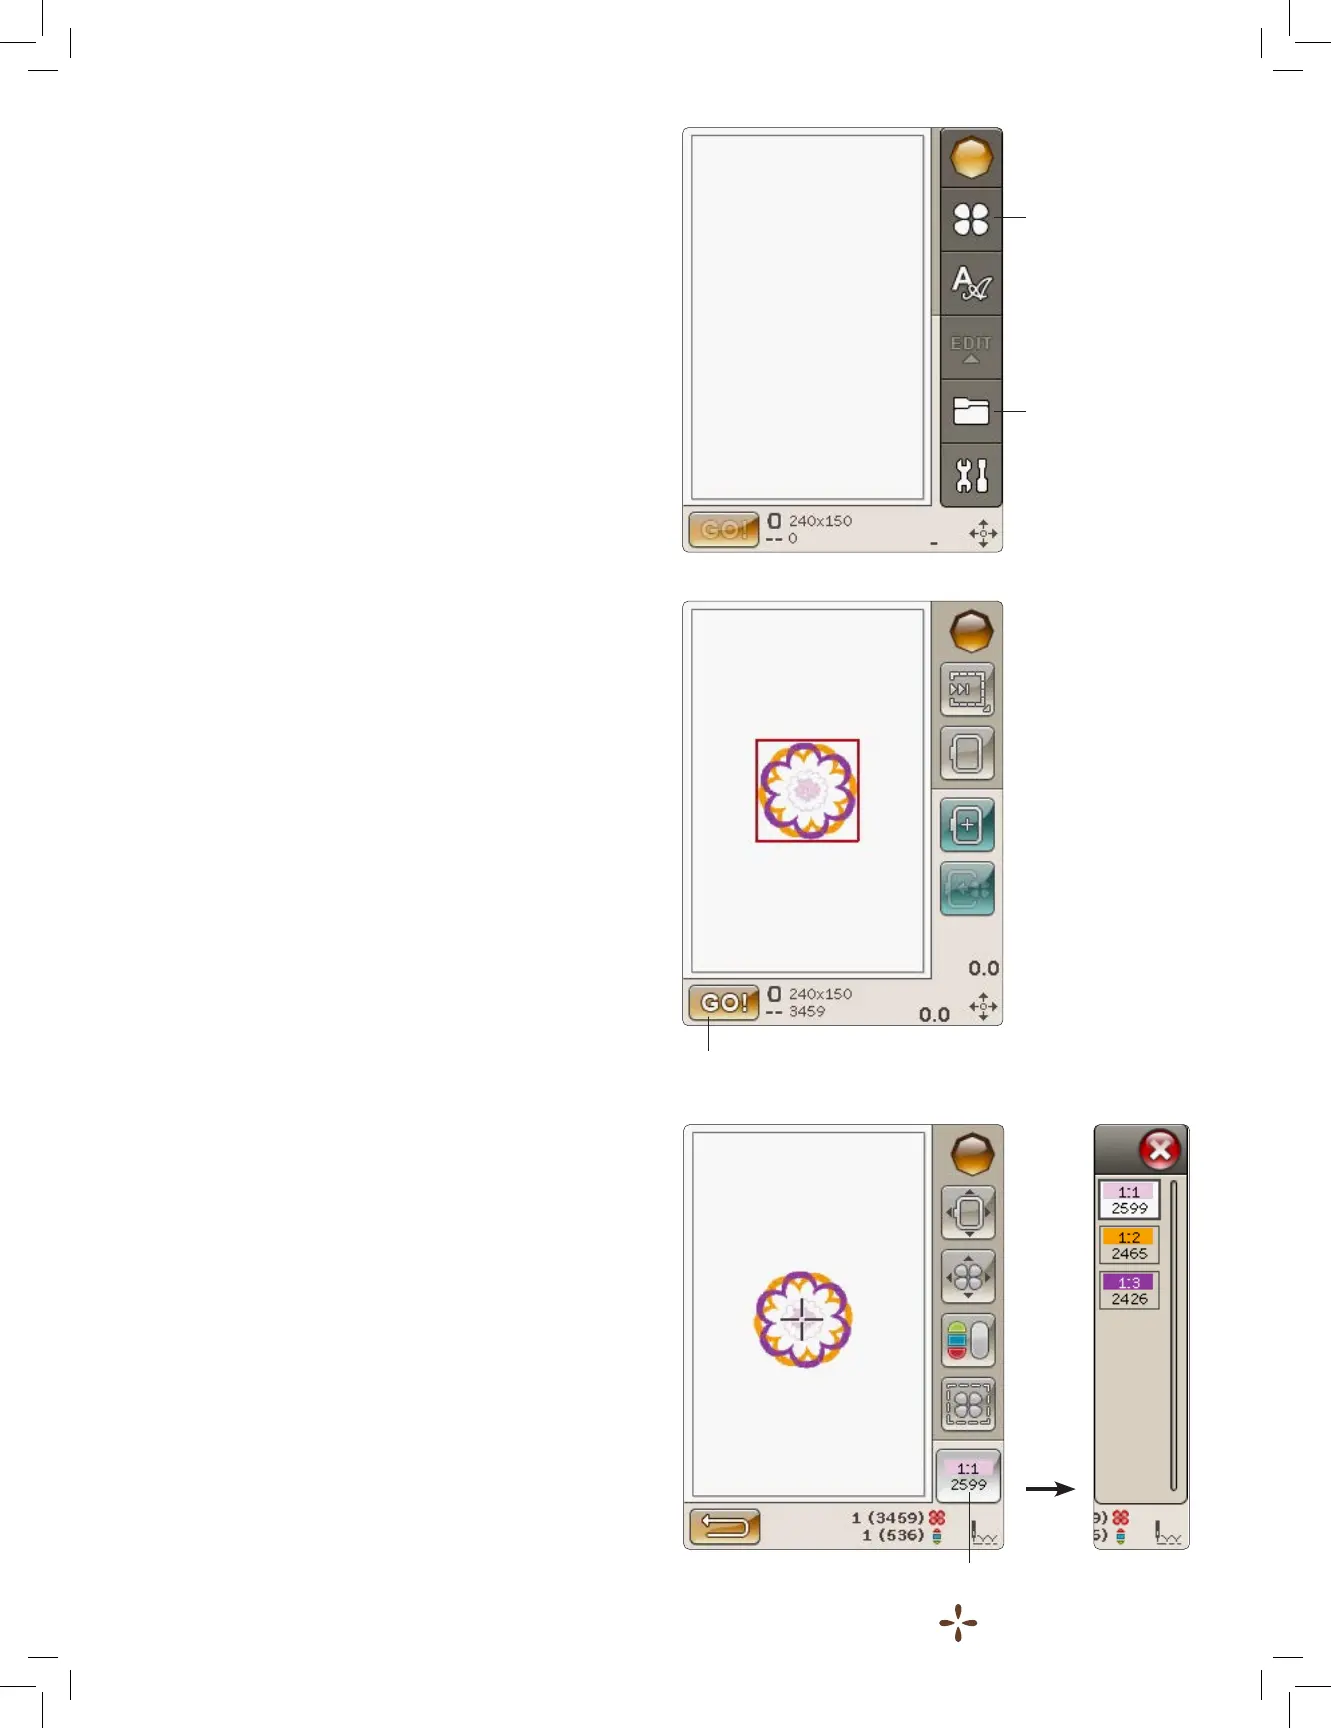
2. Touch the Start Menu to open the Toolbar. Open the
Design Menu or the File Manager on the toolbar and touch
the design, it will load to Embroidery Edit.
3. When you are ready to embroider, switch from Embroidery
Edit to Embroidery Stitch-Out by touching the GO! icon.
4. If the embroidery unit is not already calibrated, a pop-up
message will ask you to slide off the hoop and clear the
machine area for calibrating the embroidery arm. You will
also be reminded to attach the correct embroidery foot.
Touch OK or cancel depending on if you want to calibrate
or not. The machine will calibrate and the embroidery arm
will move to the park position.
Note: DO NOT calibrate the machine with the embroidery
hoop attached as this can damage the needle, presser foot,
hoop and/or the embroidery unit. Be sure to clear all materials
from around the machine before calibrating so that the
embroidery arm does not bump into anything while calibrating.
5. Hoop a piece of fabric and slide the hoop onto the
embroidery arm.
6. Thread the machine with the rst color in the Color Block
list.
Note: Touch the color block list icon to see all color blocks in
your embroidery.
Design Menu
File Manager
Color block list icon
Embroidery Stitch-Out