© March 2023
66
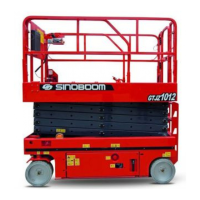
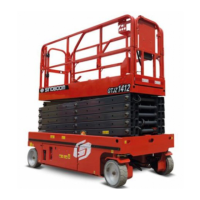
AB16EJ Plus Operation Manual
OPTIONS
Table 11-2 (Continued)
No. Part number Part name Quantity Comment
16 215010000256
Bolt M5×20-8.8-ZnD GB/T 5789
4
17 105029043013 Plate 4
18 209990003011 Magnet 2
19 215040000032
Washer 5-A2 GB/T 97.1
12
20 203050003058
Strobe light
2
21 215020000212
Screw M4×35-A2-70 GB/T 818
4
22 215010000238 Bolt M10×25-8.8-ZnD GB/T 5789 8
Installation and Removal
Unsafe Operation Hazard
The secondary guarding device may
only be installed on models/in
markets as specified by Sinoboom.
Installation instructions
1. Position the support (#4 or #14) at the mounting po-
sition on the platform railing, align the support with
the mounting holes on mounting plate #17, and use
bolts and nuts to secure the support to the platform
railing. Install the support on the opposite side of the
platform in the same way.
2. Align the angle bracket #3 with the mounting holes
on the left and right supports, tighten it with bolts,
washers and nuts, and install the magnet #18 on
the angle bracket.
3. Then align support #2 with the mounting holes on
the left and right supports (the angle brackets on
both sides of support #2 should be attracted by the
magnets), tighten it with bolts, washers and nuts.
4. Install the support pad #5 on the left and right sup-
ports in turn, and tighten it with screws, washers
and nuts.
5. Install the limit switch #9 on the left and right sup-
ports in turn, and tighten it with screws and
washers.
6. Install the strobe light #20 on the left and right
supports in turn.
7. Connect the harness of the secondary guarding
device.
Removal instructions
Disassemble the secondary guarding device in the re-
verse order of the installation instructions.
Instructions for use
1. Under normal circumstances, the angle brackets on
both sides of support #2 will be attracted to the mag-
nets below.
2. Press down the railing of support #2, so that the an-
gle brackets on both sides detach from the magnets
and flip up, the travel switch will disconnect, the left
and right strobe lights will flash, and all functions on
the platform controller will be disabled.
3. Depress the foot switch while operating the release
switch on the platform controls – the boom may be
retracted and lowered, and the turntable may rotate
slowly.
4. To enable the boom telescoping and luffing func-
tions, lift the railing of support #2 up until the angle
brackets on both sides are attracted by the magnets
again and the strobe light goes out.