POWER SYSTEM
TB20J Plus Maintenance Manual 81
© Feb. 2023
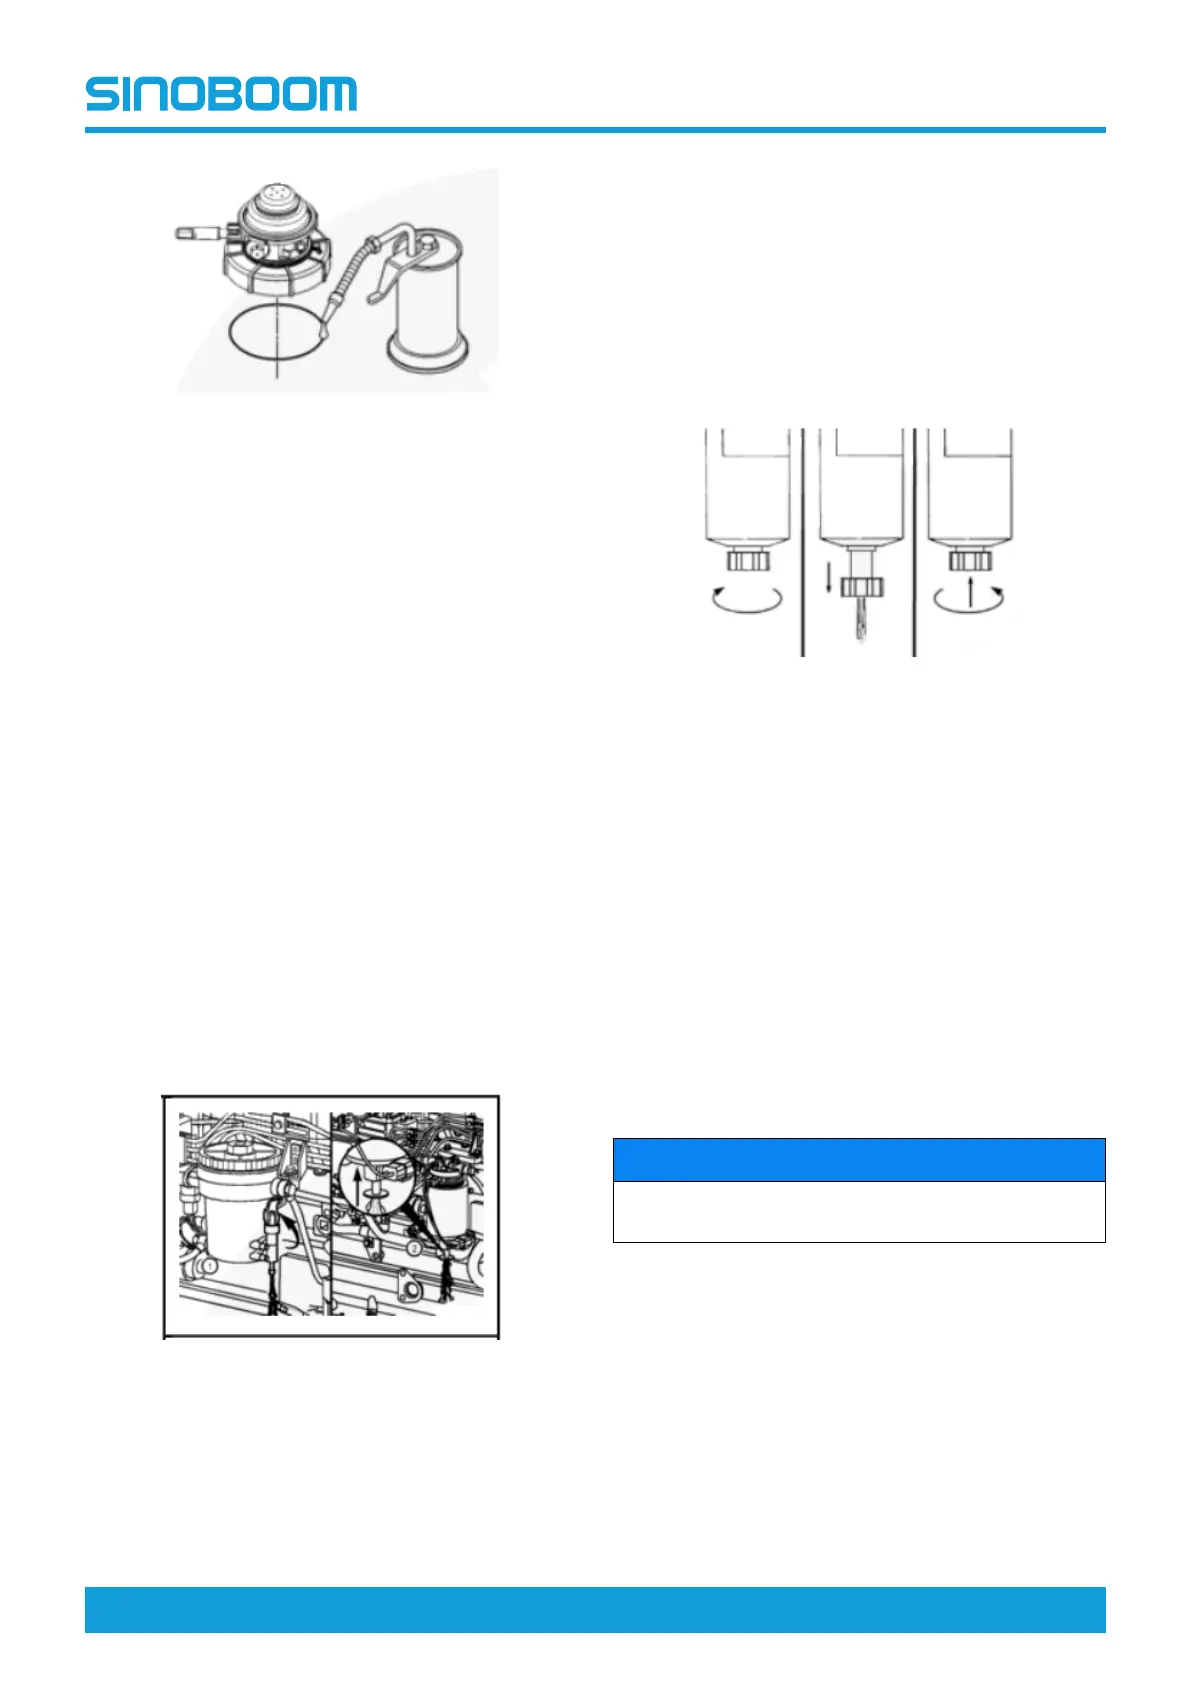
Fig 34
1. Disconnect the battery.
2. If necessary, disconnect the fuel heater wire
harness.
3. Disconnect the fuel pipe.
4. Loosen the top of the fuel filter housing and remove
the O-ring and fuel filter element.
5. Lubricate the O-ring with clean oil.
6. Install the new fuel filter element into the fuel filter
housing.
7. Reinstall the top of the fuel filter housing and tighten
it by hand.
8. Connect the fuel pipe.
9. If necessary, connect the fuel heater wire harness.
10. Connect the battery.
11. Vent the fuel line.
Drain the Fuel-water Separator
It is recommended to drain the fuel-water separator
daily.
Drain the tank-type fuel-water separator:
Fig 35
1. Turn off the engine.
2. Place an appropriate collecting vessel under the
drain valve.
3. Disconnect the cable harness.
4. Lift the drain valve lever up until all liquid is drained
from the drain pipe.
5. Drain the water from the separator until clean fuel is
seen.
6. Push the drain valve up until all liquid is drained
from the drain pipe.
7. Connect the cable connectors.
Drain the spin-on fuel-water separator:
Fig 36
1. Turn off the engine.
2. Place an appropriate collecting vessel under the
drain valve.
3. Disconnect the cable harness.
4. Open the drain valve until all liquid is drained from
the drain pipe.
5. Drain the water from the separator until clean fuel is
seen.
6. Lift the drain valve up and rotate it clockwise until
tightened by hand.
7. Connect the cable connectors.
Vent the Fuel Lines
NOTICE
Failure to vent the fuel lines may bring damage to the
high-pressure pump of the injection system.
The fuel lines is vented through the electric fuel supply
pump.
To avoid false fault messages, do not attempt to start
the fuel system while venting.
1. Ignition: Turn on the electronic fuel supply pump for
20 seconds to vent the fuel lines and build up the re-
quired fuel pressure.
2. Wait until the fuel supply pump is disconnected from
the control unit.
3. Turn off the ignition.