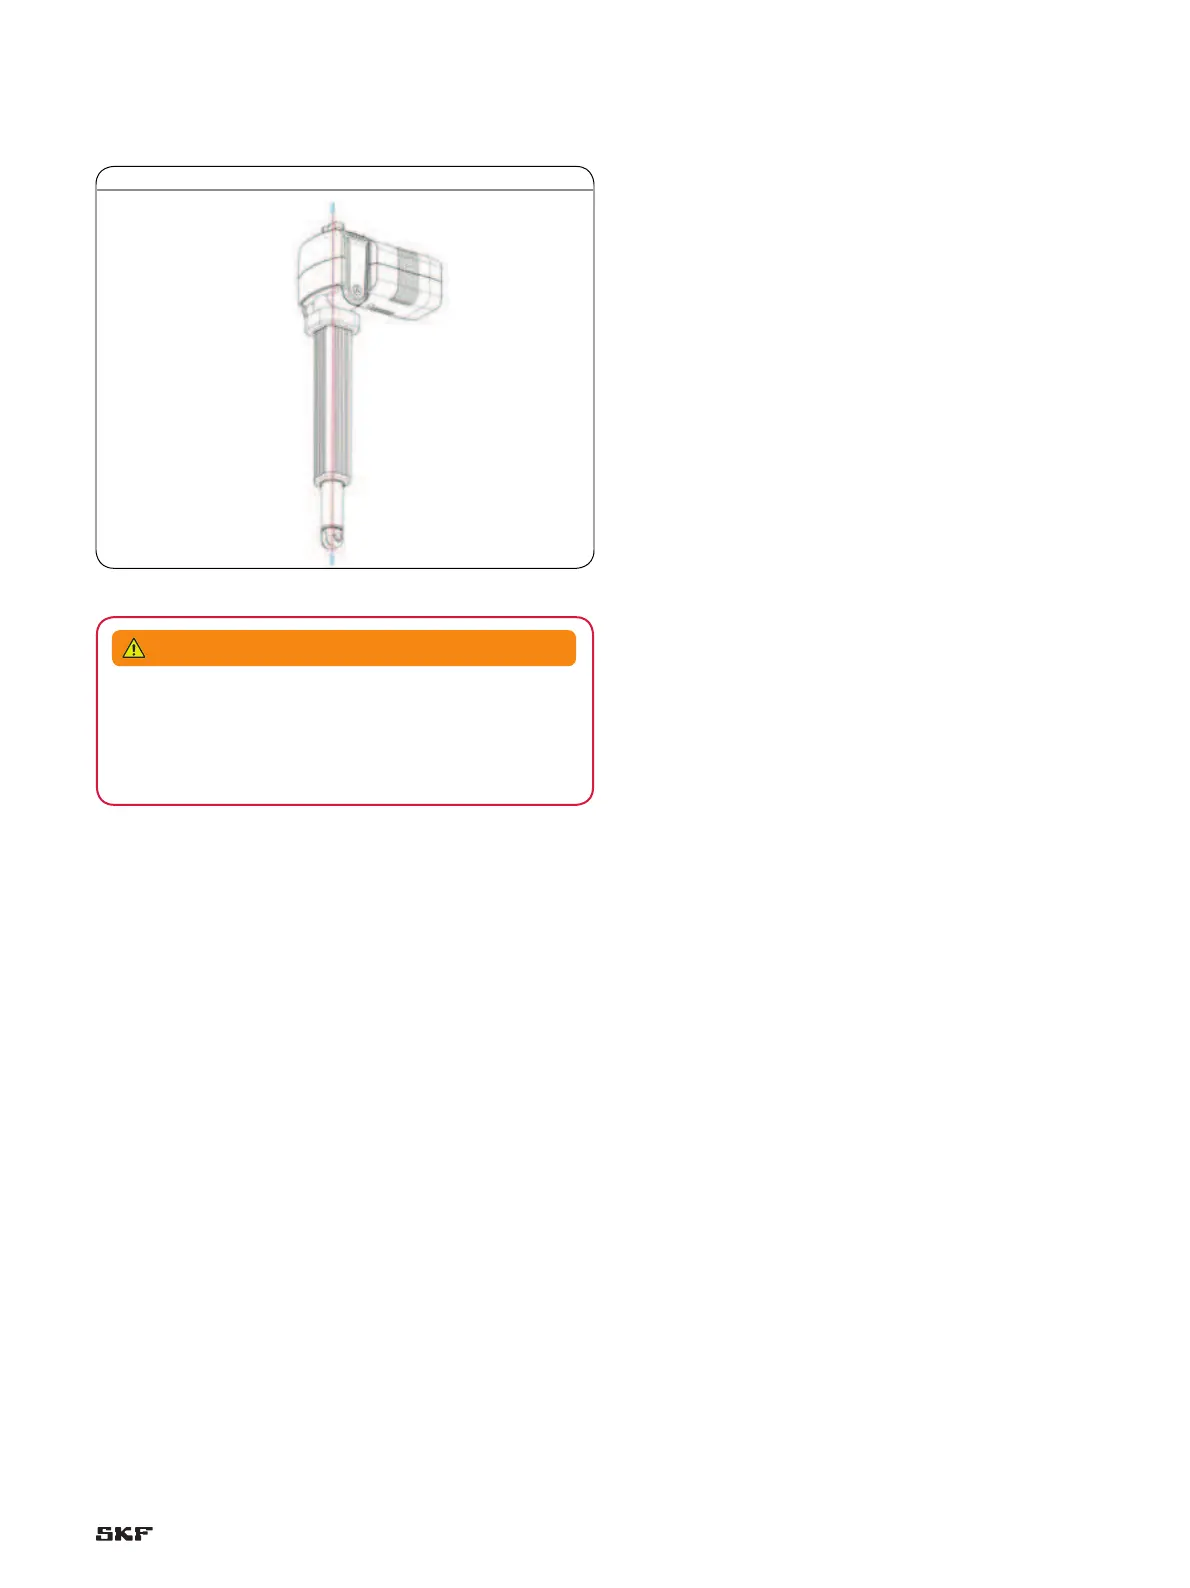
4 Ensure that the applied force is always centrically directed on the
actuator. († fig. 18).
Fig. 18
5 Ensure that the linear actuator is not impacted in its movement
over the entire stroke area. Consider collision tests of the
application.
6 Ensure that the motor cable cannot be squeezed, clamped or
pulled.
7 Connect linear actuator to control unit if necessary
(† Chapter “Connection to the Control Unit”).
8 Connect linear actuator to operating element
(† Chapter “Connection to Operating Element”).
9 Connect linear actuator to power supply.
(† Chapter “Connect to Power Supply”).
10 Ensure that the power plug is accessible at all times.
11 Ensure that none of the supply or control cables can be pinched
by the kinematics of the application or by the linear actuator
during the extension or retraction.
12 Ensure that the installation requirements of the options have-
been adhered to († Chapter “Requirements Concerning the
Installation of the Actuators with Options”).
13 Affix prohibition and warning labels for the application onto the
linear actuator, if necessary († Chapter “Warning labels”).
Risk of injury and material damage due to incorrect
installation!
During installation, do not subject the actuator to side-impact or
to turning forces.
WARNING
43