3. Select None in the Page Scaling drop-down list, clear the Auto-Rotate and Center check box,
and then press OK.
4. Arrange the pages:
o
Page 1 is top left.
o
Page 2 is top right.
o
Page 3 is bottom left.
o
Page 4 is bottom right.
Set page 1 as the bottom page in your stack.
5. Overlap, orient and align the pages according to the guidelines, and then tape the pages
together.
N N O T E
Due to different page sizes and printing options, your pages may not align perfectly onto the
guidelines. If that is the case, align the pages to the central crosshairs.
T T I P S
o
Use a light table or a tablet device set to a white background as an aid when aligning
the pages.
o
To make the mat last longer, consider printing it on heavy cardstock.
C H A P T E R 7
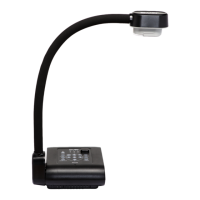
Using Mixed Reality Tools for the SMARTDocumentCamera
52