Chapter 2 Installing the display
smarttech.com/kb/171414 29
Connecting power and turning on the display for
the first time
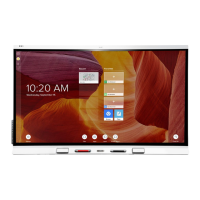
The final step in installing and configuring the display is to connect power and turn it on. When you first
turn on the display, a setup wizard appears. Follow the steps in the wizard to complete the setup.
To connect the display to power
Connect the supplied power cable from the AC power inlet on the back of the display to a power
outlet.
Notes
o
Refer to the display’s specifications for power requirements and power consumption
information (see
More information
on page19).
o
The AC power output on the back of the display is rated at 250 W.
To turn on and set up the display for the first time
Important
Install the OPSPC module before you turn the display on.
Note
If a USB drive is connected to the display’s service port, do not remove the USB drive. The USB drive
contains an important firmware update.
1. Flick the switch beside the AC power inlet to the ON(I) position.
2.
Press the Power button on the front control panel or remote control

 Loading...
