Chapter 2
Installing the display
smarttech.com/kb/171744 25
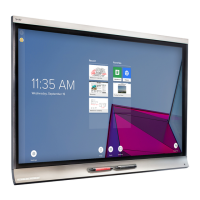
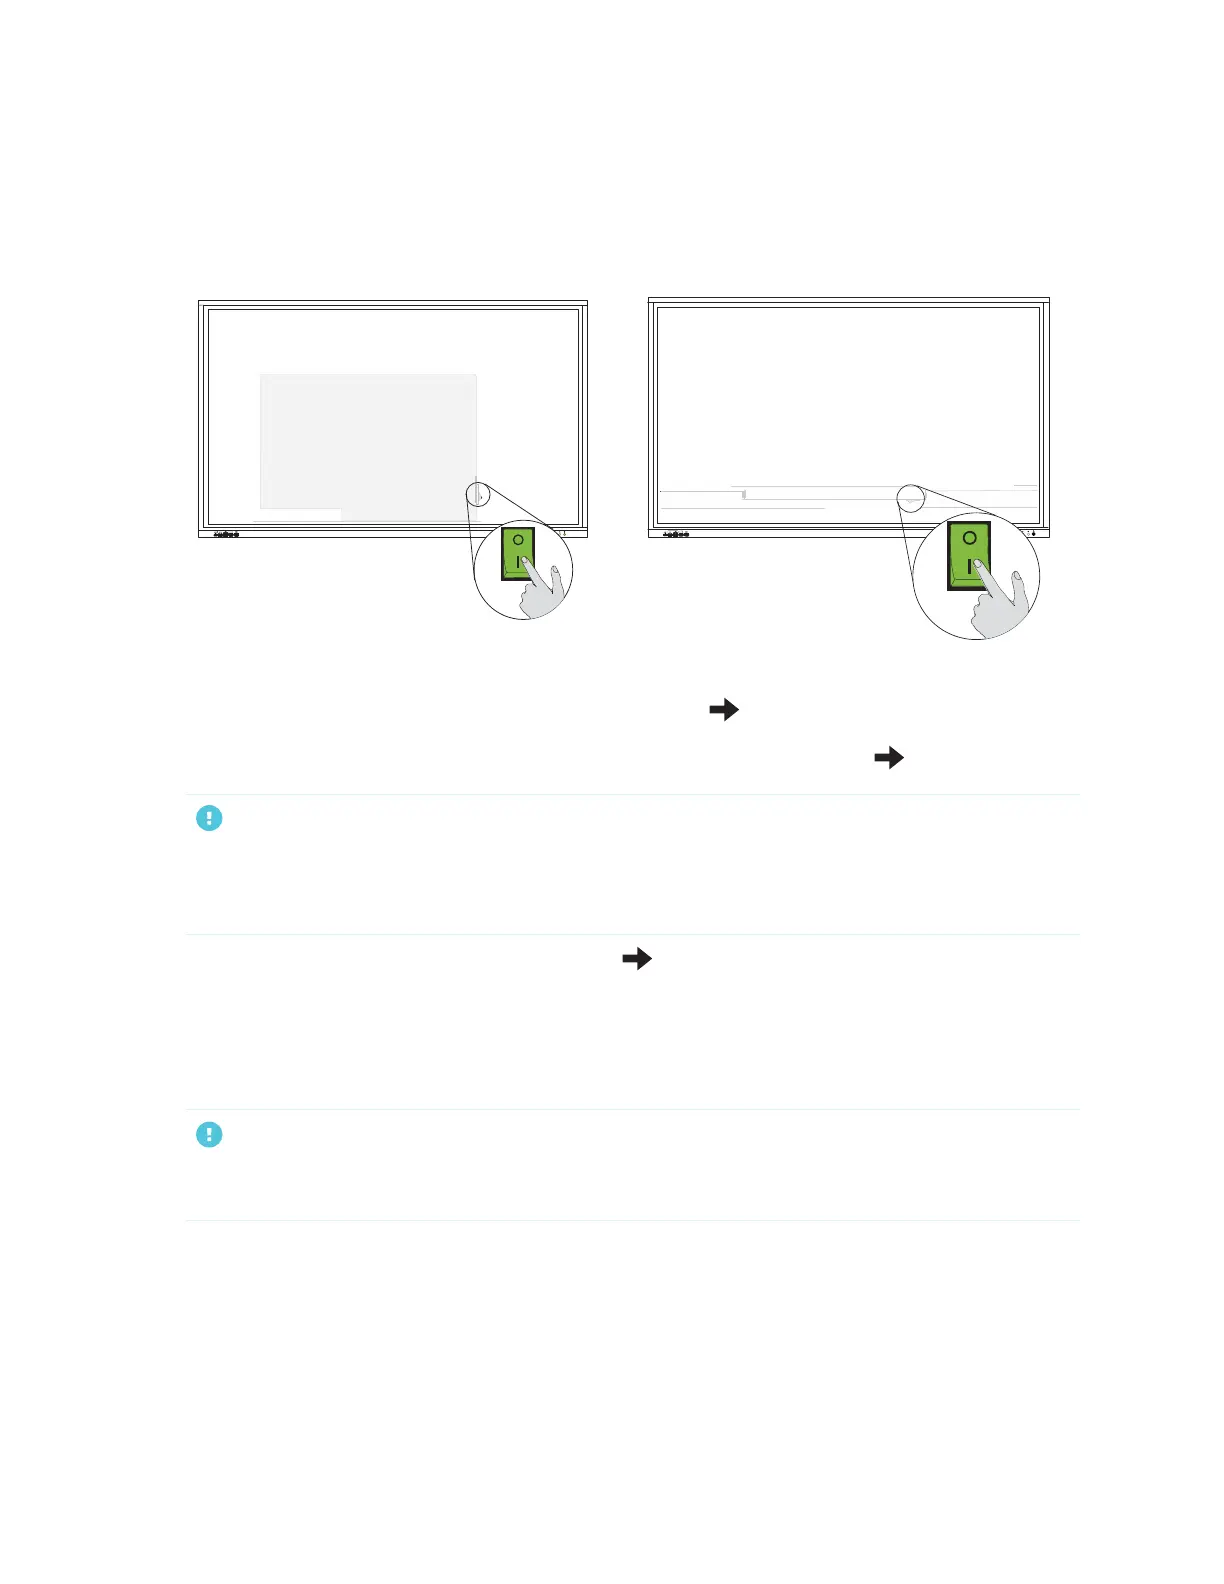
1. Flick the power switch beside the AC power inlet on the rear of the panel to the ON (I) position.
SBID-GX165 SBID-GX175 and SBID-GX186
2.
Select your preferred language, and then tap the Next icon .
3.
Select an Ethernet connection or wireless network, and then tap the Next icon .
IMPORTANT
The display needs an internet connection for downloading and installing important updates. Ask the
network administrator to confirm the display can access the network by verifying the display’s built
in browser has access to the internet.
4.
Set the date and time, and then tap the Next icon .
You can also enable the display’s date and time to be set automatically (see Date, time, and language
settings on page76).
5. Set a password for the screen lock feature, and then tap Enter.
IMPORTANT
Ensure the password is recorded and made available to authorized users of the display. The
password must be entered to un-lock the display’s screen when the Lock screen feature is enabled.
The Done screen indicates setup is finished.
Connecting to a network
The display requires a network and internet connection for downloading software and firmware updates.
 Loading...