Chapter 2
Installing the display
smarttech.com/kb/171744 27
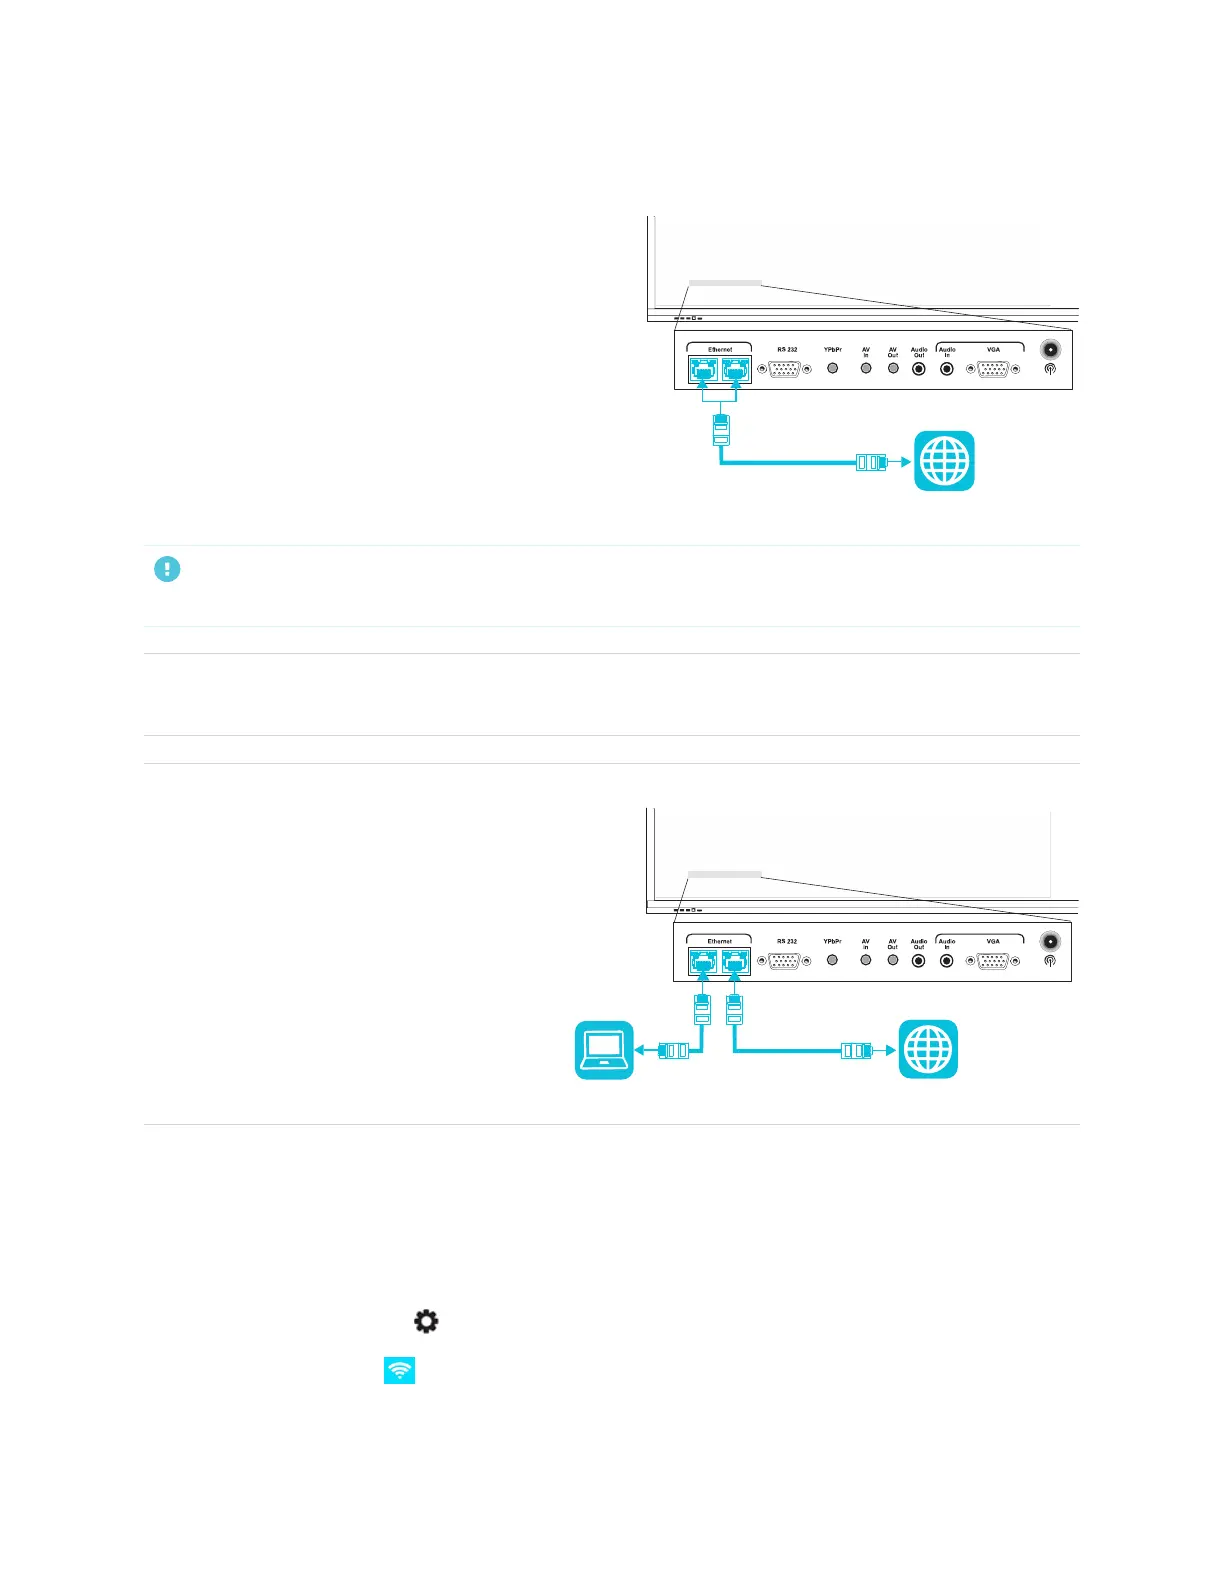
Connecting to a network
The display requires a network and internet
connection for downloading software and firmware
updates. You can connect to a network using Wi-Fi or
one of the RJ45 jacks.
IMPORTANT
Do not use the RJ45 jack on an OPSPC to connect to a network.
NOTE
The network connection on the display is shared internally with an OPSPC.
TIP
If you’re using one of the display’s RJ45
jacks to connect to an Ethernet network, you
can connect the other RJ45 jack to a
computer to provide network access for the
computer. This is particularly useful if there is
only one wired network connection in the
room. (Network access is available when the
display is on or in Standby mode but not
when it’s in Power Save mode).
Connecting the display to a network
The display can connect to a network using either Wi-Fi or an Ethernet connection.
To connect to a Wi-Fi network
1.
Press the Settings button on the front control panel.
2.
Tap the Network icon > WLAN.
 Loading...