P
Patrick AbbottSep 12, 2025
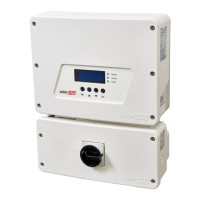
What to do if SolarEdge Inverter displays 'Ground Disconnected Disconnect from EV'?
- SSierra MartinSep 12, 2025
If the SolarEdge Inverter shows 'Ground Disconnected Disconnect from EV', disconnect the EV Charger cable from the vehicle.