76
Configure your connected home
Add devices
1 Connect to the TaHoma® web interface using “somfy-connect.com”
2 Follow the instructions on the screen
TaHoma Advanced
TaHoma
TaHoma® is compatible with a wide range of devices from Somfy and its partners. These devices use
different technologies, and are therefore grouped by family. The Somfy device families appear in the
tabs by default.
An USB extension is required to ensure compatibility with certain partners.
When it is connected, the corresponding family automatically appears in the tabs.
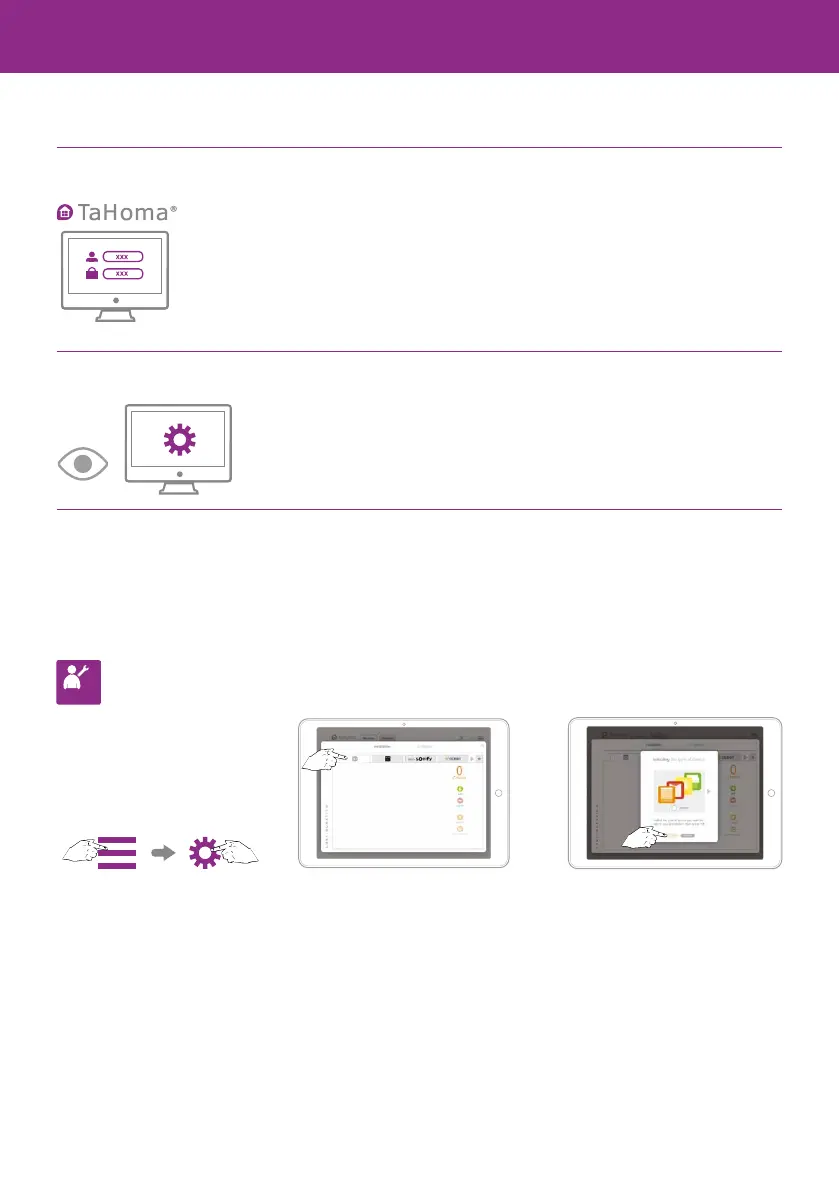
Installer s
Follow the instructions on the
screen to go to the Configuration
section of the main menu: then...
...select the technology used
by the device that you want to add.
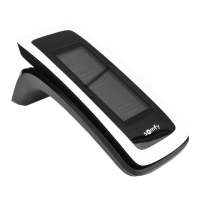
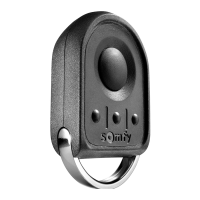
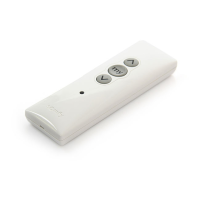
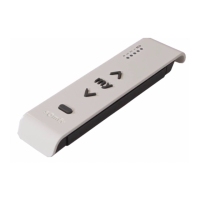
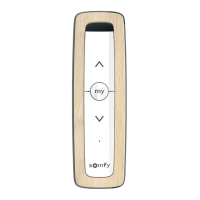
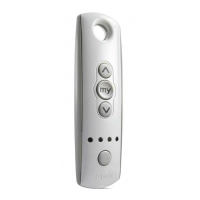
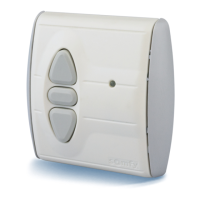
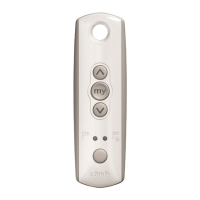
To find out which technology your
Somfy device uses, look on the
back of the product or the remote
control for it.
Then click “add” and follow the
instructions on the screen.
Rename your devices straight away
to find them again later.
The icons for your devices
appear in the central box.
If you have several similar devices,
TaHoma® will also automatically create a
“group” icon containing all of those devices.
You can go back to your settings at any time to add,
modify or delete devices. From the main menu,
access Configuration again.
Step 1: Add devices
Step 2: Customise your home
 Loading...