5-15
9. White Balance Check
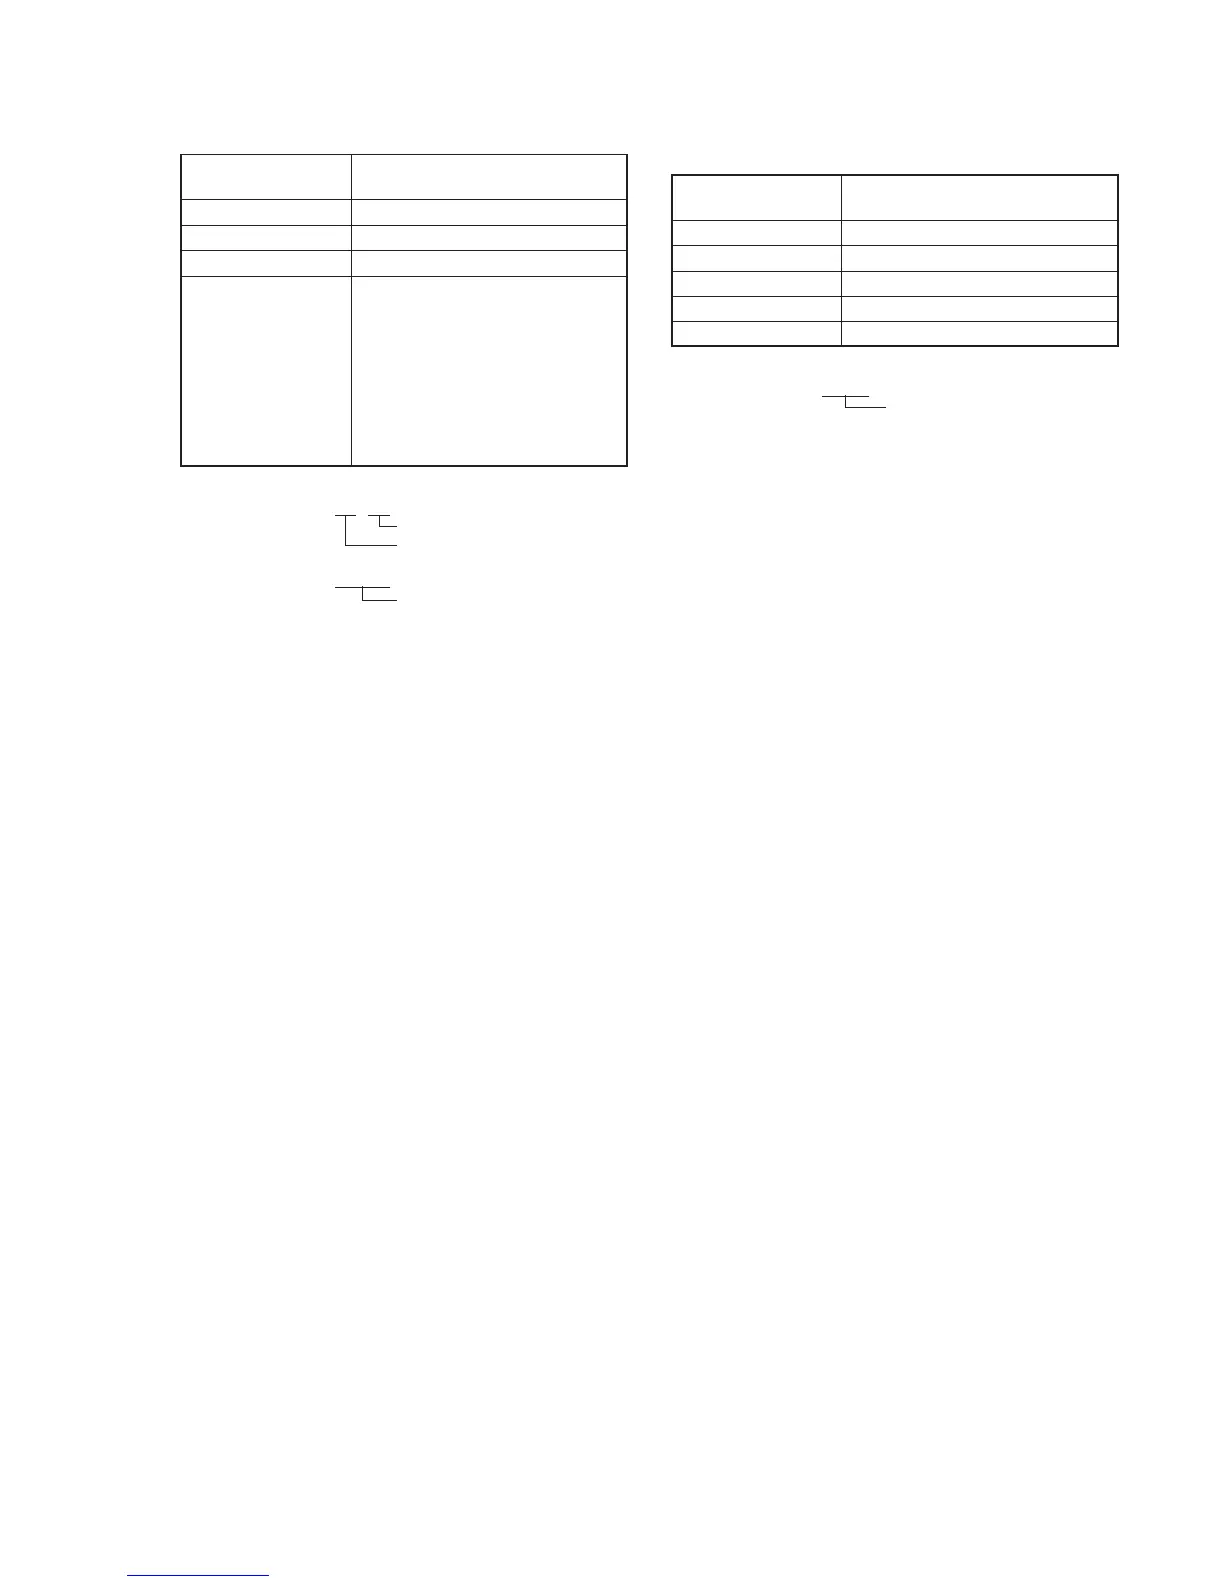
Subject Clear chart
(Color bar standard picture frame)
Filter ND filter 1.0 and 0.3
Measurement Point Display data of page: 1
Measuring Instrument Adjustment remote commander
Specified Value R-Y data:
FC to FF or 00 to 04 (Note1)
B-Y data:
FC to FF or 00 to 04 (Note1)
Light level data:
Without ND filter:
0E10 or more (Note2)
With ND filter 1.3:
0D00 or less (Note2)
Note 1: Displayed data of page 1 of the adjustment remote commander.
1 : XX : XX
R-Y data
B-Y data
Note 2: Displayed data of page 1 of the adjustment remote commander.
1 : XX : XX
Light level data
Checking method:
1) Check that the lens is not covered with the ND filter.
2) Select page: 0, address: 01, and set data: 01.
3) Select page: E, address: 11, set data: 15, and press the PAUSE
button of the adjustment remote commander.
4) Select page: 0, address: 03, and set data: 02.
5) Select page: 2, address: 10, and set data: 58.
6) Select page: 2, address: 56, and set data: 56.
7) Select page: 2, address: 01, set data: 0F, and press the PAUSE
button.
8) Select page: 1, and check that the R-Y data satisfies the specified
value and the B-Y data satisfies the specified value. (Note1)
9) Select page: 0, address: 03, and set data: 06.
10) Select page: 1, and check that the light level data satisfies the
specified value. (Note2)
11) Place the ND 1.3 filter on the lens.
12) Select page: 1, and check that the light level data satisfies the
specified value. (Note2)
Processing after Completing Adjustments
1) Select page: 2, address: 01, set data: 00, and press the PAUSE
button of the adjustment remote commander.
2) Select page: 2, address: 10, and set data: 00.
3) Select page: 2, address: 56, and set data: 00.
4) Select page: E, address: 11, set data: 18, and press the PAUSE
button.
5) Select page: 0, address: 01, and set data: 00.
6) Select page: 0, address: 03, and set data: 00.
10. Strobe Light Level Adjustment
Adjust the minimum gain when the strobe light flashes.
Subject Clear chart
(Color bar standard picture frame)
Measurement Point Display data of page : 1
Measuring Instrument Adjustment remote commander
Adjustment Page E
Adjustment Address 81
Specified Value 01E7 to 0267
Note: Displayed data of page 1 of the adjustment remote commander.
1 :XX:XX
Object data
Adjusting method:
1) Select page: 0, address: 01, and set data: 01.
2) Select page: E, address: 70, set data: 03, and press the PAUSE
button of the adjustment remote commander.
3) Select page: E, address: 71, set data: 00, and press the PAUSE
button.
4) Select page: 2, address: 10, and set data: 58.
5) Select page: 2, address: 01, set data: 9D, and press the PAUSE
button.
6) Select page: 1, and read the display data (Note). If the display
data lies within the “0207” to “0247” range, perform
“Processing after Completing Adjustments”.
7) Select page: E, address: 81, change the data, and press the
PAUSE button.
8) Select page: 1, and check that the display data lies within the
“0207” to “0247” range. If not, repeat steps 7) to 8).
9) Select page: 2, address: 01, set data: 00, and press the PAUSE
button.
10) Select page: 2, address: 01, set data: 9D, and press the PAUSE
button.
11) Select page: 1, and check that the display data satisfies the
specified value.
Processing after Completing Adjustments
1) Select page: E, address: 70, set data: 00, and press the PAUSE
button of the adjustment remote commander.
2) Select page: E, address: 71, set data: 00, and press the PAUSE
button.
3) Select page: 0, address: 01, and set data: 00.
4) Select page: 2, address: 01, set data: 00, and press the PAUSE
button of the adjustment remote commander.
5) Select page: 2, address: 10, and set data: 00.