7. Quality Assurance CRANEX Novus e
52 User manual 208898
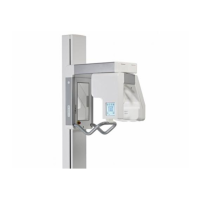
6. The QA program screen appears. Here the
user can select from two preset programs
which to use for the QA exposure.
QA 1 for use with 0,8mm thick Cu fi lter
QA 2 for use with 1,8mm thick Cu fi lter
7. Select the QA program to be used
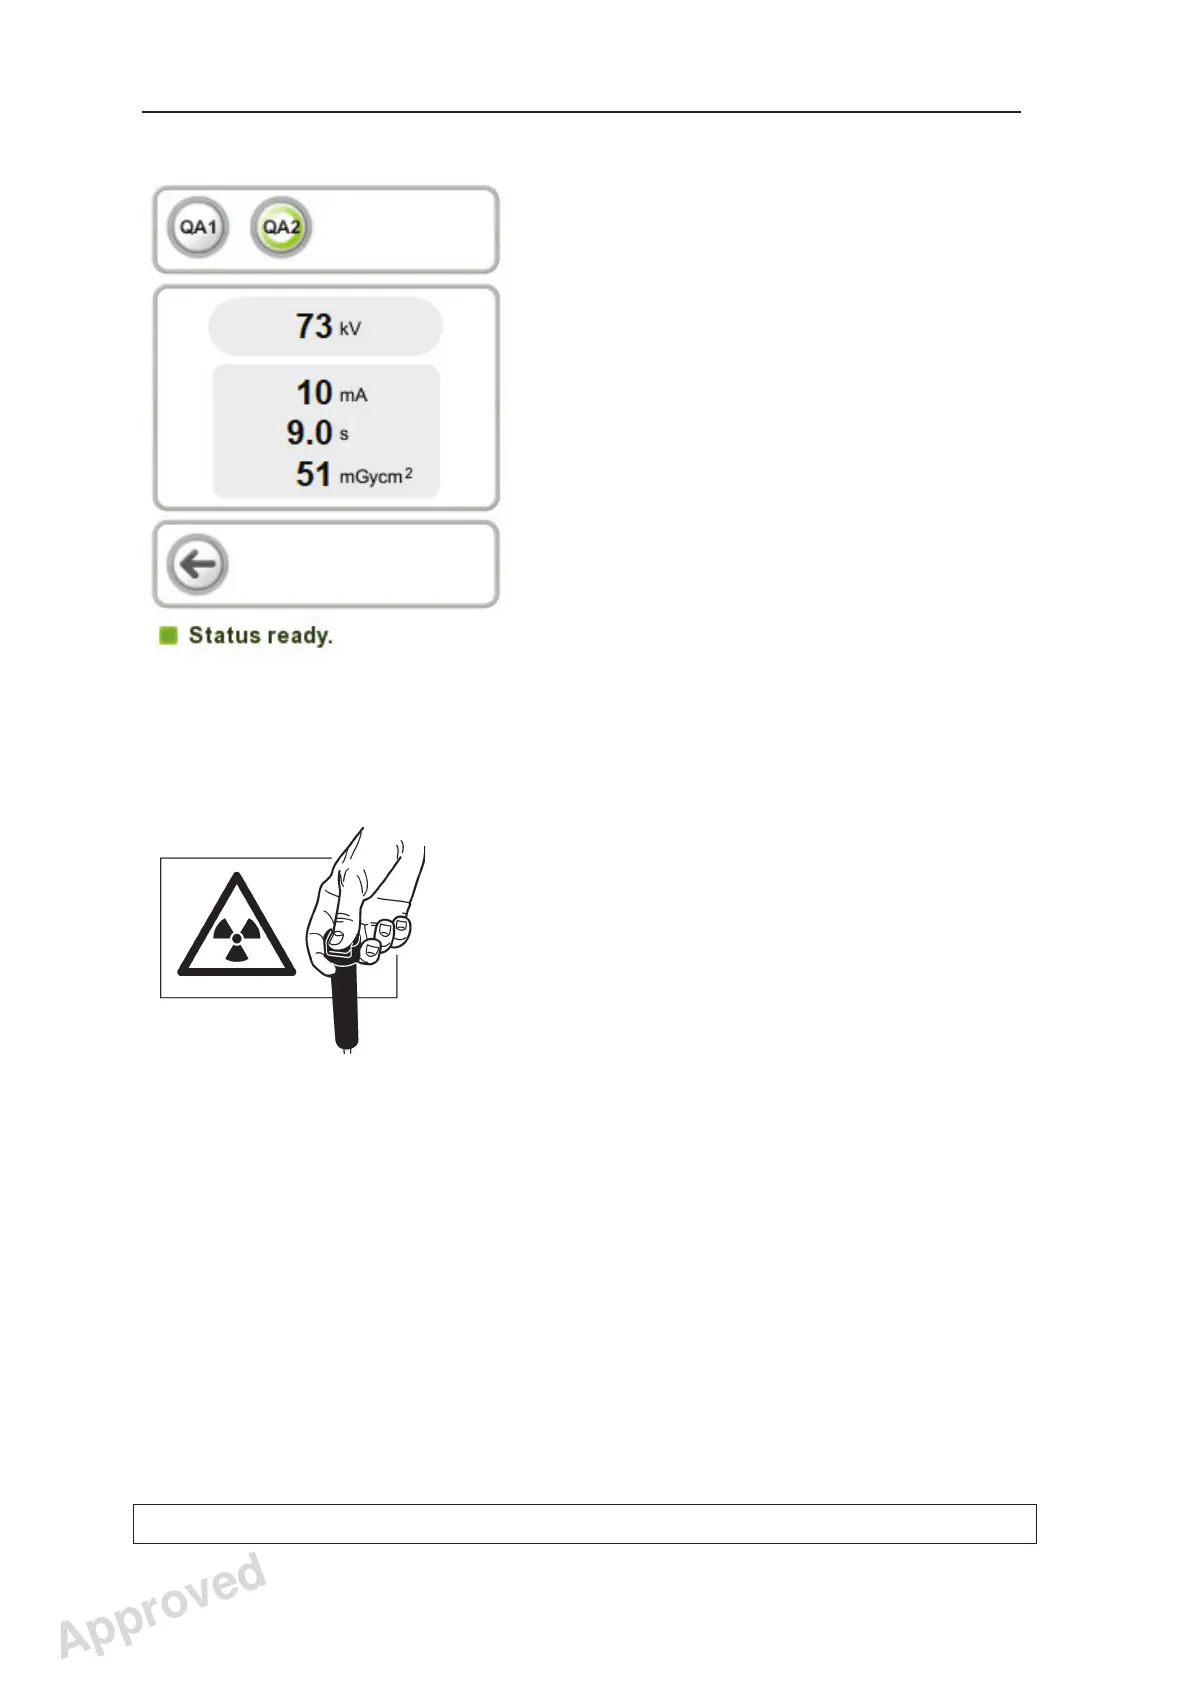
8. Move at least two metres away from the unit and
protect yourself from radiation.
9. Press and hold down the exposure button for
the duration of the exposure. The exposure
starts when you hear the exposure warning
signal and the exposure warning indicator
(control panel) and light (side of the unit) come
on. The rotating unit will rotate around the test
phantom and take the exposure. When the
exposure warning signal and rotating unit stop,
the exposure has been taken.
10. PC: After the exposure has been taken a
progress bar will appear. This indicates that the
image is being transferred to the PC.
11. Press the Return key to drive the unit to the PIO
position.
Approved: Ukkonen Juha-Pekka 2015-03-13 13:08
Reviewed: Savinen Antti Juhani 2015-03-12 11:32
Approved
See PDM system to determine the status of this document. Printed out: 2016-01-27 12:19:26
D508980, 4
Copyright © 2015 by PaloDEx Group Oy. All rights reserved.