| Specim IQ User Manual | 27
See Making Data Recording Settings on page 32.
8.
When done, press the SHUTTER button completely.
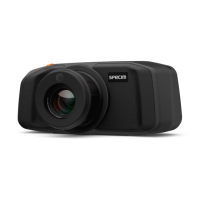
The camera starts the spectral camera, measures a dark frame, and begins scanning. A progress bar is shown on
the screen.
Figure 35: Recording Datacube
9.
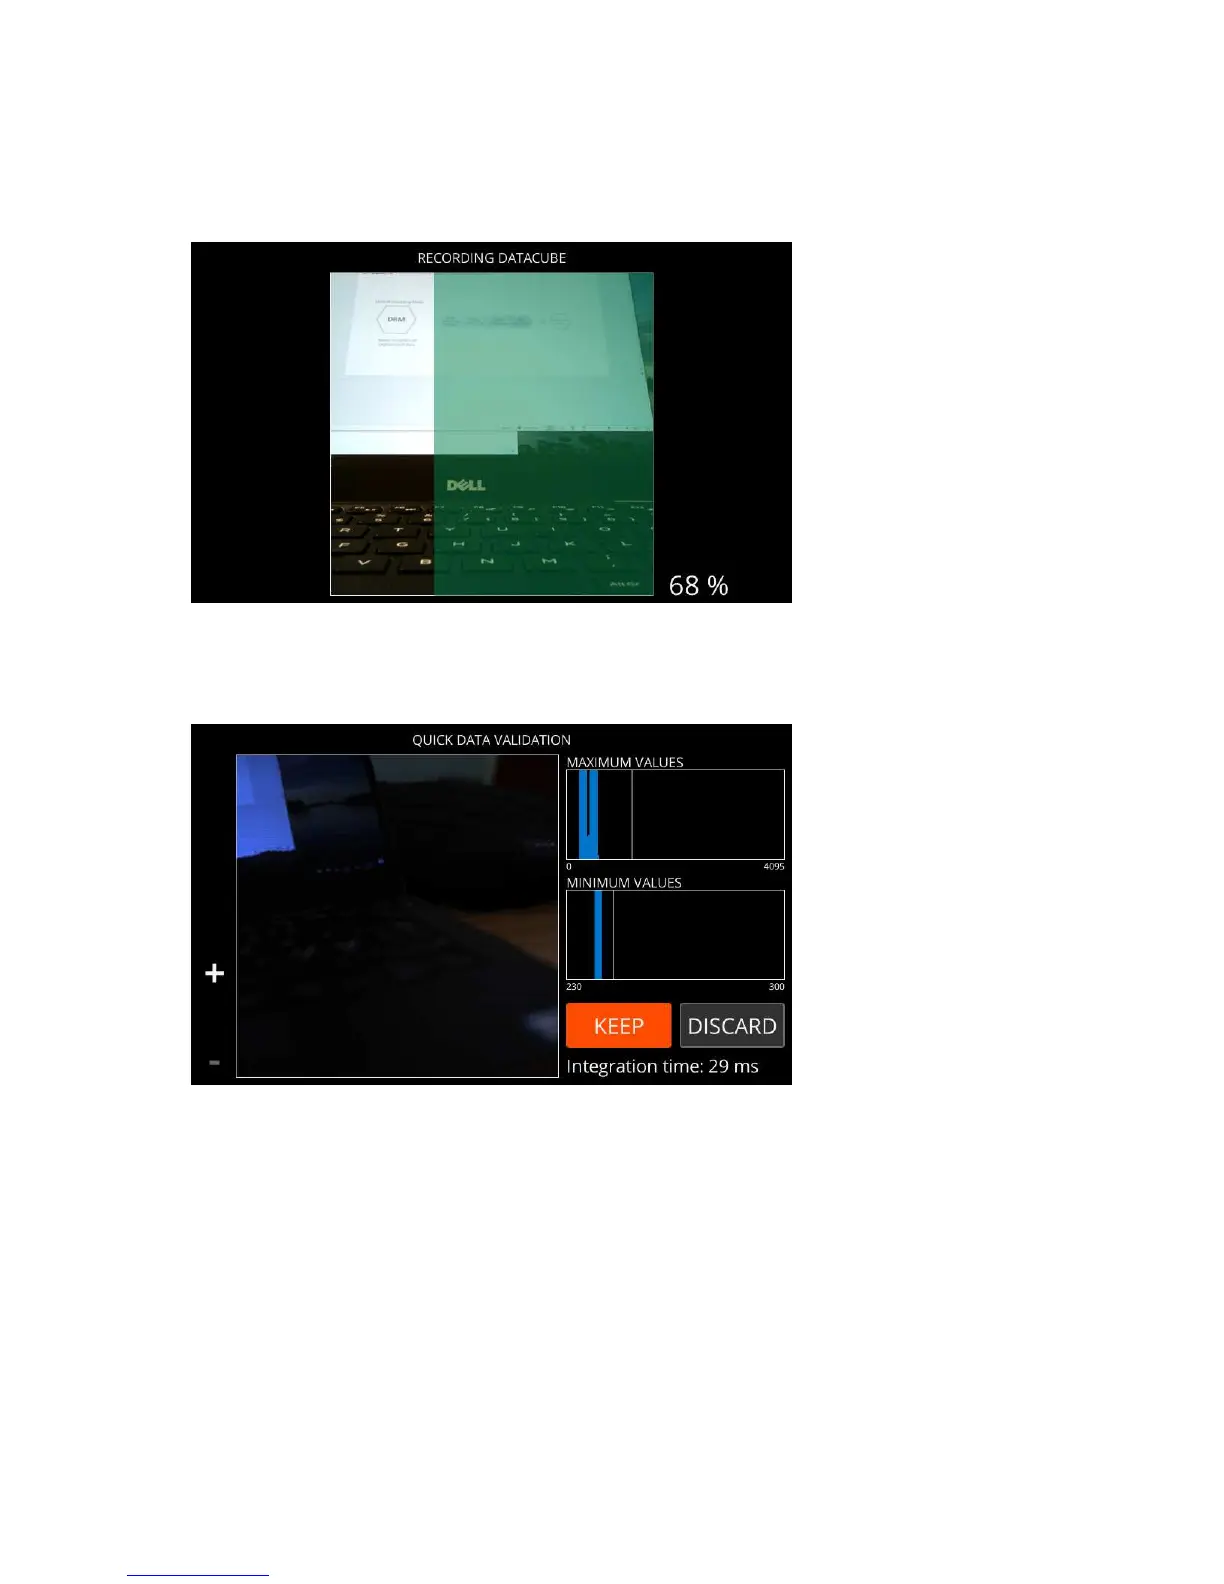
Validate the recorded data.
The screen below is opened:
Figure 36: Data Validation
For more information, see
Quick Data Validation on page 34.
Select either:
• KEEP — If you are satisfied with data quality, select KEEP to continue.
• DISCARD — If you are not satisfied with data quality, select DISCARD to return to viewfinder.
• Save RAW — If you have enabled Enable saving RAW images in advanced settings, you can press the
Custom 1 button to save RAW data only, and return to viewfinder.
10.
Select the white reference area.
See
Selecting the White Reference Area on page 33.
11.
Select SET to carry out the reflectance transformation.
The screen below is opened: