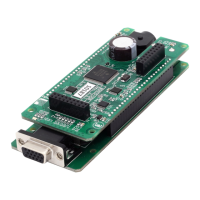
The motor controller board.
The controller appearance may differ from the one shown on the above figure depending on its configuration and version. For
detailed information about versions please read the Appearance and connectors 8SMC5 chapter.
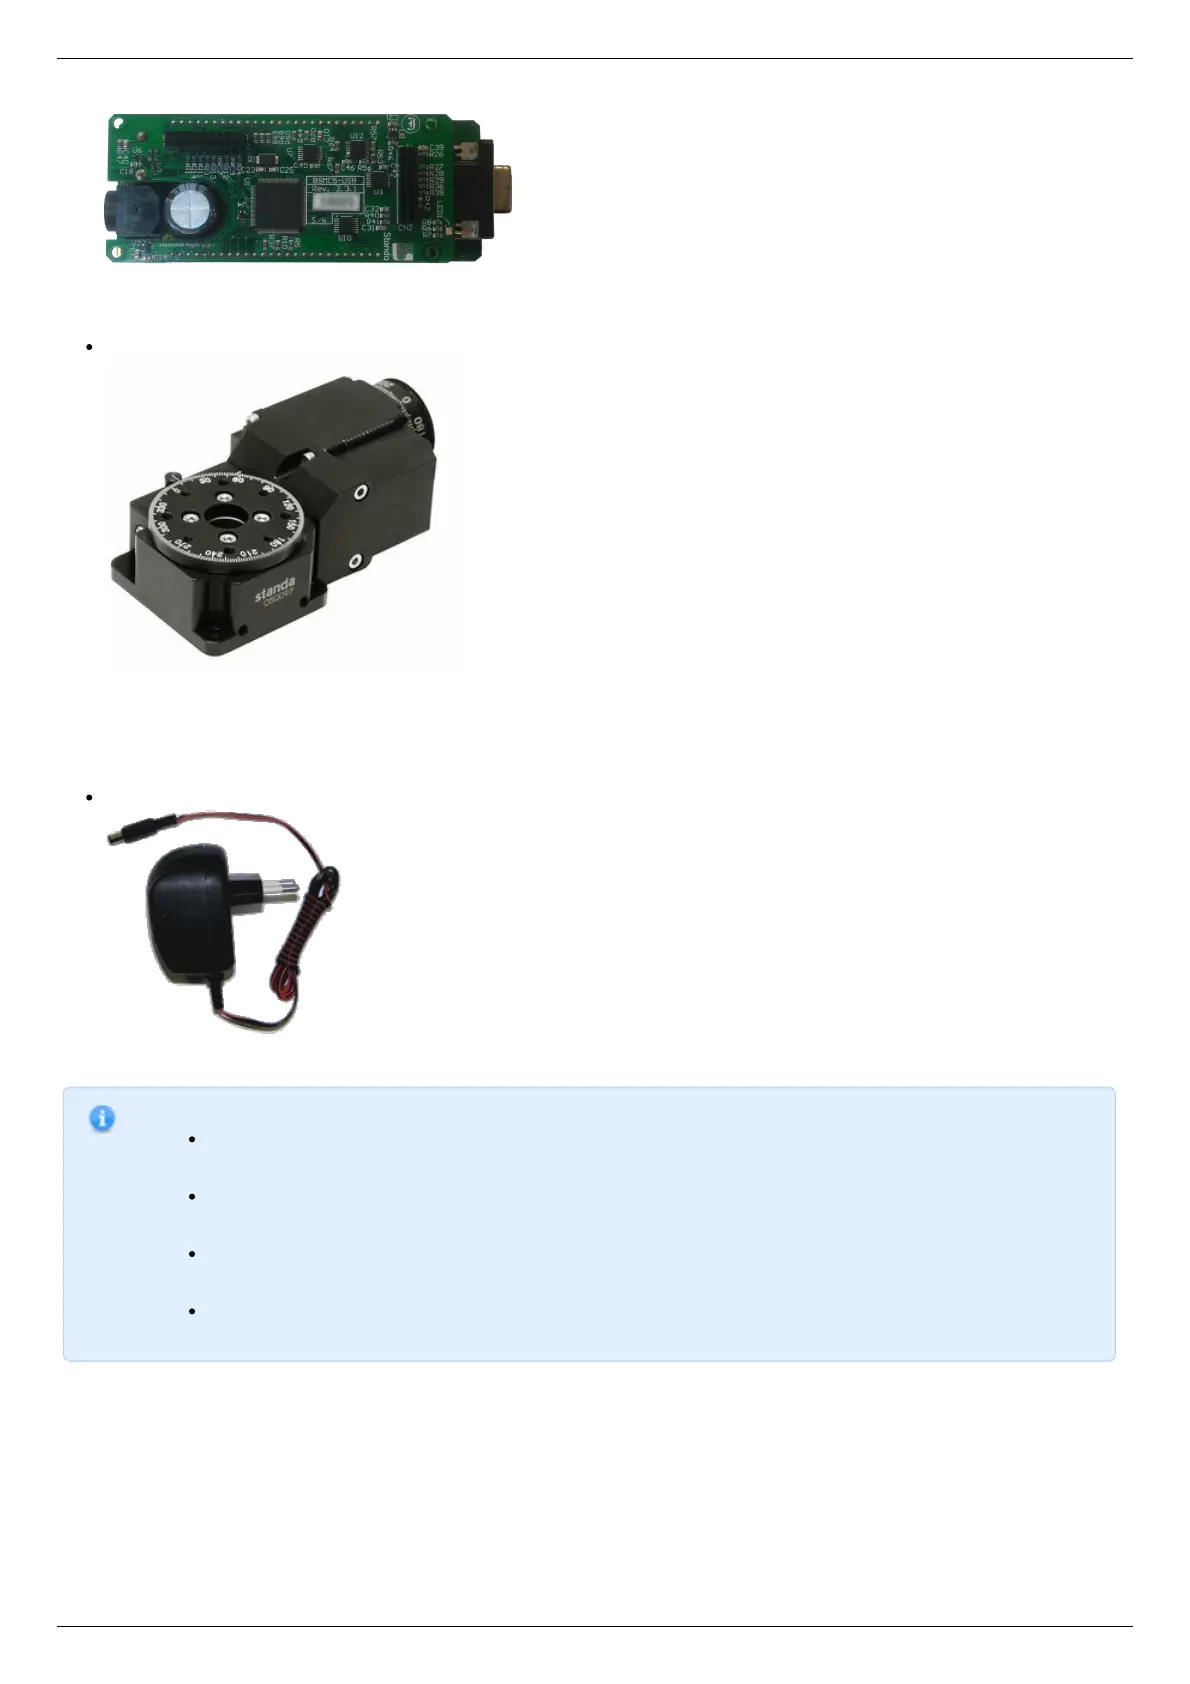
Positioner or motor
The stepper motor-based positioner.
The stepper motor-based positioner used in the operations is shown at the figure. The detailed motor requirements are described
in Specifications chapter. If you use your own cables for connecting the positioner to the controller, please refer to positioner
connection scheme and the controller's output connector scheme . For positioners with limited movement range, two limit
switches must be used: SW1 and SW2. These pins are used to determine the movement limits.
Power supply
Stabilized power supply unit.
Notes.
Please use the 12–36V DC stabilized power supply. Too high voltage may damage the controller. For more
information please read the Safety instructions 8SMC5 chapter. The power supply unit must provide the current
enough for sustainable rotation of the motor.
Please pay attention on the manual supplied with your controller. The more strict power voltage limitation is
possible depending on the controller model. Please check the connection of external power supply unit to the
controller carefully.
If controller is supplied inside the metal case, the case must be grounded. If controller is supplied without any
body, the grounding circuit of power supply unit is used. For more information please read the Safety
instructions 8SMC5 chapter.
If the board is operated without the casing, make sure it lays on the insulating surface and there are no
extraneous particles on the board or around it.
Software installation and startup procedures
Make sure that all controllers are disconnected from your PC.
The software installation manual is here. The installer file name is "xilab-<version_name>.exe". It automatically detects whether it is
running on 32-bit or 64-bit version of Windows and installs the appropriate version of XiLab. Launch the installation program, the
installation window will appear. (The software versions may slightly differ from each other).