9 Update the Device
User Manual 313/374
6. Save your settings and close the file.
The complete update procedure will be logged in a file. The default name of this log file is tc1_updater.log.
How to start the Updater
1. Set the file permissions of the start script tc1_updater_for_linux of the updater to "executable":
user@pc-name:~$ chmod +x tc1_updater_for_linux
#(has to be executed only once)
2. Execute the start script:
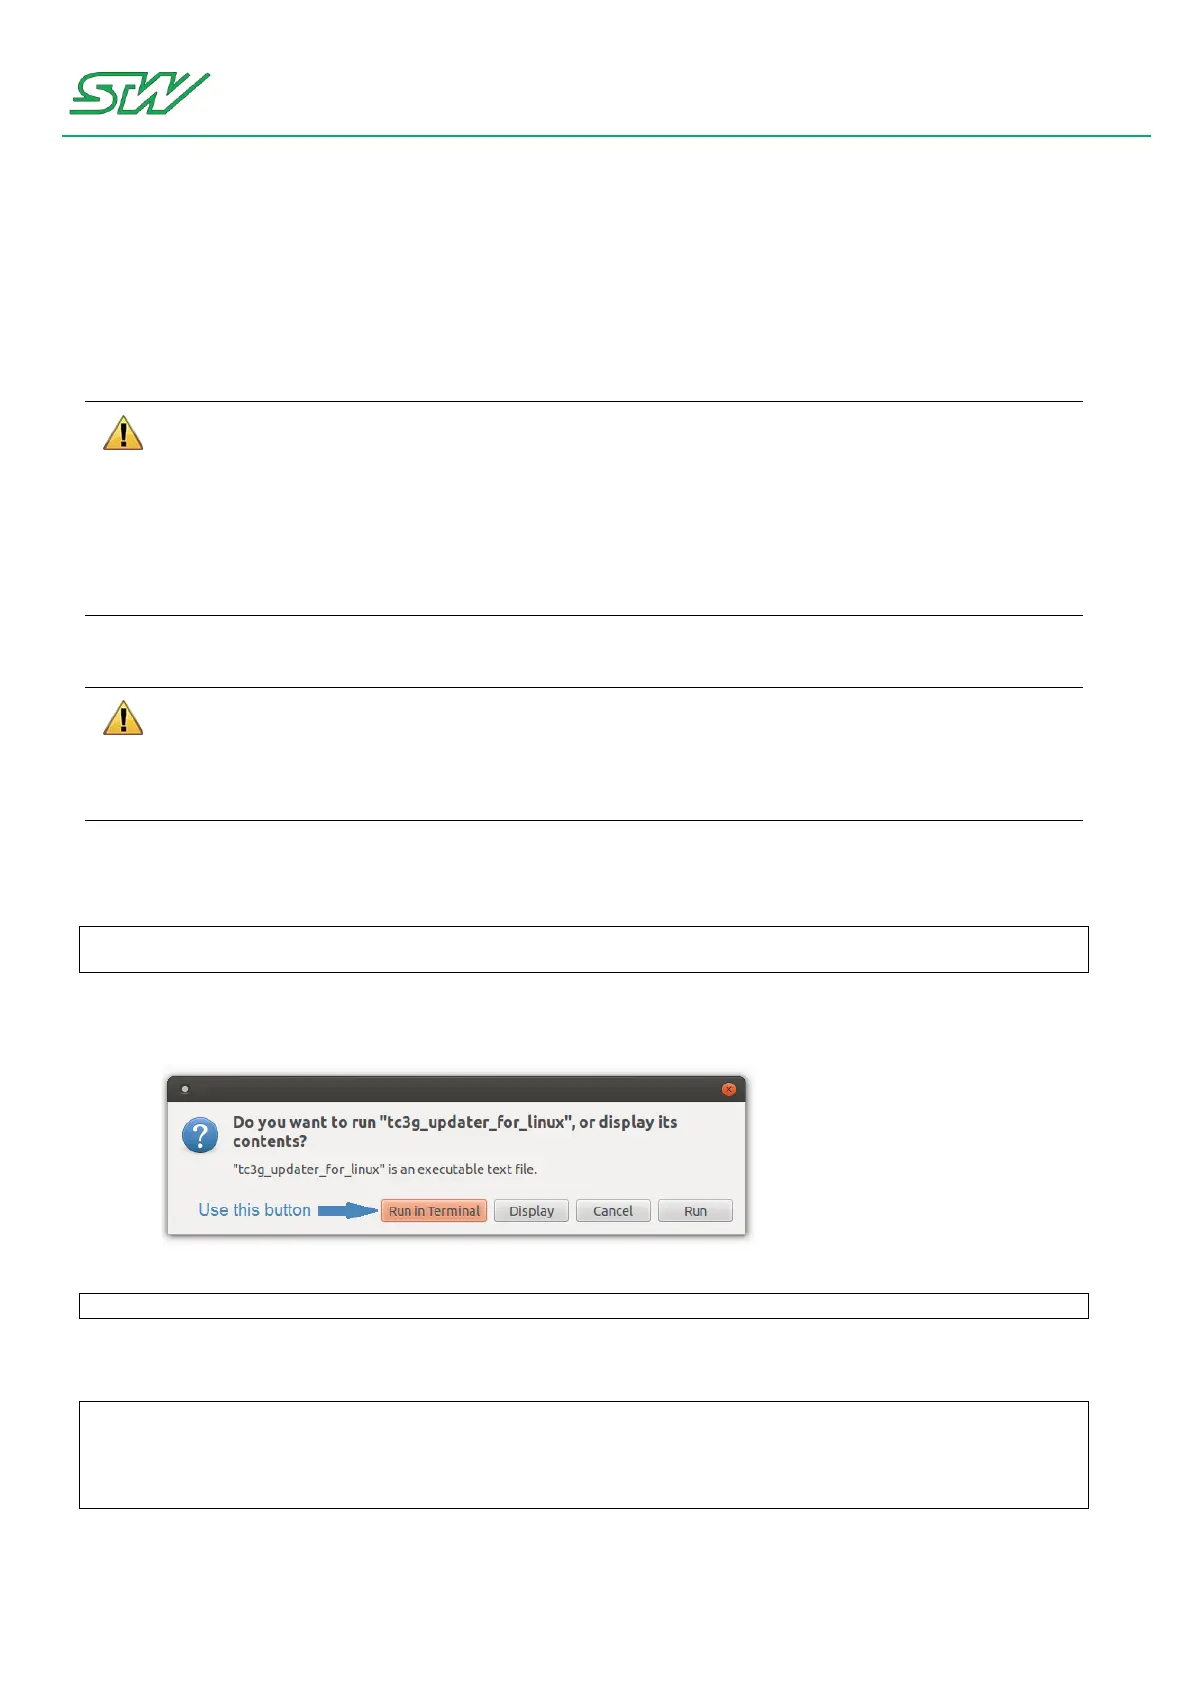
a. Execute the script via mouse click:
b. Or, via terminal:
user@pc-name:~$ ./tc1_updater_for_linux
When starting the updater via terminal, it is possible to use command line parameters:
user@pc-name:~$ ./tc1_updater_for_linux -n
# starts the updater without the GUI, uses the configuration from the config.ttl file
user@pc-name:~$ ./tc1_updater_for_linux -h
# prints a short help showing all possible parameters
Do not interrupt the update process!
If the update process is interrupted during the update of the U-Boot component, it is not possible
to access the board from an external interface any more.
In this case the controller has to be sent back to STW for reprogramming.
The U-Boot is updated in one of the last update steps.
Interrupting the update process during any other step is not too critical, since it can just be restarted.
Do not use an U-Boot .bin file from an older BSP. Downgrading from U-Boot 2012.10 to U-Boot
2008.10 will destroy the U-Boot. After that, the controller has to be sent back to STW for
reprogramming.