Arc test procedure
The fusion splicer has a built-in Arc test feature that should be used to ensure consistent
high-quality splices with low splice losses. Performing an arc test automatically adjusts
the arc power and position to compensate for environmental conditions, electrode wear
and the melting characteristics of the fiber types in use.
.
Situations that should prompt an arc test are:
•Initial splicing set-up
•Changing fiber types
•Extreme changes in temperatures, humidity or air pressure
•Poor splice performance
22
•After electrode replacement
1: Strip the coatings, clean, cleave and insert the
fibers. (Hereinafter called “prepare the fiber”)
*After initialization, check to see if the displayed
fiber type and protection sleeve type are correct.
(if not, change the settings, referring to page 39.)
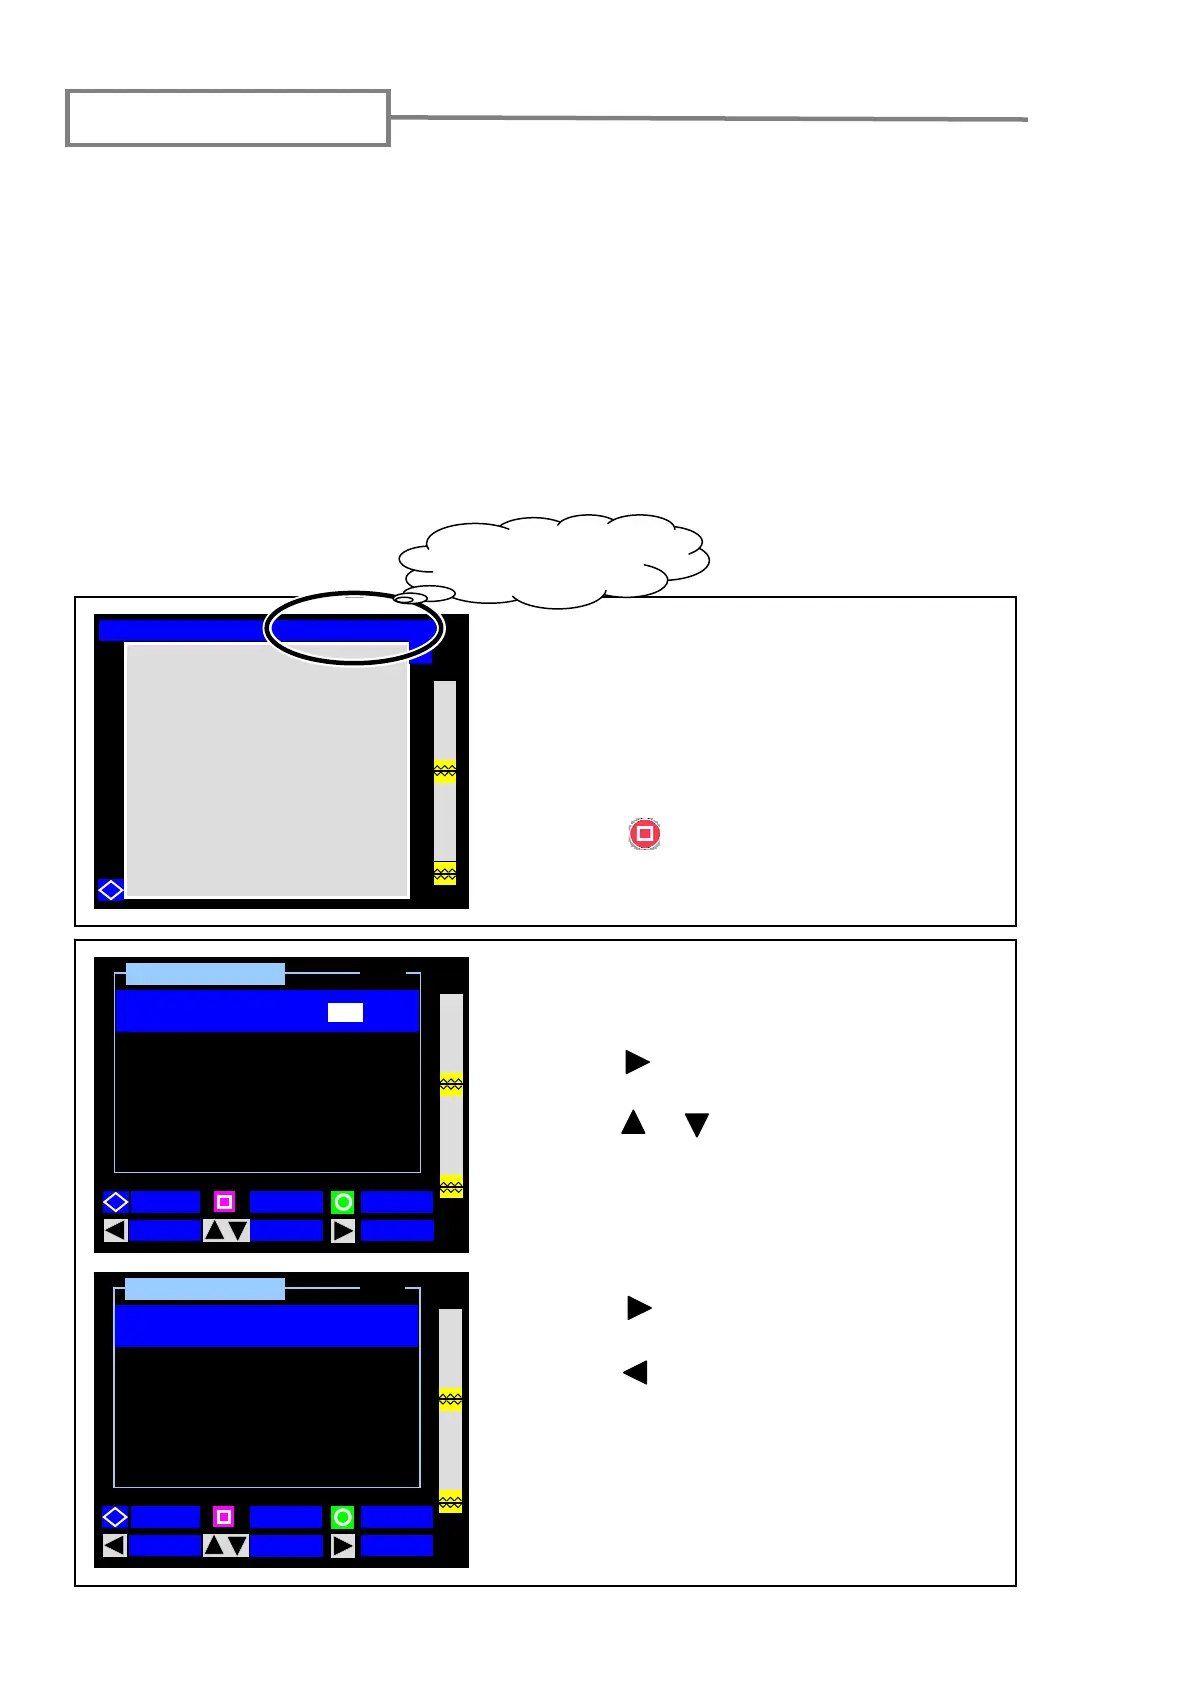
2: Press the (CONDITION) key.
3: The “condition setting” screen is displayed.
(“Arc Test” is selected.)
4: Press the (SELECT) key.
“OFF” is highlighted.
5: Press the or key to change to “ON”.
Ready [SM:12c-40mm 12c]
Y
Selected fiber type and
protection sleeve
Condition Settin
Arc Test
1 / 3
Arc Center
[240] dot
[ON]
6: Press the (SELECT) key.
Make sure that “ON” is displayed.
7: Press the (BACK) key.
“Arc Test Ready” screen will be displayed.
Condition Setting
Arc Test
1 / 3
Arc Center
[240] dot
BACK
MOVE SELECT
PAGE
[OFF]
BACK MOVE
SELECT
PAGE