32
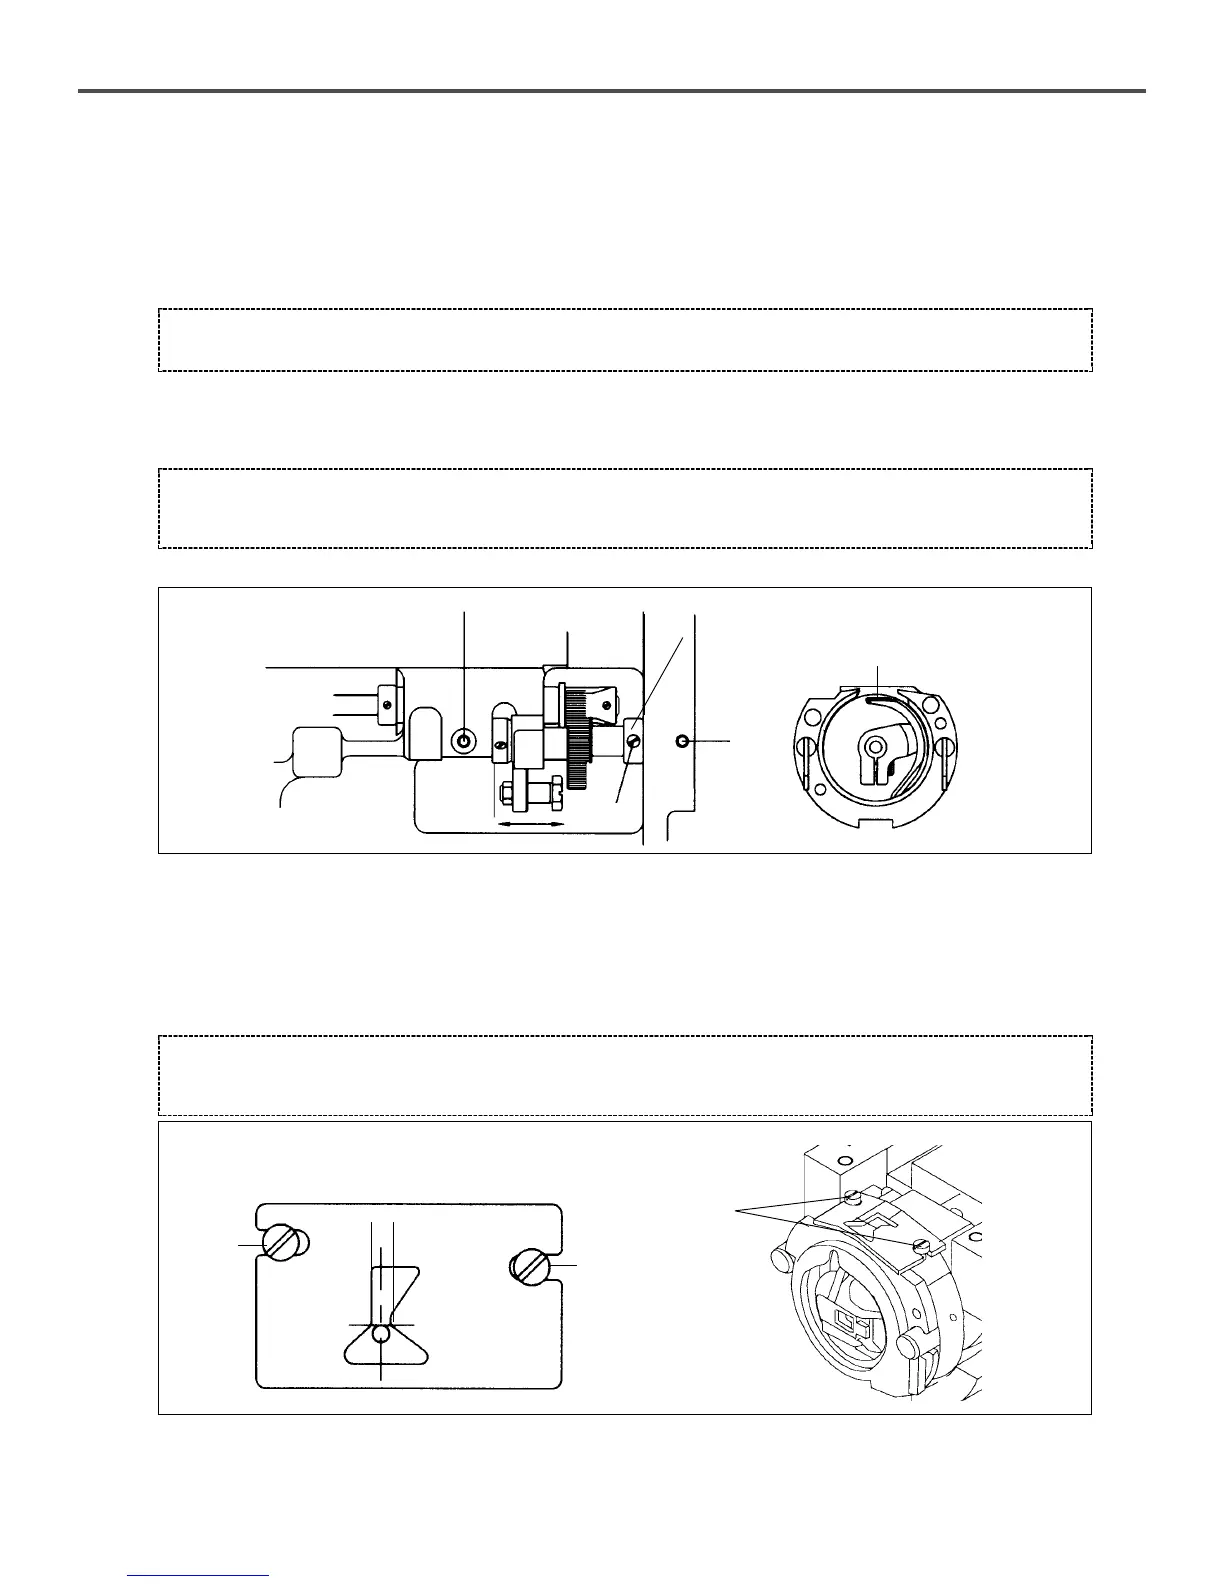
3) Adjustment of the lower shaft gear and the shaking shaft gear
A. Loosen the screws ①, ② and ③.
B. While rotating the upper shaft, move the shaking shaft gear towards the arrow direction to find a position where the
gear moves smoothly without any load.
C. Press the oscillator shaft collar (right) to the bed surface firmly together and fasten the collar screw②.
D. With the oscillator shaft collar (right) stuck to the bed surface , turn the oscillator shaft collar towards the arrow
direction. Adjust it so that the end point of the shuttle driver rotates smoothly with less than 0.1mm of backlash.
E. Tighten the screws① and ③.
[Figure 62]
4) Adjustment of the position of the shuttle upper spring
Remove the lower feed plate and the needle plate from the machine and unfasten the screw① of the shuttle upper
spring. Adjust the position of the shuttle upper spring to bring the backside of the needle to the point vertically, and
the needle center to the middle of the width horizontally. Fasten the screws after adjustments.
[Caution]
The machine may not operate if the shaking shaft gear is not in the right position.
[Caution]
If there is too much backlash, the machine may generate much more noise than usual in operation, and if there is too
little, the machine may not operate at all.
[Figure 63]
[Caution]
The thread may break or thread strands may unravel if there are scratches or the surface is rough around the groove of
the shuttle upper spring. Be sure to check the status of the spring surface before use.
①
①
Backlash: 0.1mm or under
②
Oscillator Shaft Collar (right)
①
①
③
 Loading...

