43
[Caution]
During the adjustment of the X,Y-guides, please turn off the pneumatic pressure and power switches.
[Caution]
During the adjustment or replacement of the punching plate and the punching bar, turn off the pneumatic pressure
and power supply switches.
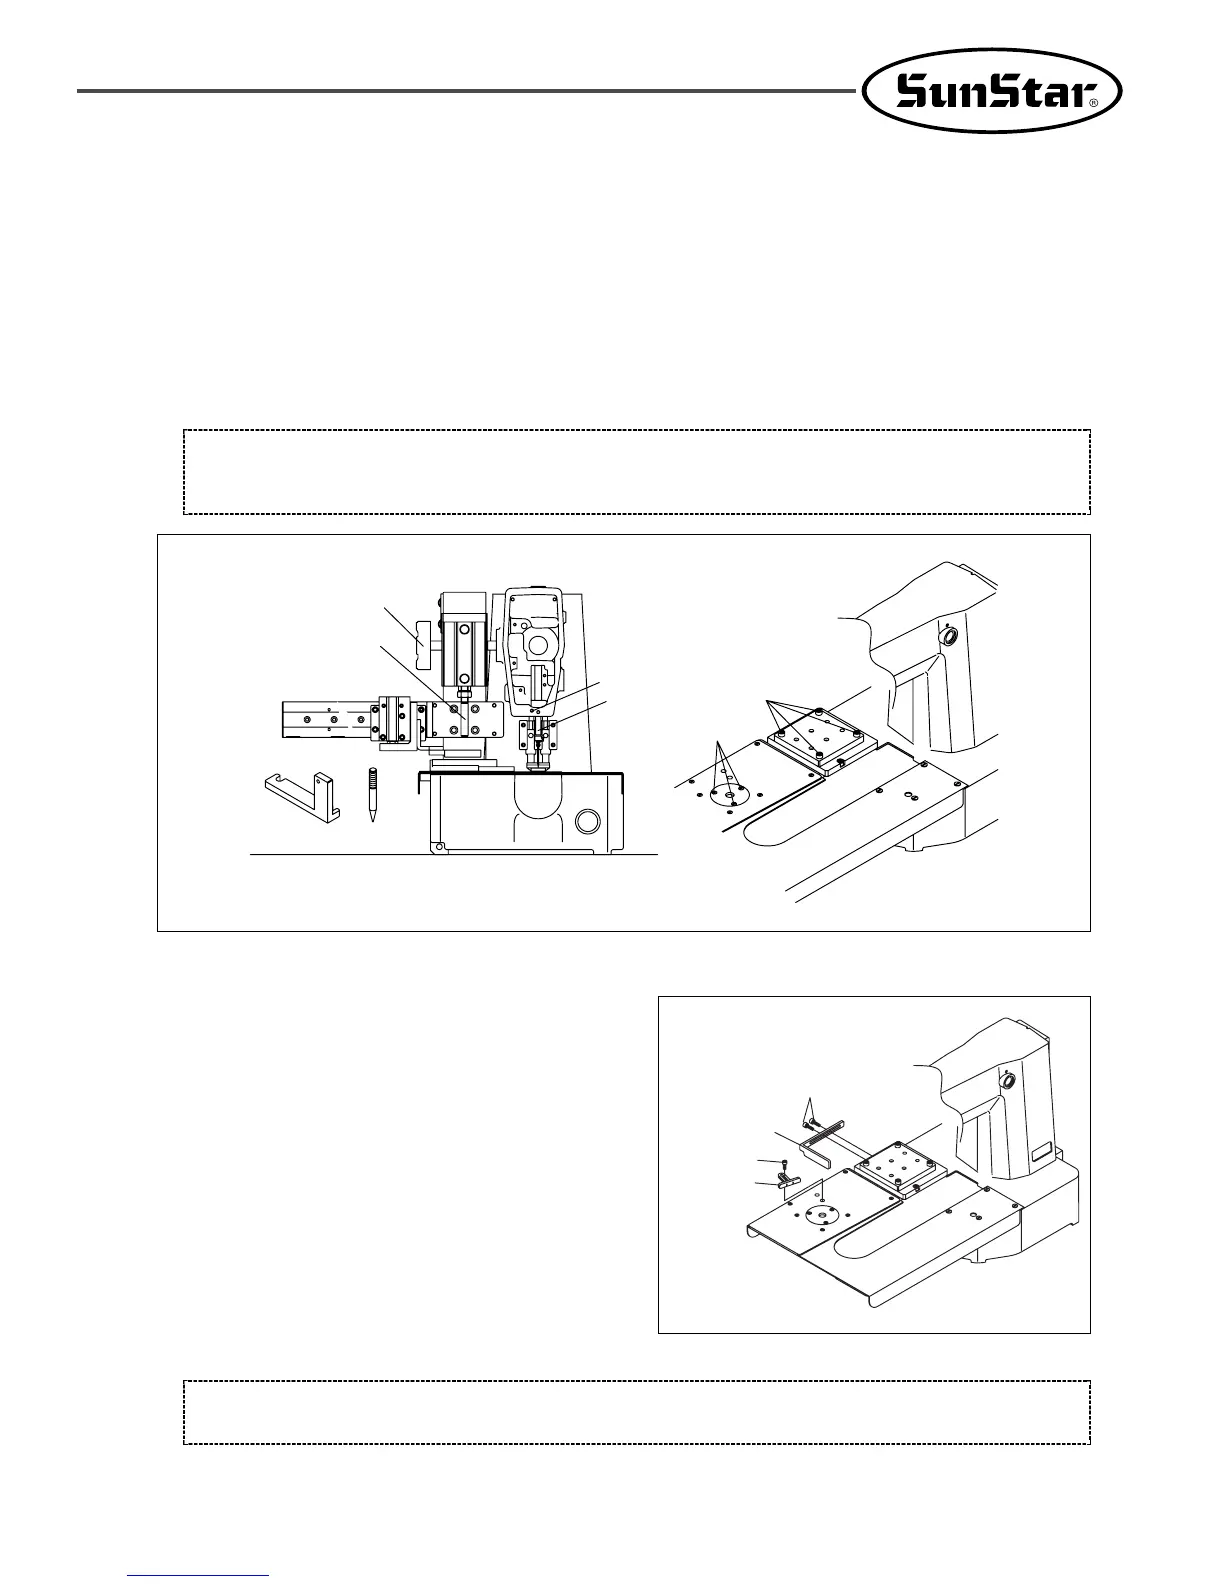
[Figure 94]
Hand pulley
Punching bar
jig 2jig 1
Needle bar
Fixing Screw
①
Fixing Screw②
A
18) Adjusting the Punching Device(SPS/D-B1201M[HP
ⅡⅡ
])
A. Remove the punching plate cover.
B. Remove the face plate and place the needle bar at the lowest position using the hand pulley.
C. Replace the punching bar and the jig 2.
D. Slightly loosen the fixing screw 1 as in the figure and fix the jig 1 to Part A. Adjust the distance between the needle
bar and the punching bar and tightly fix the jig using the fixing screw 1.
E. When the position adjustment of the needle bar and the punching bar is done, manually lower the jig 2 and place it
at the center of the punching plate. When it is done, tightly fix the jig using the fixing screw 2.
19) Adjusting the Center Point of Sewing Material
(SPS/D-B1201M[HP
ⅡⅡ
]
A. Loosen the fixing screws 1, 2 as in the figure and
place the center point of the sewing material at the
center of the punching plate and the punching bar.
B. Adjust the X-guide and the Y-guide in line with sewing
materials, and fasten the fixing screws 1, 2.
Fixing Screw
①
Fixing
Screw②
X-guide
Y-guide
[Figure 95]
 Loading...

