OPERATION OF THE MJB4
20 MJB4 - Operation Rev02 01-06
3
3.2.6. Lamp Housing
If the uniformity of the exposure lamp varies by more
than ±5%, it should be readjusted on the lamp
housing.
When an exposure lamp is replaced (see section
1.6.1.2. "Changing the Lamp"), the uniformity should
be checked first and then readjusted if necessary.
To do so, use the three setting knobs on the front of
the lamp housing.
• Left setting knob for Y direction
• Middle setting knob for Z direction
• Right setting knob for X direction
Setting Instructions:
The lamp must be on for about 20 minutes before it
reaches operating temperature. The LAMP TEST
function can be selected in the display (see section
1.2.7. "Buttons in the Display / Touch Screen").
Using the SUSS UV1000 intensity meter with the
appropriate probe, you check and set the intensity
and uniformity of the light.
Setting procedure: Place the probe in the center of
the light. The middle setting knob for the Z direction
should be set so that the measuring device displays
the highest value. Do the same for the X and Y
directions.
Next, the light uniformity over the entire exposed
surface must be tested and, if necessary, slightly
corrected using the X, Y and Z setting knobs.
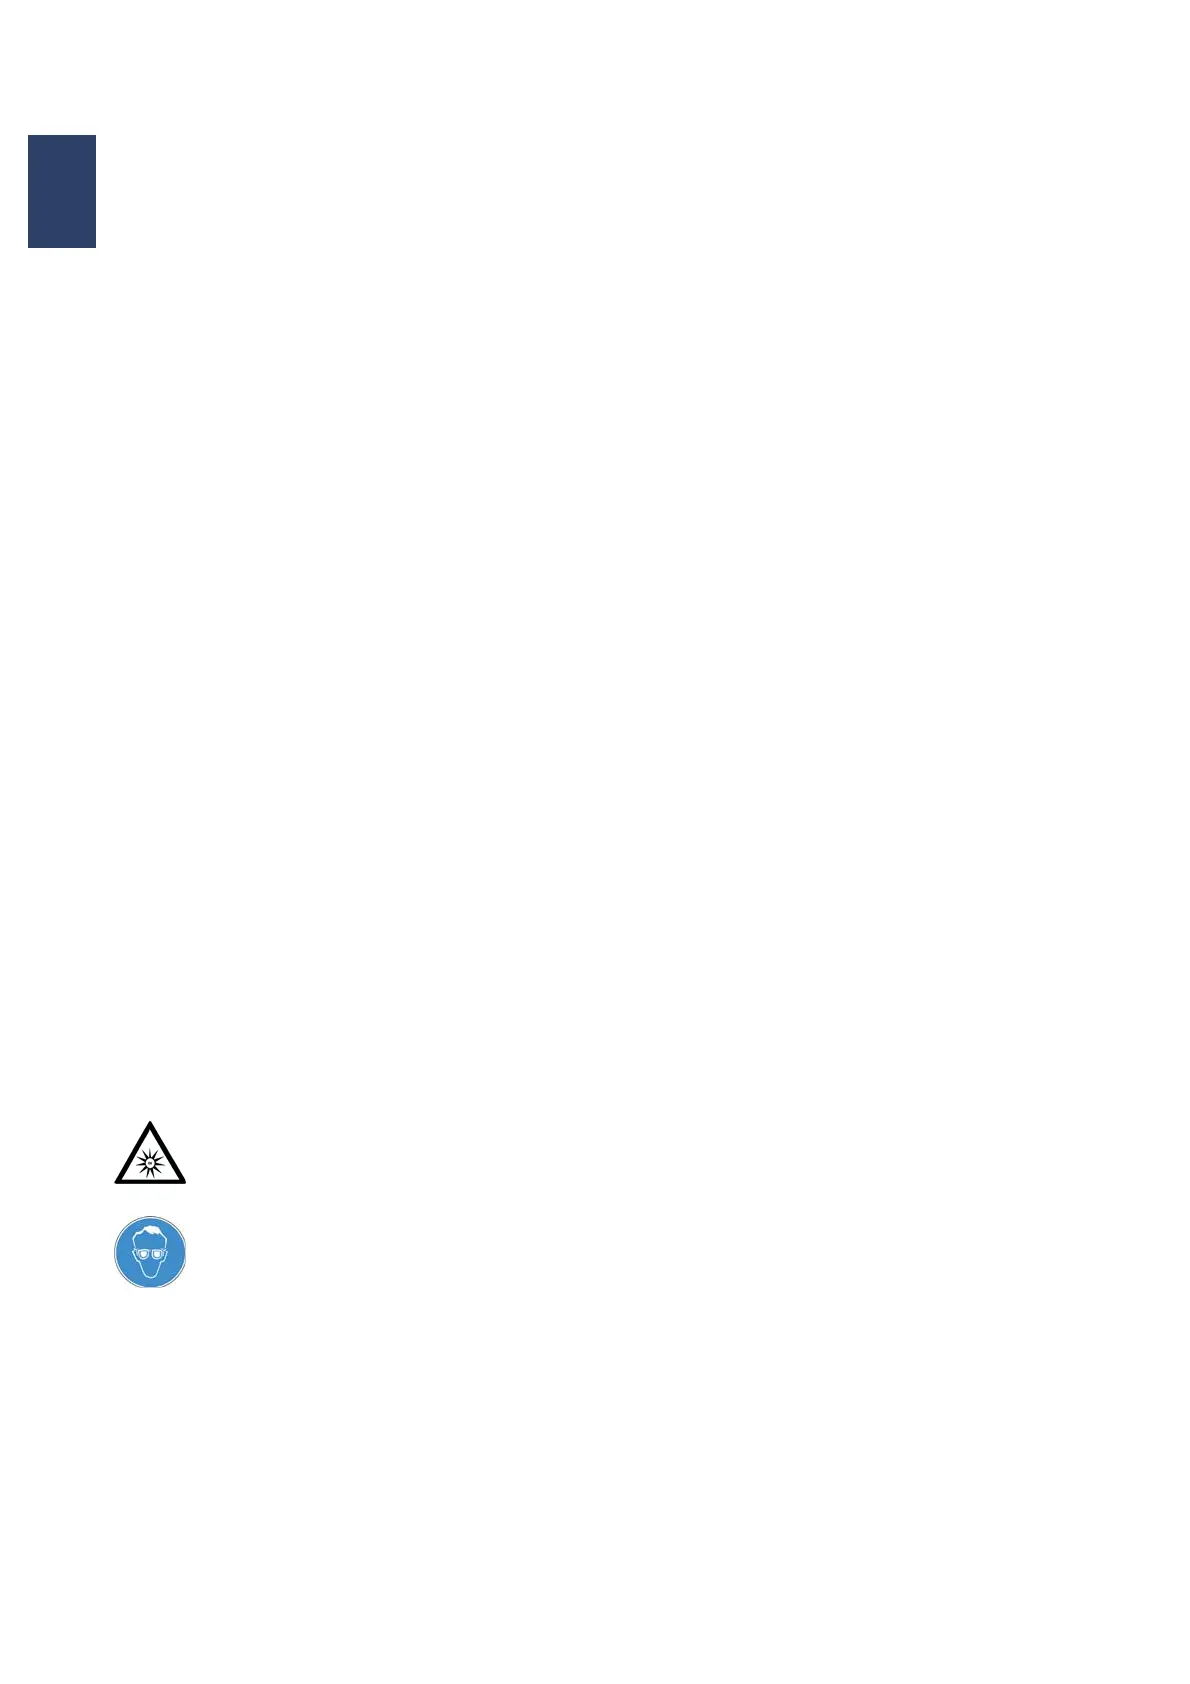
UV light can seriously or permanently
damage your eyes.
Never remove the covers on the beam
path when the UV lamp is on!
Always wear UV protection goggles
when adjusting the lamp and skin
protection as well if the level of
radiation is high!
UV protection goggles must be worn
even when measuring light on the
exposure chuck.
3.2.7. Buttons in the Display /
Touch Screen
ENTER
The Enter button confirms messages and actions
when you are prompted by the program.
EXPOSURE
Once the adjustment process is complete, this
button starts the previously set exposure program.
The wafer loading process with subsequent initial
exposure is started for the first exposure level.
LAMP TEST
This function can be selected in the display under
the EXPOSURE VALUES menu and then confirmed
by pressing the right arrow. The function is carried
out if you pull the contact lever back. The
microscope moves up, the lamp housing moves
forward and the lock opens. Exposure intensity and
homogeneity can now be measured. To end the
sequence, move the contact level forward. The
aligner returns to its initial status.
CHECK ADJUSTMENT
This button checks the adjustment of the substrate
for the mask before exposure. Particles between the
mask and substrate and the photoresist edge bead
can affect substrate adjustment when moving to the
exposure position. This button is the same as the
EXPOSURE button with one exception: the function
is identical but the exposure itself is excluded.
This button is active for the vacuum contact, low
vacuum contact and hard contact exposure
programs. For example: Starting the “Vacuum
Contact” exposure program activates the following
pneumatic parameters:
“PRE-VACUUM” and “FULL VACUUM”
The CHECK ADJUSTMENT button can be used to
check these factors before exposure.
If the adjustment is correct, the EXPOSURE button
has to be pressed for exposure.
If the adjustment is incorrect, the CHECK
ADJUSTMENT button must be pressed again.
Afterwards the separation lever must be moved to
adjusting distance in order for the substrate to be
readjusted.