What’s in this guide? Getting started Making calls Using the phone book In-call features Video conferencing
12
D1403405 USER GUIDE VIDEO ENDPOINTS MXP ENGLISH—SEPTEMBER 2009
Getting started
Sometimes there are many persons in
the room during a video meeting. To
make the person speaking easier to see
it can be a good idea to zoom in on that
person.
To make the zoom-in somewhat faster
and more elegant, you may employ the
predefined camera presets feature.
These presets contain information about
in which direction the camera should
point as well as about the zoom setting.
This is something you typically will
prepare before the video meeting starts.
The feature applies to endpoints with
cameras that can be controlled from
the remote control only. Consequently,
camera presets are NOT available for:
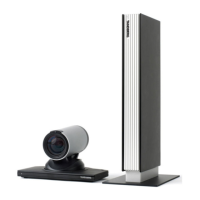
• TANDBERG Centric 1000 MXP
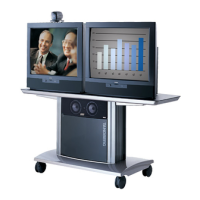
• TANDBERG Centric 1700 MXP
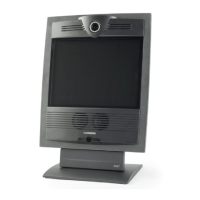
• TANDBERG Tactical MXP
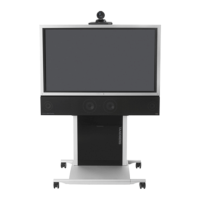
• TANDBERG Compass/Utility
For the other MXP endpoints a total of
15 presets (0–14) can be defined.
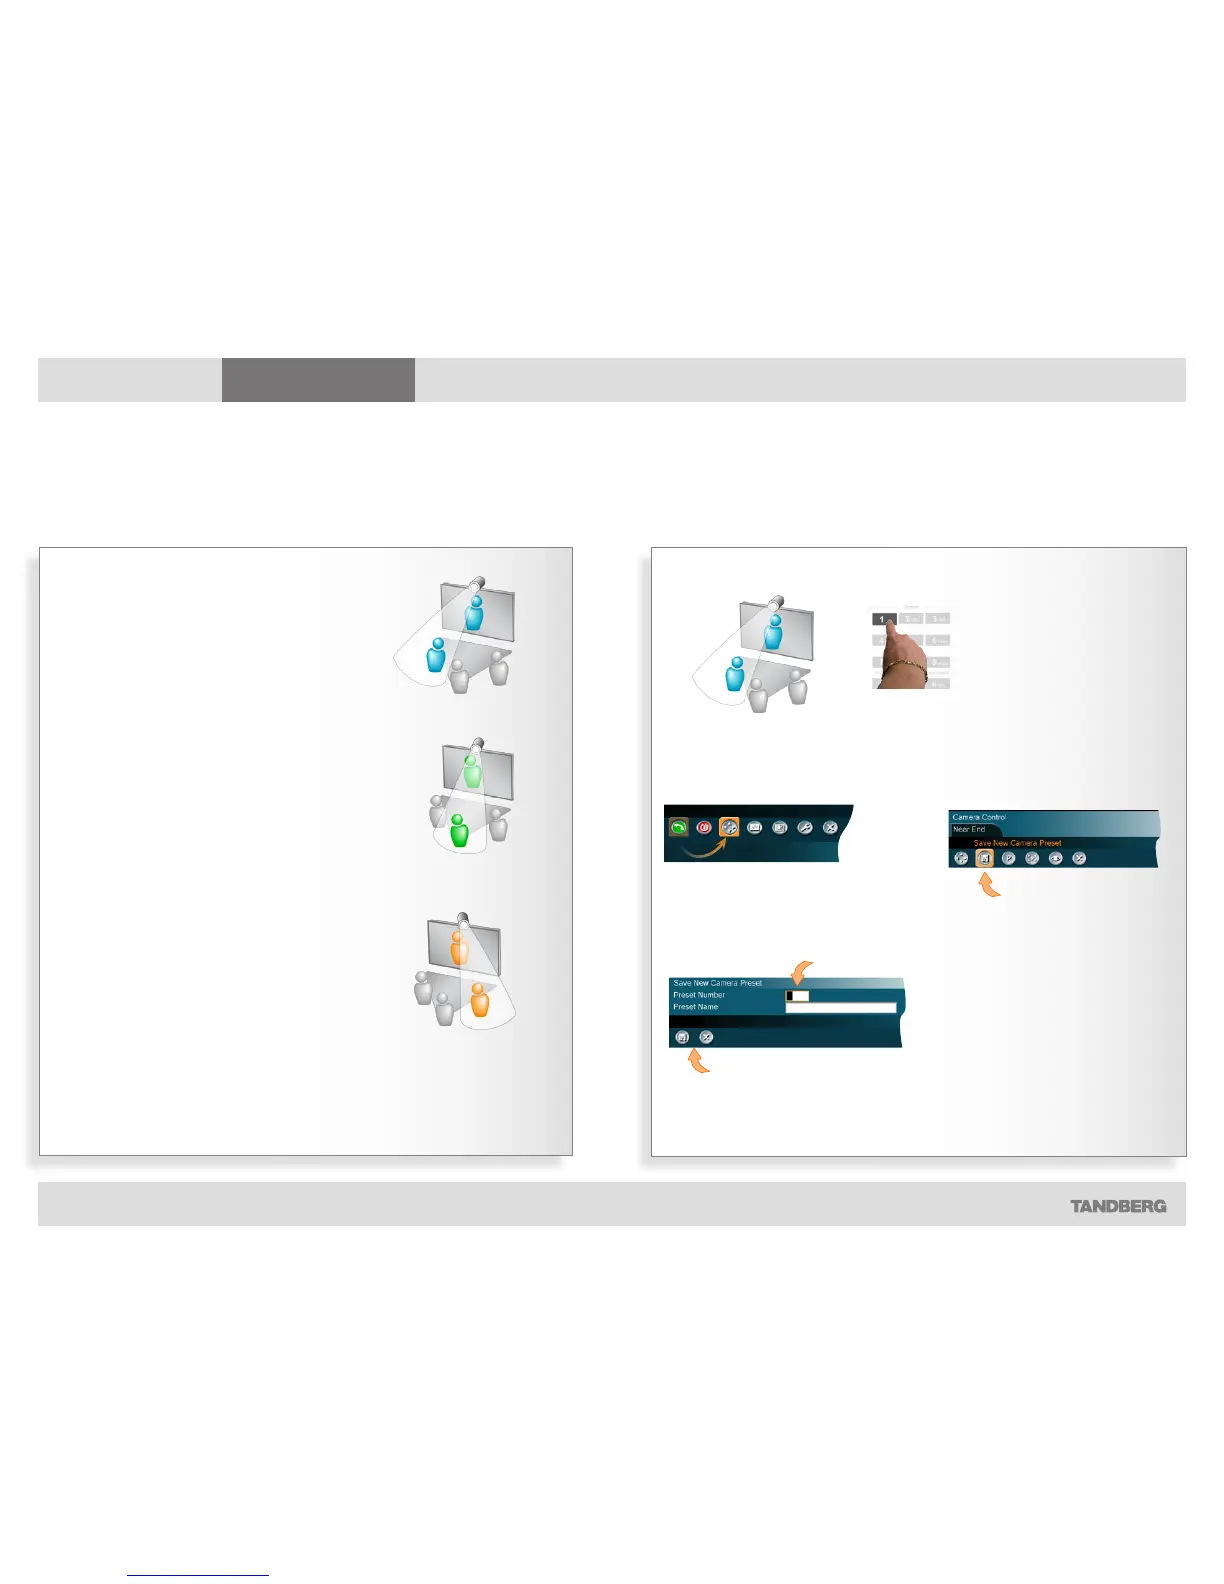
Defining camera presets
Use camera presets to make a quick move and zoom with the camera to see the person speaking
Preset No. 1
Preset No. 2
Preset No. 3
Use the Arrow keys to move the camera
as described on the previous page.
Then determine which
preset number on the
remote control the position
shall be assigned to
and press and hold the
corresponding key for more
than one second.
The current camera position
is now stored as a preset.
Storing camera presets as 0–9…
In the main menu, move
cursor to the Camera
Control icon and press the
OK key…
In the submenu
appearing, move the
cursor to the Save New
Camera Preset icon
and press the OK key…
Fill in the Preset Number (0–14) and
optionally a Preset Name to make things
easier to remember and to use.
Select Save and press OK to leave menu putting changes into
effect, or select Cancel to leave undoing any changes.
Storing camera presets as any number 0–14…