87
9.2.3 Measurement
9.2.3.1 Connection to Bluetooth
®
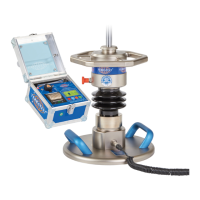
Load Plate
First switch ON Bluetooth
®
load plate by pressing its green button. The load plate performs a self-test, after
completion the LED is lit in red.
Start ‘TERRATEST’ app on your smartphone/tablet. On the initial screen of the App, press the left lower
operating element with Bluetooth
®
symbol. In the window appearing now, select the Bluetooth
®
load
plate. Its designation starts with ‘RNBT-’ or ‘Firefly’ (for TERRATEST 600 BLE: ‘RN’), followed by a hexa-
decimal number composed of several digits. The color of the Bluetooth
®
button changes from Grey to
Blue, the ‘START’ button of the App is activated; simultaneously the Status LED of the Bluetooth
®
load
plate is lit in Blue as well, thus showing that the required connection exists.
9.2.3.2 Preparation
Check the ‘Weather’ field. If required, wait some seconds until the information is updated. Internet con-
nection of course must be provided.
If information field ‘Date/Time’ shows ‘AUTO’, date/time settings from smartphone are automatically
adopted. Otherwise press the field to enter date/time manually.
Check the ‘Voice Navigation/Sound Output’ field. Pressing this field enables the selection to be switched.
‘VOICE’ guides the user through the measurement by spoken instructions. In the case of ‘SOUND’ selec-
tion, a beep informs the user every time before the next step of a measurement.
Field ‘LFG 1.0/MFG 2.0’ allows change between these two system configurations (Light or Medium
weight). This field must match the current application, as before change the corresponding calibration data
from measuring computer of the instrument must be transmitted to the Bluetooth
®
load plate, as descri-
bed under ‘First steps’, page 83.
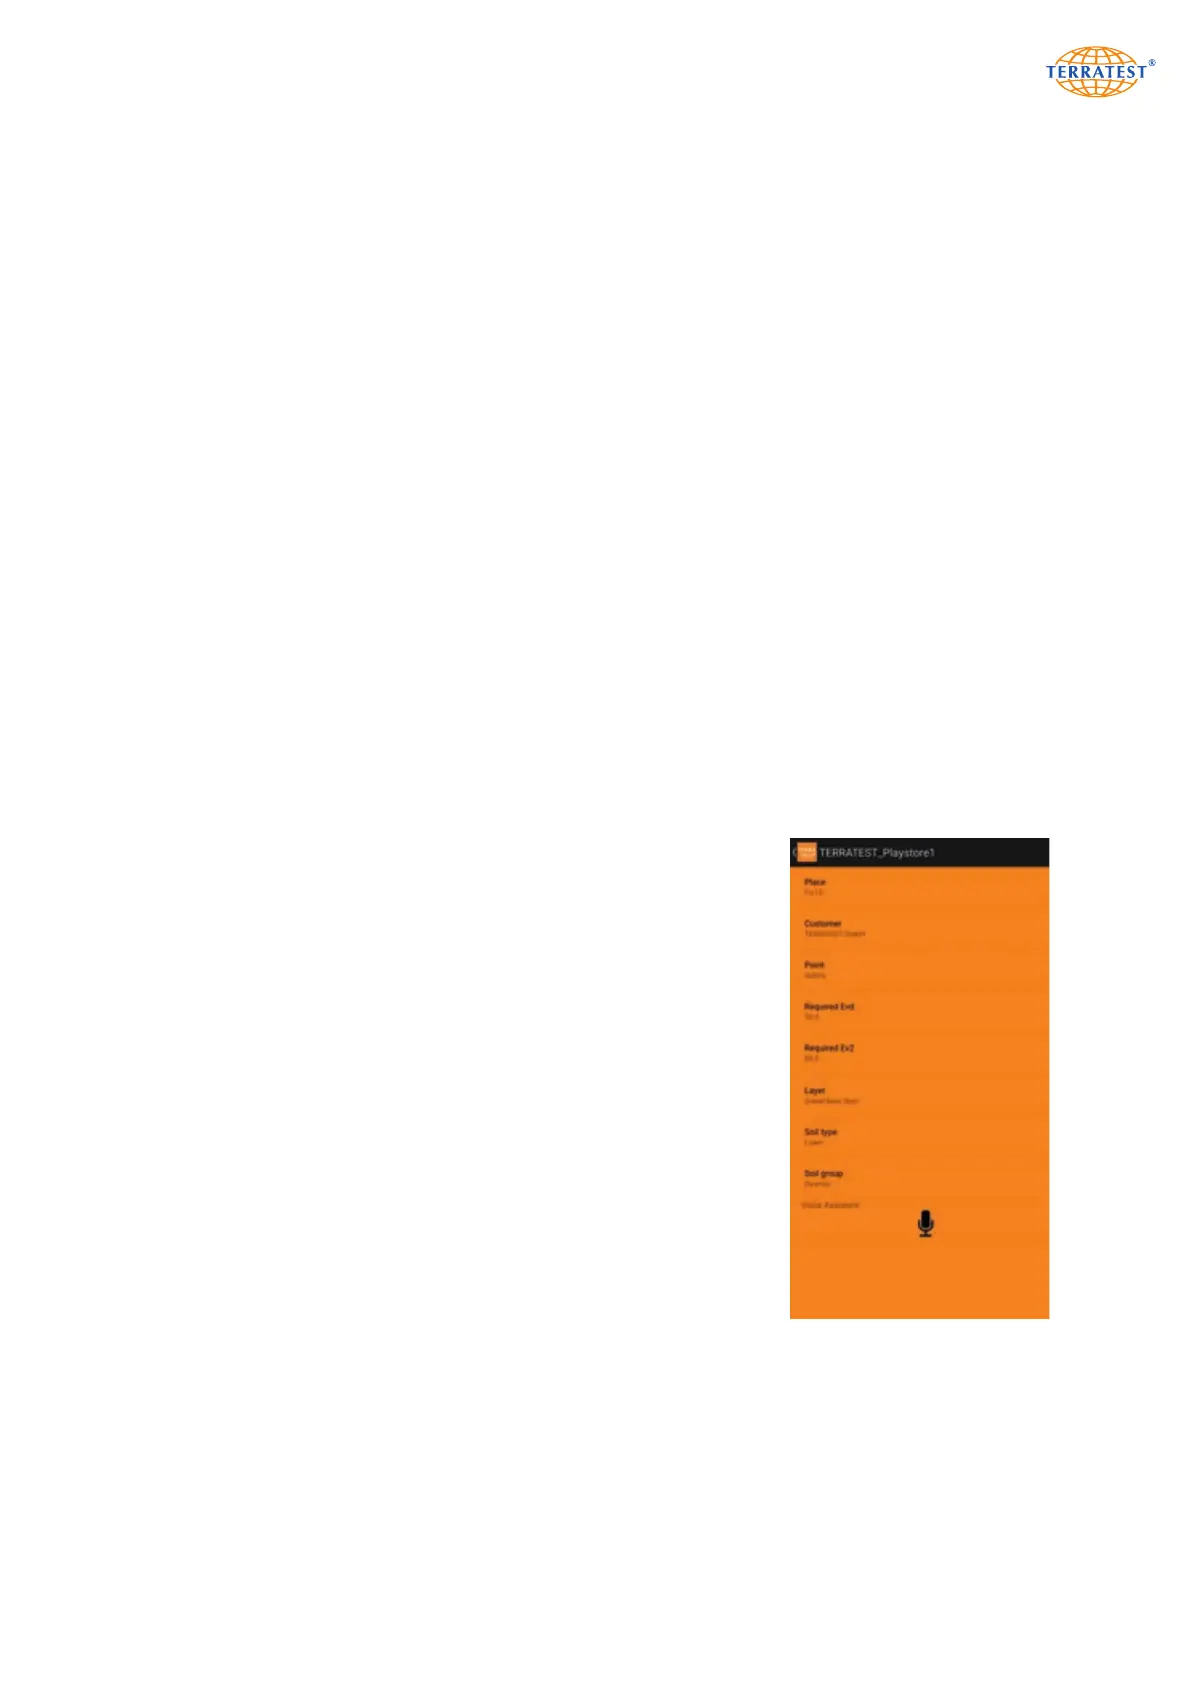
Then inspect the data entered for the construction site. Pressing ‘Profile’
opens a window with the existing sites. Pressing a name activates the
corresponding site, which will represent the basis for the measurement.
Pressing the pencil symbol at the right side of the name enables the data
of the site to be checked or modified. After pressing ‘Abort’, data entered
for the previous measurement are inserted to the current measurement as
well. Press ‘New’ to input data for a new construction site, by pressing
this field and use the keyboard provided. After completion, press the
navigation button above at the left side. The data are stored, the new con-
struction site becomes active, and the initial screen appears again.
Check the GPS button as well. In the case of absent connection, this but-
ton is shown in Grey. If it is red, the position of the user is detected by
GPS and added to the measurement data.
PROFILE OF
CONSTRUCTION SITE
 Loading...