ACT6000 User Guide – January 2021 Page 48 of 52
DELT >-24 (dB), SELT >-25 (dB)
DELT >-28 (dB), SELT >-29 (dB)
DELT >-23 (dB), SELT >-24 (dB)
DELT >-15 (dB), SELT >-16 (dB)
If necessary, it is possible to modify any limit opening the file with note-pad, changing and saving it.
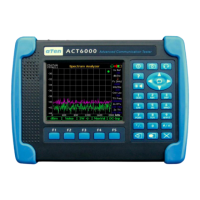
14. Configurations and Utilities
This item allows the selection of sub-menus to configure the instrument.
From the Main Menu select 7.Config & Utility
1. BALANCED LINE TESTS described on
the Par. 15 – Appendix 1, to configure
the parameters for the automatic line
tests (by Advanced Software 1/II).
2. DPBO Parameters Setup. It allows the
setup (or verifications) of all typical
DSLAM parameters used on FTTCab
plant (see the Appendix 2)
3. DISPLAY & POWER SAVING
to set the screen Brightness and Contrast
inside this menu, pushing the F1 key it is
possible to invert the screen background
(from black to white) useful to very floodlit
environment.
4. DIAGNOSTIC (reserved to TesCom’s Authorized Service Laboratories)
5. LANGUAGE
6. DATE & TIME
Function keys
F1 “Default” to restore some test parameters to the original factory setup.
F2 “PVF” to personalize propagation velocity factor unit for the TDR: PVF or V or V ½.
F3 “meters” to personalize units of the lengths.
F5 (not highlighted) to erase the possible incongruent “CABLE TABLE” …that some times
block the functionality of the instrument!
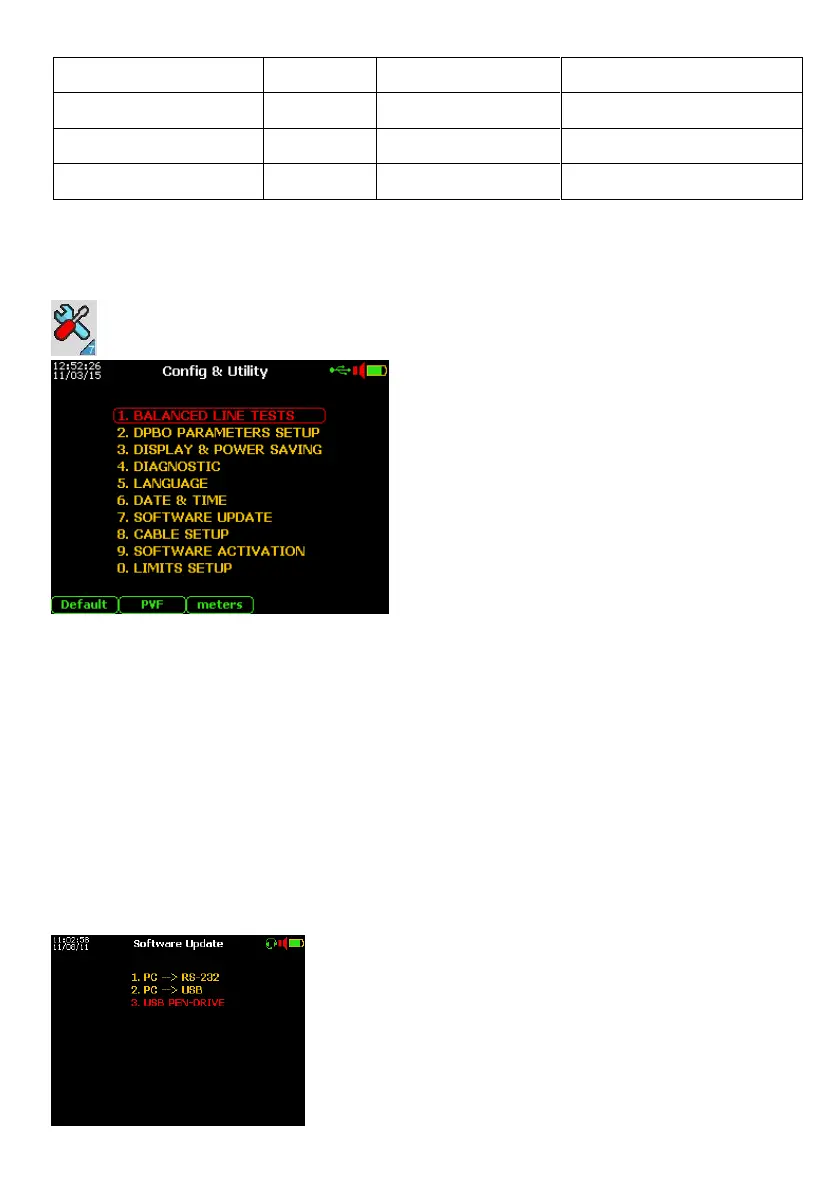
7. SOFTWARE UPDATE
Below is the information to perform the Software Update
- Insert to the USB port the Pen-Drive loaded with the
new software named FLASH_EN.BIN”.
- Switch-On the instrument and from the Main Menu
select and enter on the “7. Config & Utility” menu,
then select the item “3. USB PEN-DRIVE” and push
“Enter”.
The new software will be automatically captured from the
Pen-Drive. Push “Enter” to confirm the load and the
progress of the upload will be shown.