Chapter 2 – Using the F4T Front Panel
TestEquity F4T Controller Page 7
Chapter 2 – Using the F4T Front Panel
F4T Menus
This chapter is designed to give you a better understanding of the structure and navigation of the
F4T menus as viewed from the front panel.
Understanding F4T Menus
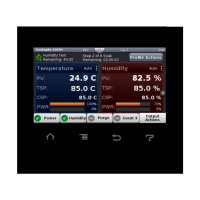
The graphic below illustrates at a high level the structure of the F4T menus.
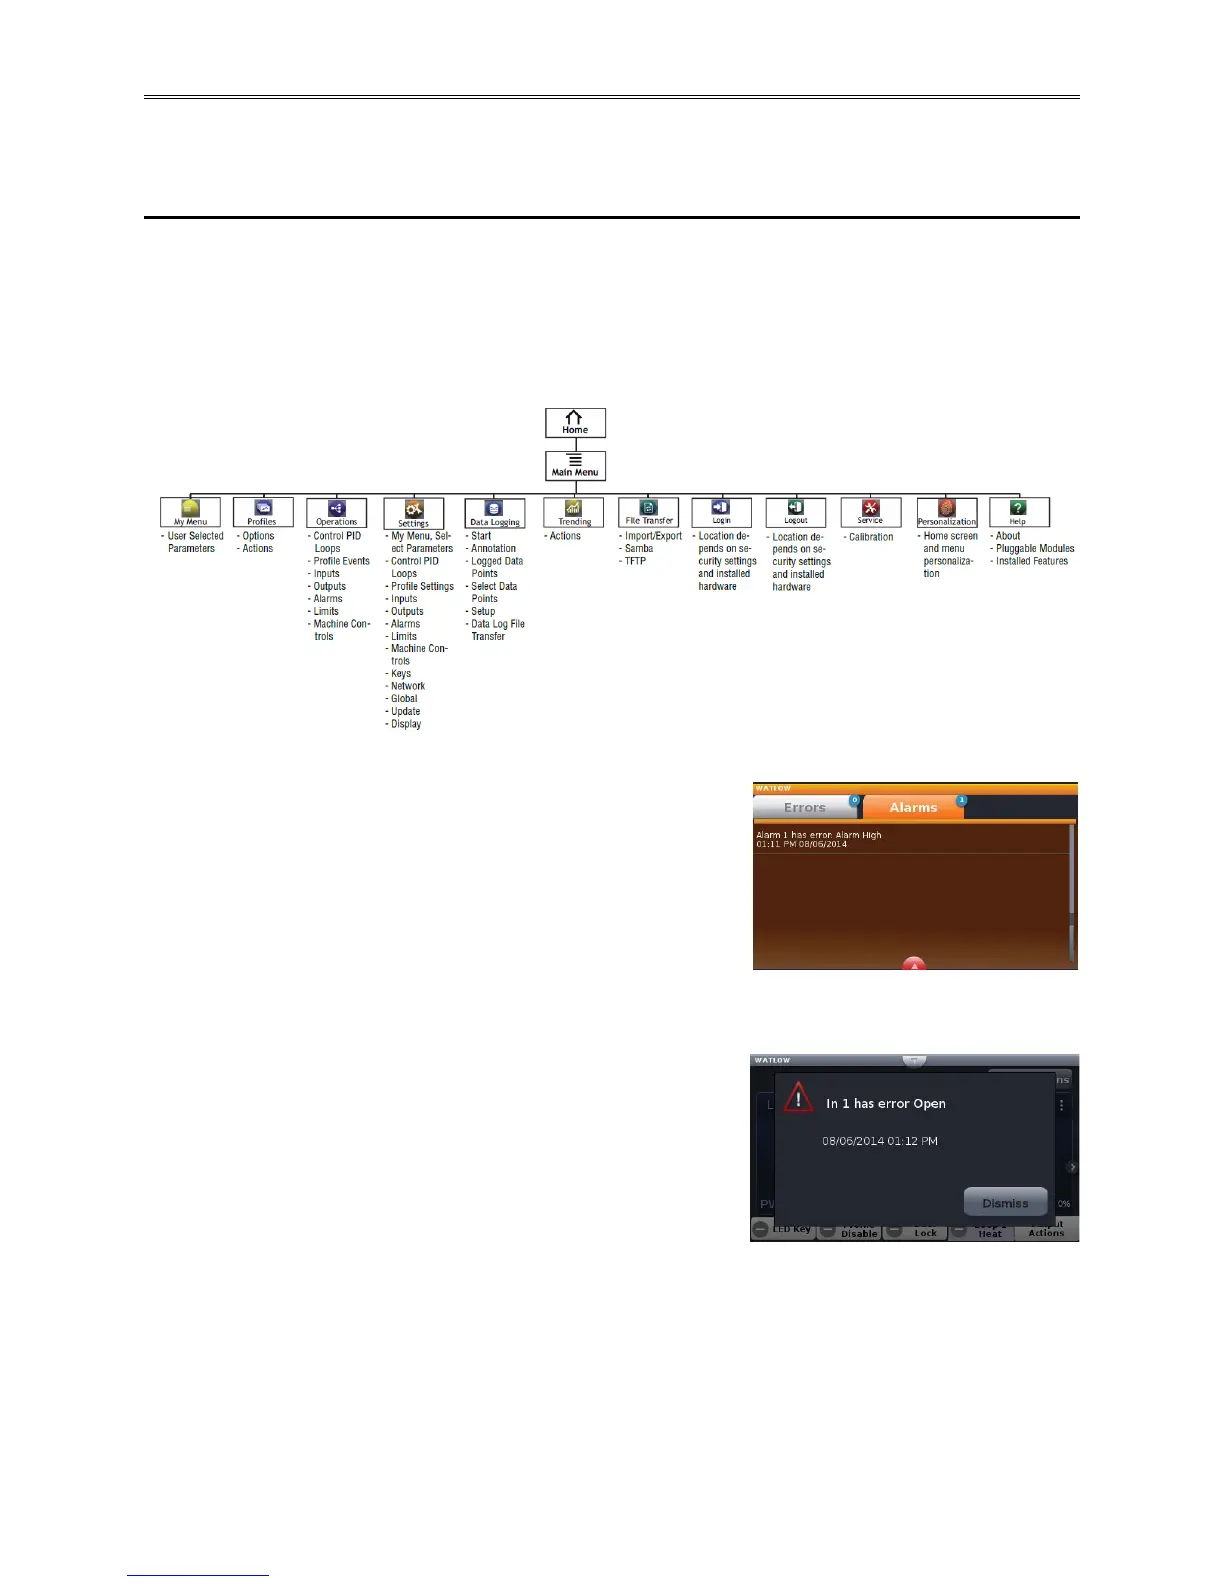
Event Driven Menus
During normal operation it is possible that an event can
occur that will present the user with indications, pop-up
windows and menu selections that are not shown above. As
an example, if an alarm occurs then the status bar (top of
screen shot as shown) will indicate its existence by blinking
yellow. If the user presses the status bar button to view the
alarm message, and then presses the alarm tab, menu options
may appear (silence or clear) depending on the alarm
settings. A representative alarm display is shown here.
As another example, if an input sensor opens, an error
message will be displayed on the screen requiring user
intervention. Once the error is acknowledged (Dismiss), the
status bar will continue to blink red until the open sensor has
been fixed. Once fixed, the status bar will return to its
normal operational display.