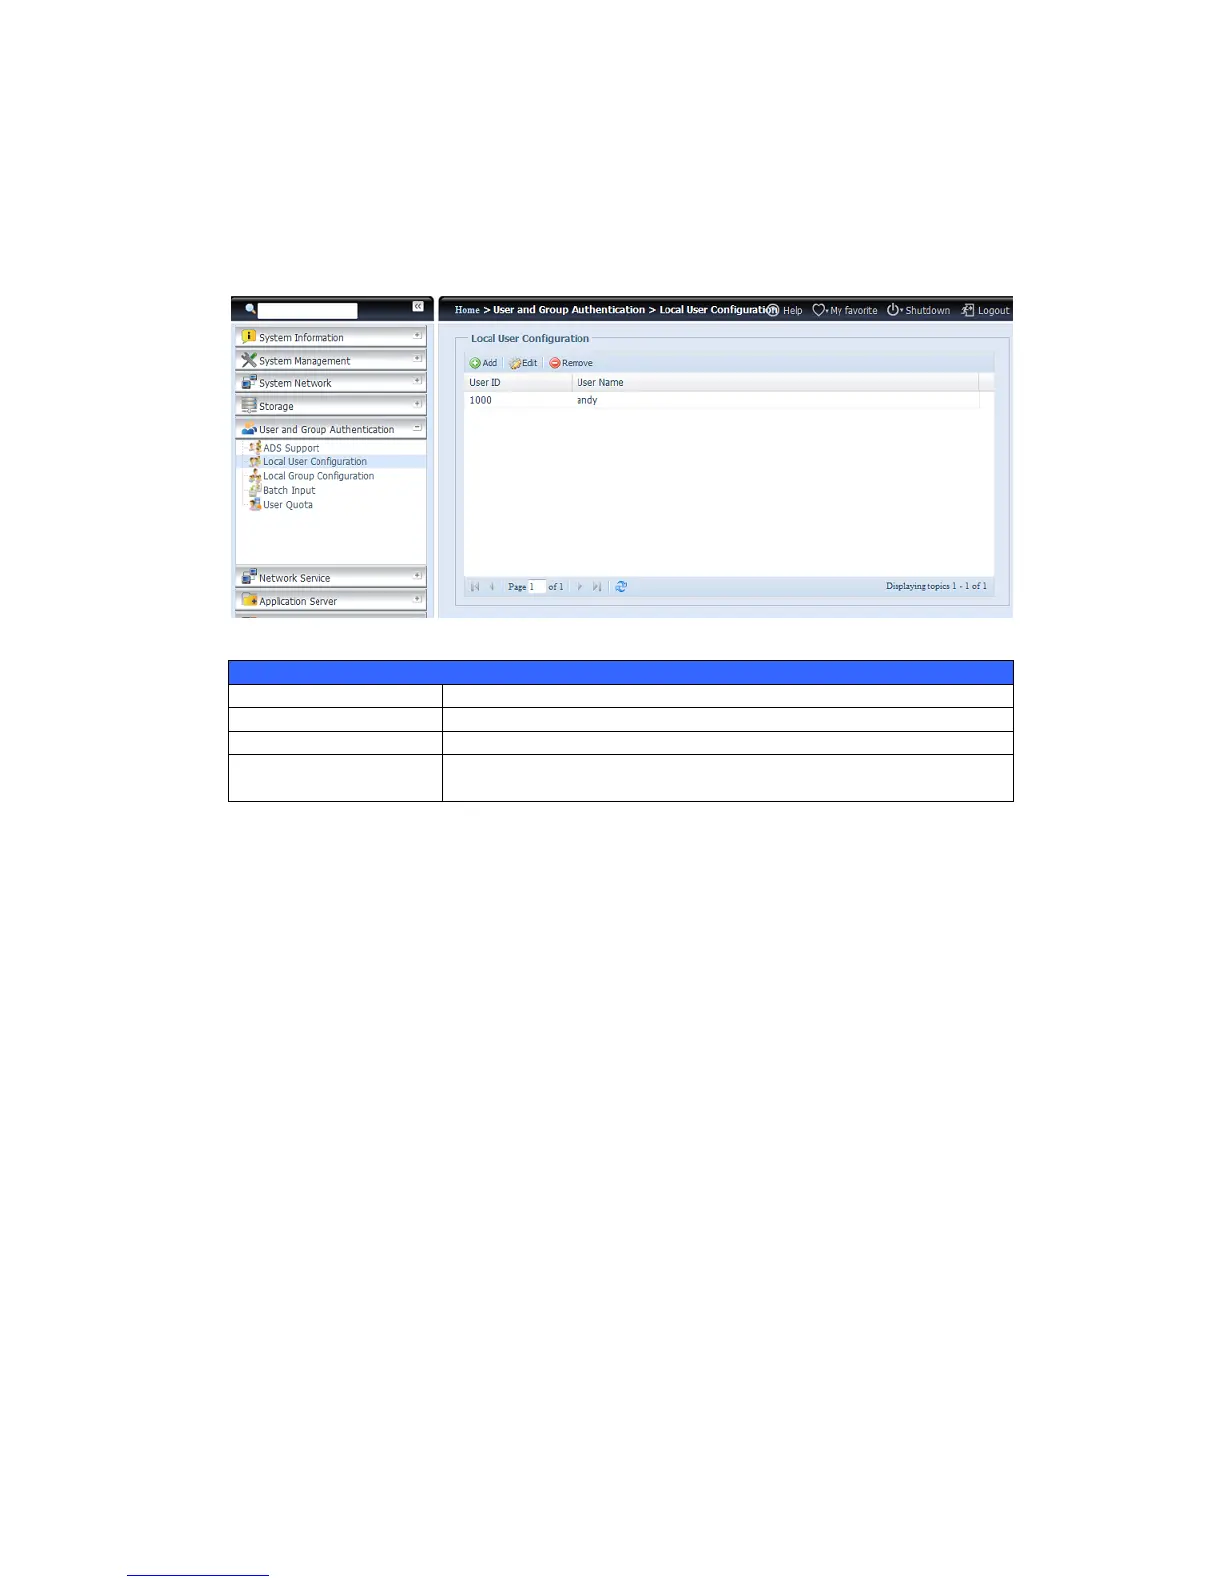
Local User Configuration
From the Accounts menu, choose the User item, and the Local User
Configuration screen appears. This screen allows you to Add, Edit, and Remove
local users.
Add Users
1. Click on the Add button on Local User Configuration screen, and Local
User Setting screen appears.
2. On the Local User Setting screen, enter a name in the User Name box.
3. Enter a User ID number or leave blank to use the system default value.
4. Enter a password in the Password box and re-enter the password in the
Confirm box.
5. Select which group the user will belong to. Group Members is a list of
groups this user belongs to. Group List is a list of groups this user does not
belong to. Use the << or >> buttons to have this user join or leave a group.
6. Press the Apply button and the user is created.