STEP 3
• Make sure the mount is in the unlocked
position by pushing the locking lever upwards.
• Clean the Leveling Connector and insert it all
the way into the mount (till it stops).
• Lock into place by pushing the locking lever
down.
• Look at he Live Image and make sure all dust
is cleaned off the Leveling Connector, both on
the endface surface and inside its fiber hole.
The outer diameter of the fiber hole should be
fairly smooth and circular.
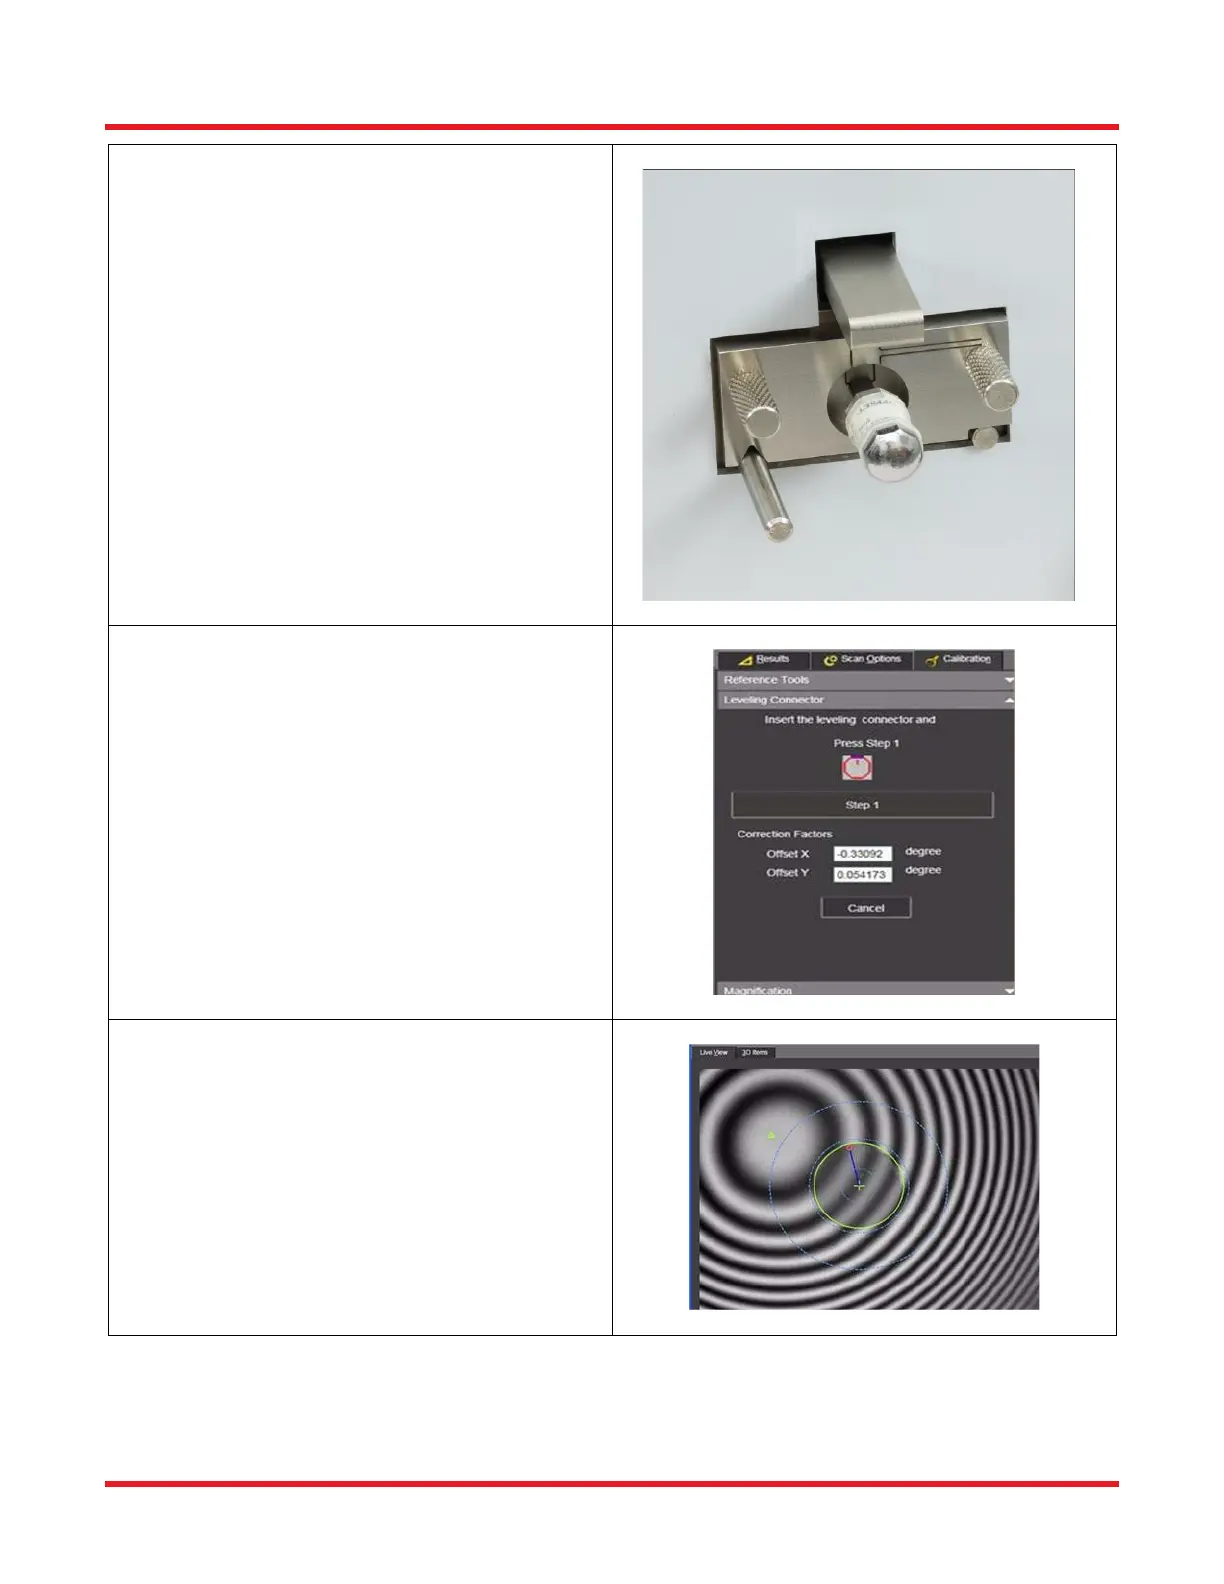
STEP 5
• Adjust the focus knob to maximize the fringe
pattern (i.e. greatest contrast between black
and white fringes).
• Press the “Step <>” button.
• Make sure not to cause any vibration during
the scanning process.