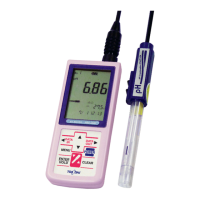
Model: CD-36D 7.4 Replacement of Beads
-
26
-
【IMPORTANT】 • Turn the sensing electrode clockwise and make sure
the electrode is fixed firmly. Loosening of the
electrode may cause a failure of the product.
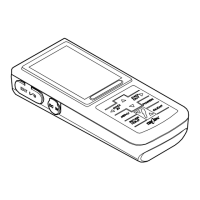
Sensing
electrode
Fix
⑧ Return the detector to the original state. ⋅⋅⋅⋅⋅⋅ Reinstall the cap on the top of the detector paying
attention not to spill beads from the cap. Then, confirming that the O-ring is correctly set in the
groove in the flow cell, insert the detector slowly and vertically into the flow cell until the detector
cap touches the bottom of the flow cell.
【IMPORTANT】 • Pay attention to the O-ring so that it may not get deformed when inserting
the detector.
⑨ Connect the lead wires. ⋅⋅⋅⋅⋅⋅ Connect the connector for the lead wires to the upper part of the
detector like before.
⑩ Turn on the power switch. ⋅⋅⋅⋅⋅⋅ Turn on the power switch and close the rear cap.
7.4 Replacement of Beads
The cleaning performance of beads decreases if they get extremely dirty with components in the
sample water. In such a case, replace the beads with new ones as follows.
①Turn off the power switch. ⋅⋅⋅⋅⋅⋅ Open the rear cap of the Transmitter and turn off the power switch
located on the upper part of the terminal board.(Power: OFF)
② Disconnect the lead wires. ⋅⋅⋅⋅⋅⋅ Turn the closing ring for the connector on the upper part of the
detector counterclockwise and disconnect the connector for the lead wires.
③ Remove the detector from the flow cell. ⋅⋅⋅⋅⋅⋅ Withdraw the detector vertically from the flow cell
to remove the detector from the flow cell.