■
3-42
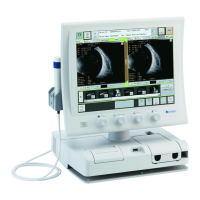
2) Touch the “Change Meas. Point” button (3) to open the measurement point
change screen (Fig. 3) to change the measurement point.
(Fig. 3)
3) When the desired input field on the measurement point change screen (Fig.
3) is touched, the field is activated. Set values using the keypad and the like.
As for the setting of “S/I,” the indication switches between “S” and “I” each
time the S/I button (4) is touched.
4) Touch the Preset button (5) to set the value preset in system settings. (Refer
to “3.9.2 c) Settings for various measurements.”)
5) Touching the “Set” button (6) will apply the changes made, and the
measurement point change screen (Fig. 3) is closed. Touching the “Cancel”
button (7) will cancel the changes made, and the measurement point change
screen (Fig. 3) is closed.
3.5.4 Measurement
See the user’s manual of the AL-4000 for the actual procedure of measurement.
This section describes the operations that can be performed with this instrument
during measurement.
■ The converted acoustic velocity directly affects the measurement data.
Check that the desired value is set before starting measurement.
■ The measurement data can be displayed as the actual measurement or a
bias value. Check the setting of the data display mode.
■ The automatic measurement function is an auxiliary function to take
measurements more easily and is not a function used to actually make
clinical judgment. The physician must examine the measurement result
before using it.
■ Be sure to touch the “New” button to delete all the measurement data of
the previous patient before measuring another patient. If new
measurement is started without deleting the previous data, the
measurement data of the previous patient may be included.
(4)
(5)
(6) (7)

 Loading...