■
3-12
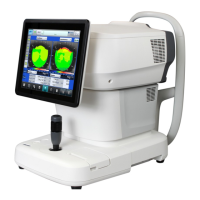
3.3 Optical measurement mode
Refer to “3.2.4 Switching between optical (OPT) mode and ultrasound (US)
mode” for the method to switch to optical measurement mode.
■ Calibration may be conducted automatically in optical measurement mode
in order to smoothly perform measurement.No operation is available
during calibration.Restart the operation after the message “Calibrating…”
displayed during calibration disappears.
3.3.1 Setting measurement conditions
■ Settings made on the Setup (OPT) screen are only effective for the eye
currently selected. Settings cannot be made for both eyes simultaneously.
Complete necessary settings for each eye.
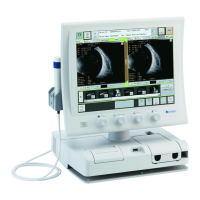
Touch the "Setup" button (1) at the lower left of the screen to open the Setup
(OPT) screen (Fig. 2).
Settings made on the Setup (OPT) screen are effective for only one measurement.
The settings will return to the status set on the System Setup (2) screen when one
measurement is completed. Refer to “3.9 System Setup” for the “System Setup"
button (2).
Touch the “Exit” button (2) after setting is completed to apply selected contents
and return to the measurement screen (Fig. 1).
(Fig. 1) (Fig. 2)
a) Selecting measurement items
The following 5 items can be measured simultaneously in optical measurement
mode.
● Axial length ● Pupil/corneal diameter
● Kerato ● Anterior chamber depth, lens
● Corneal thickness
Select the item to be measured.
Touch the “All” button to select all items. Touch any of the “Standard," “Customize
1,” and “Customize 2” buttons to select the measurement items preset in the
system setup. (Refer to “3.9.2 c) Settings for various measurements.”)
(1)
(2)
a)
b)
d)
c)
(3)

 Loading...